


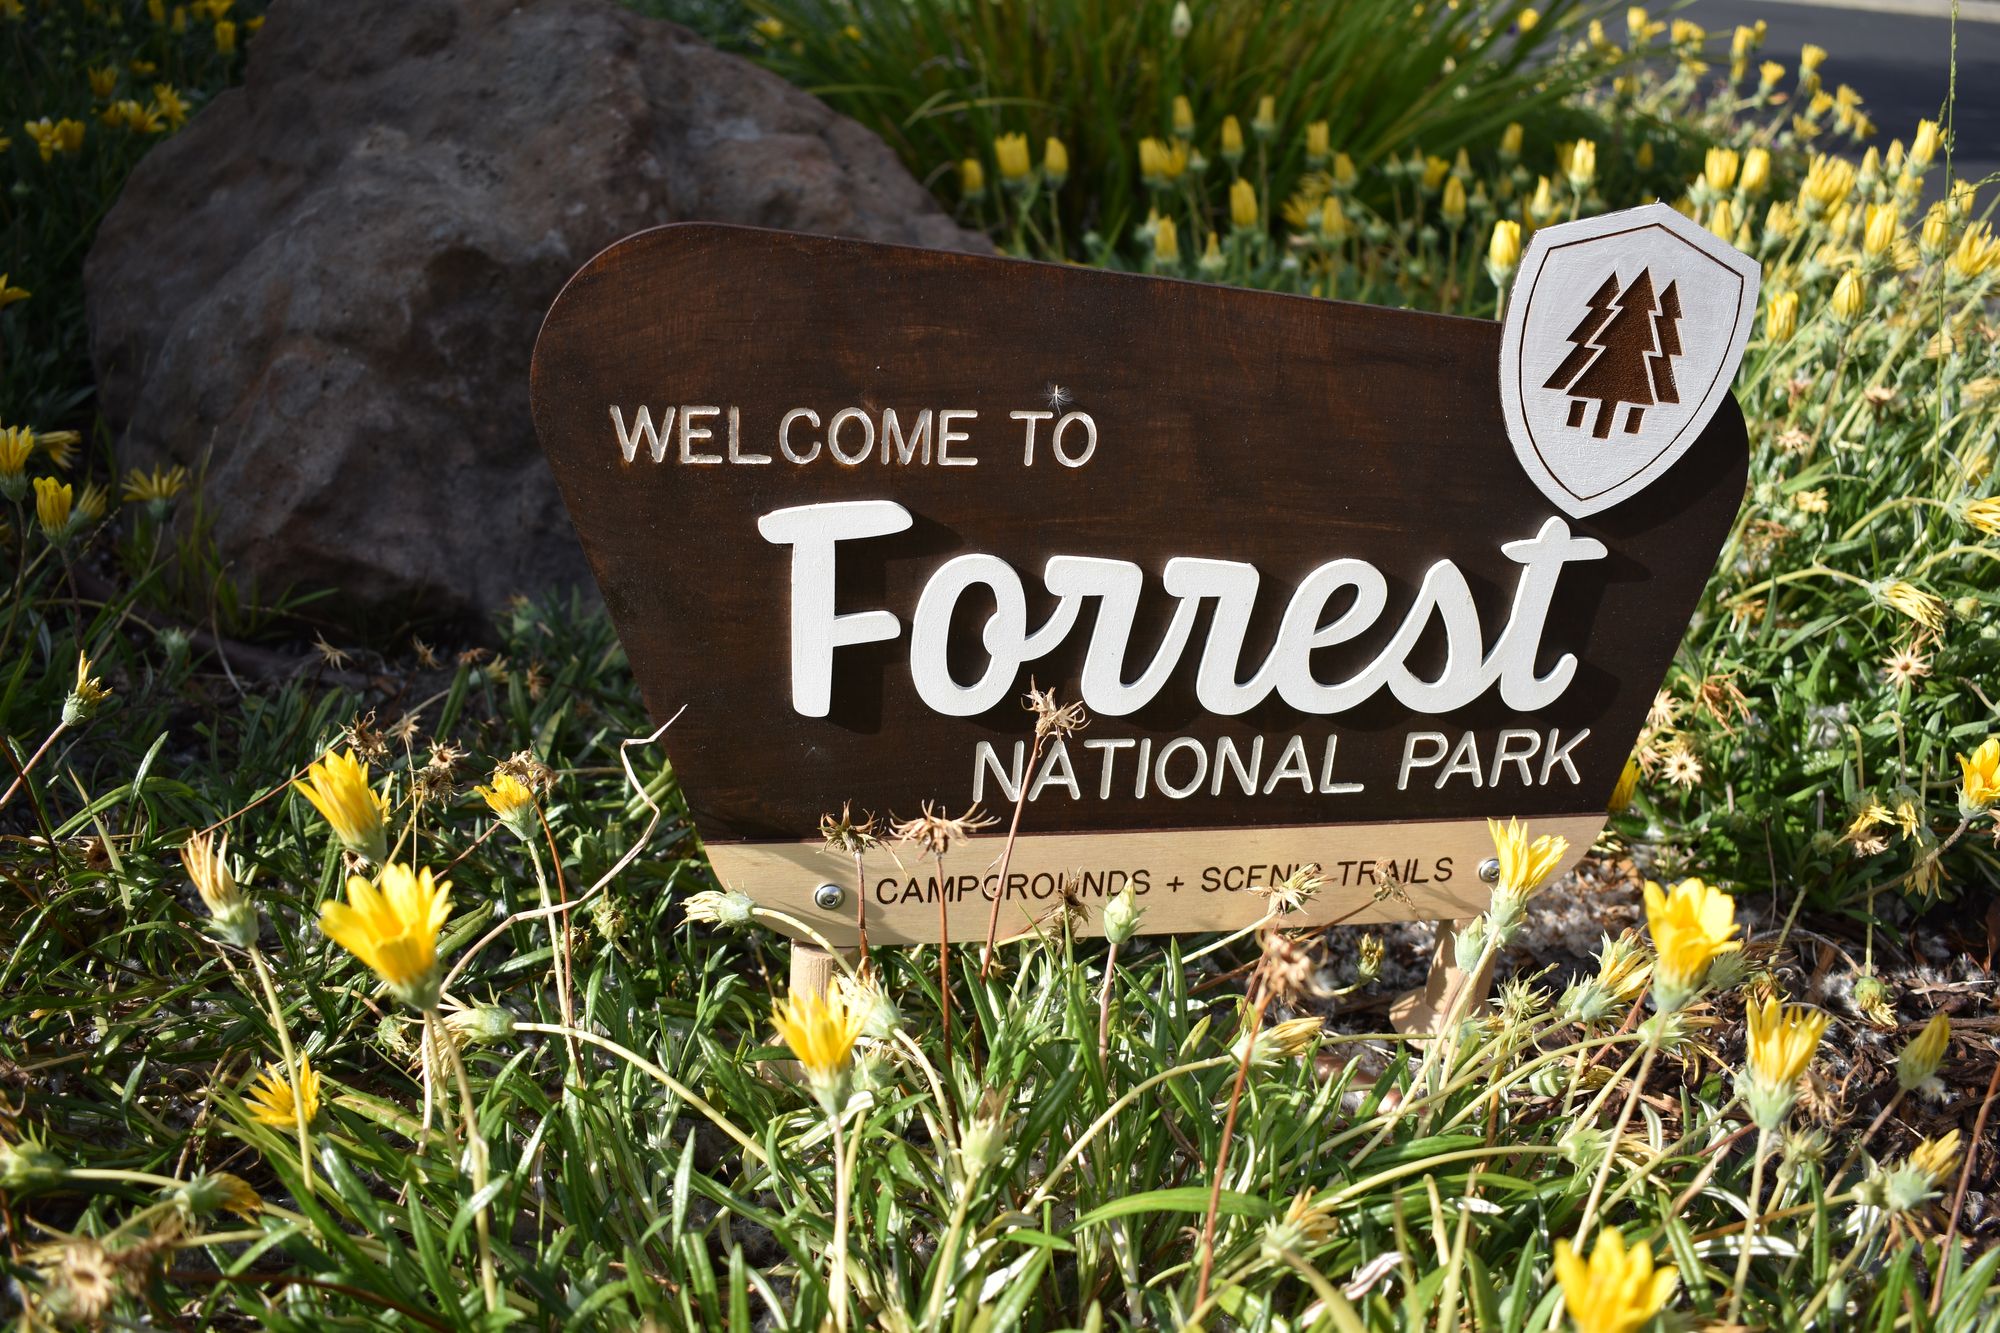
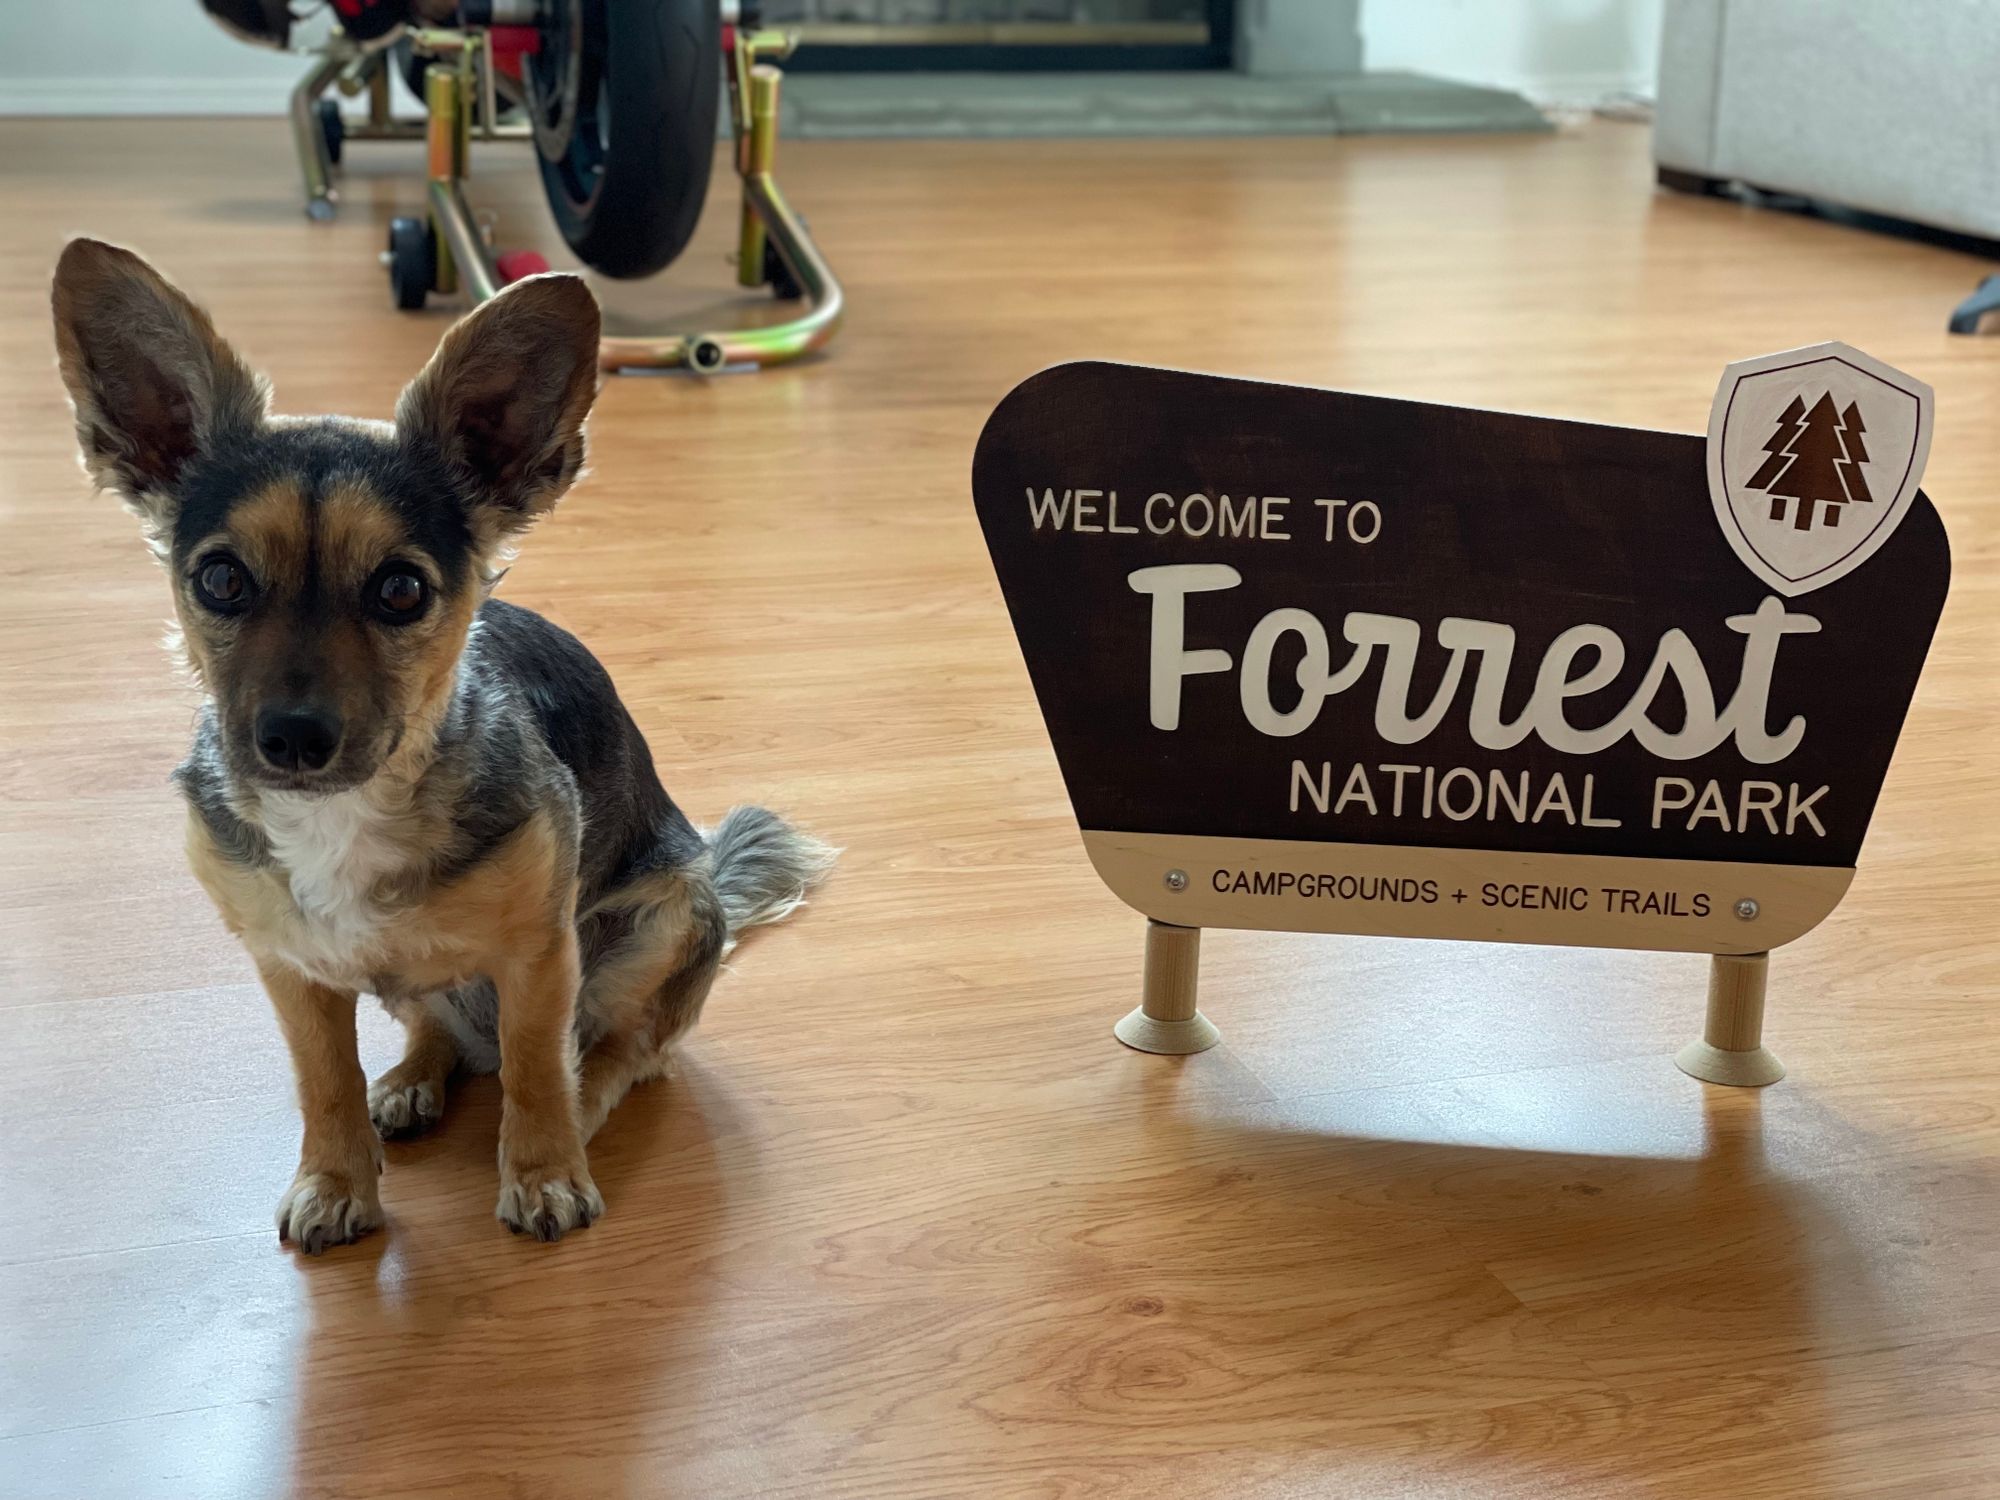
My 2 yr old nephew, named Forrest, is having a camping themed bday party! His parents love the outdoors, so this was very on brand for them. They asked me to make a “national park” sign for the occasion, and I really enjoyed making it! Links to resources to make your own are all below.
This was the first time I've made a sign like this, and I just made it up as I went along. For a while I was really overthinking a lot of the details:
Should I buy walnut plywood?
Oh maybe it should be ebony plywood.
Wait I should also get a japanese saw to make the legs
Hey there's such a thing as african mahogany plywood!
But this year, I promised myself that I'd ask one question whenever I start googling for the "perfect" materials – "What if I already have everything I need, right here?" My intention is to spend less, but also try to ship less things across the globe.
Turns out, I already had a bunch of materials I could use!
- Birch plywood
- Laserable MDF sheets (for the "Forrest" letters)
- Dark wood stain (specifically the color "Kona")
- ColorFabb woodfill PLA filament (for the legs!)
The laser cut + engraved sign
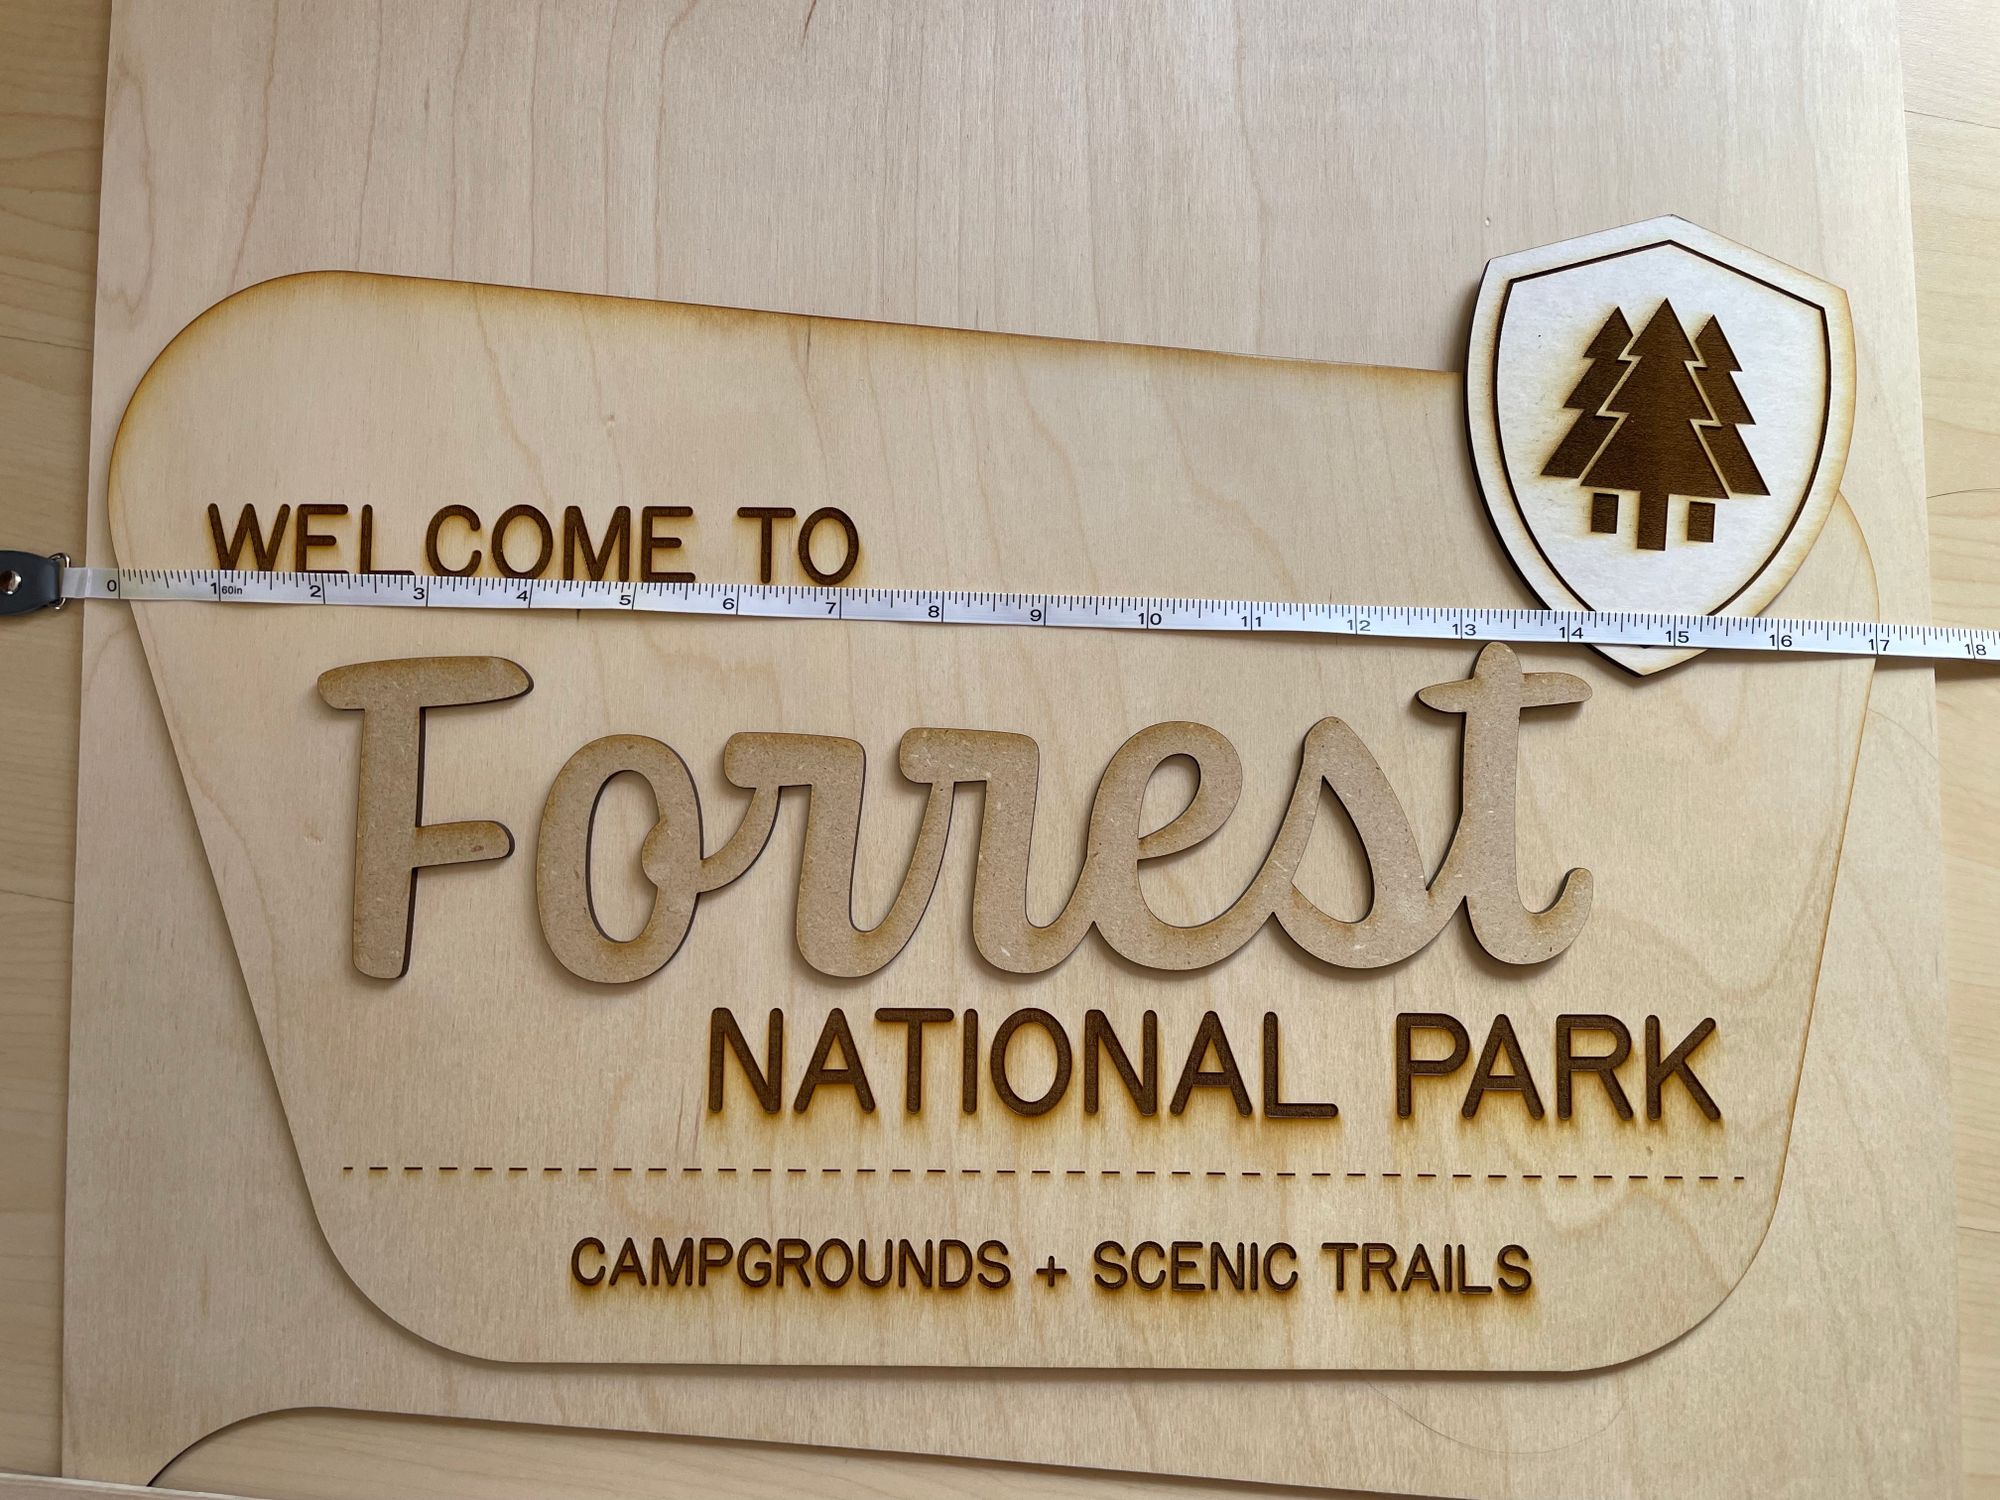
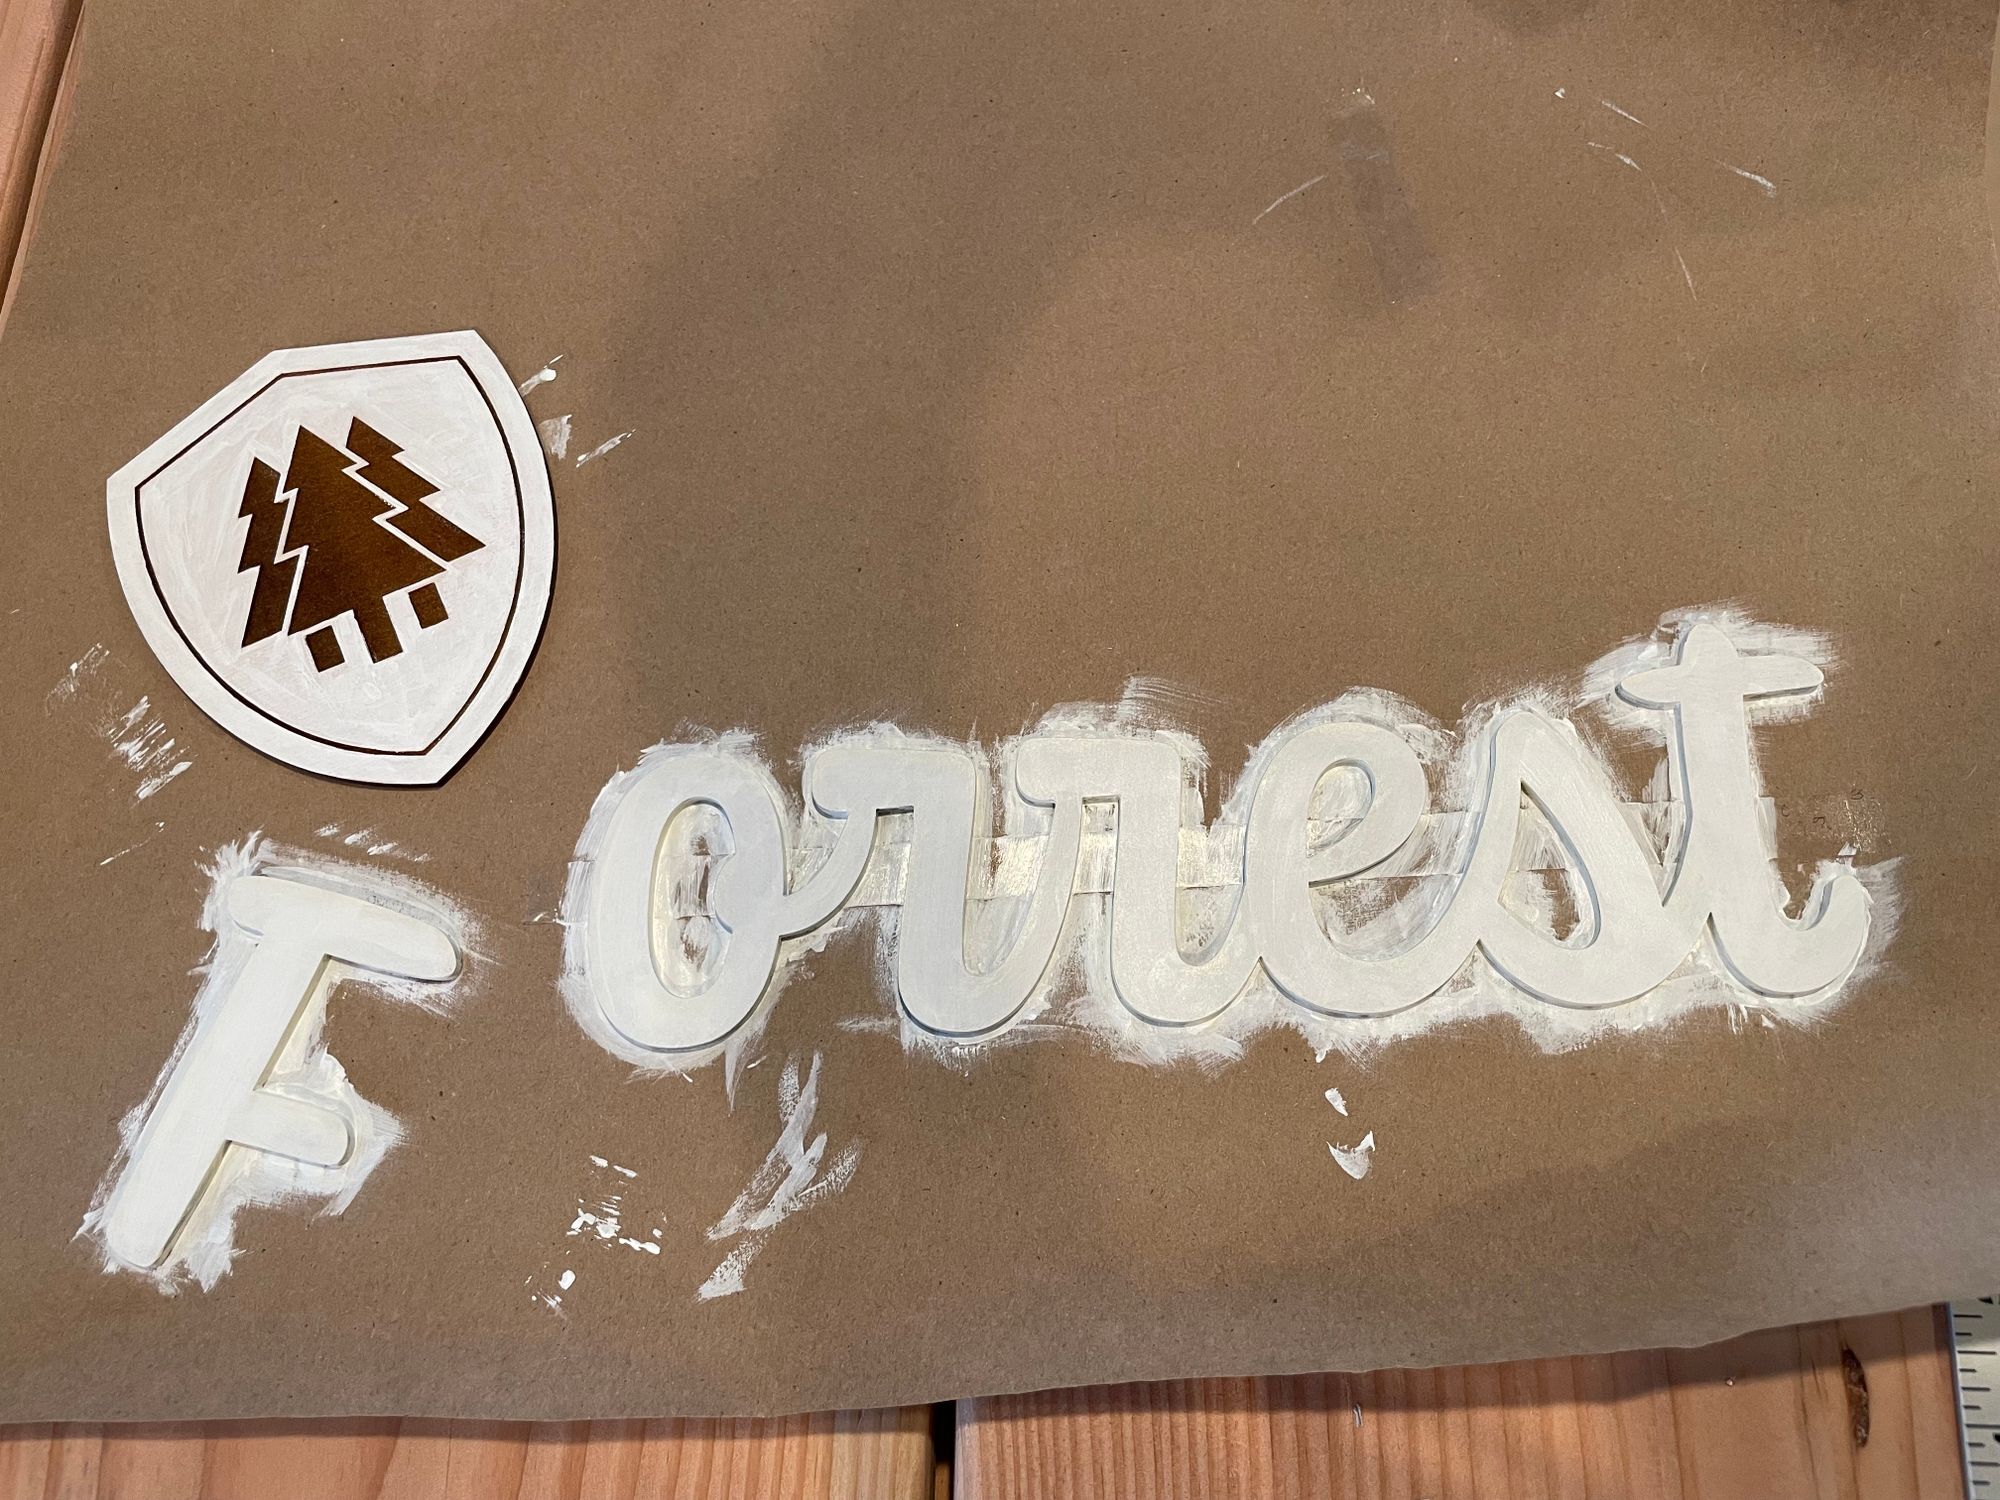
I designed this sign in Adobe Illustrator. The "Forrest" letters are lasercut as solid cutouts to make them stand out, together with the little badge tree logo. These are painted with white acrylic paint, then I stained the rest of the sign with the dark wood stain I dug out of the back of the crafts cabinet.
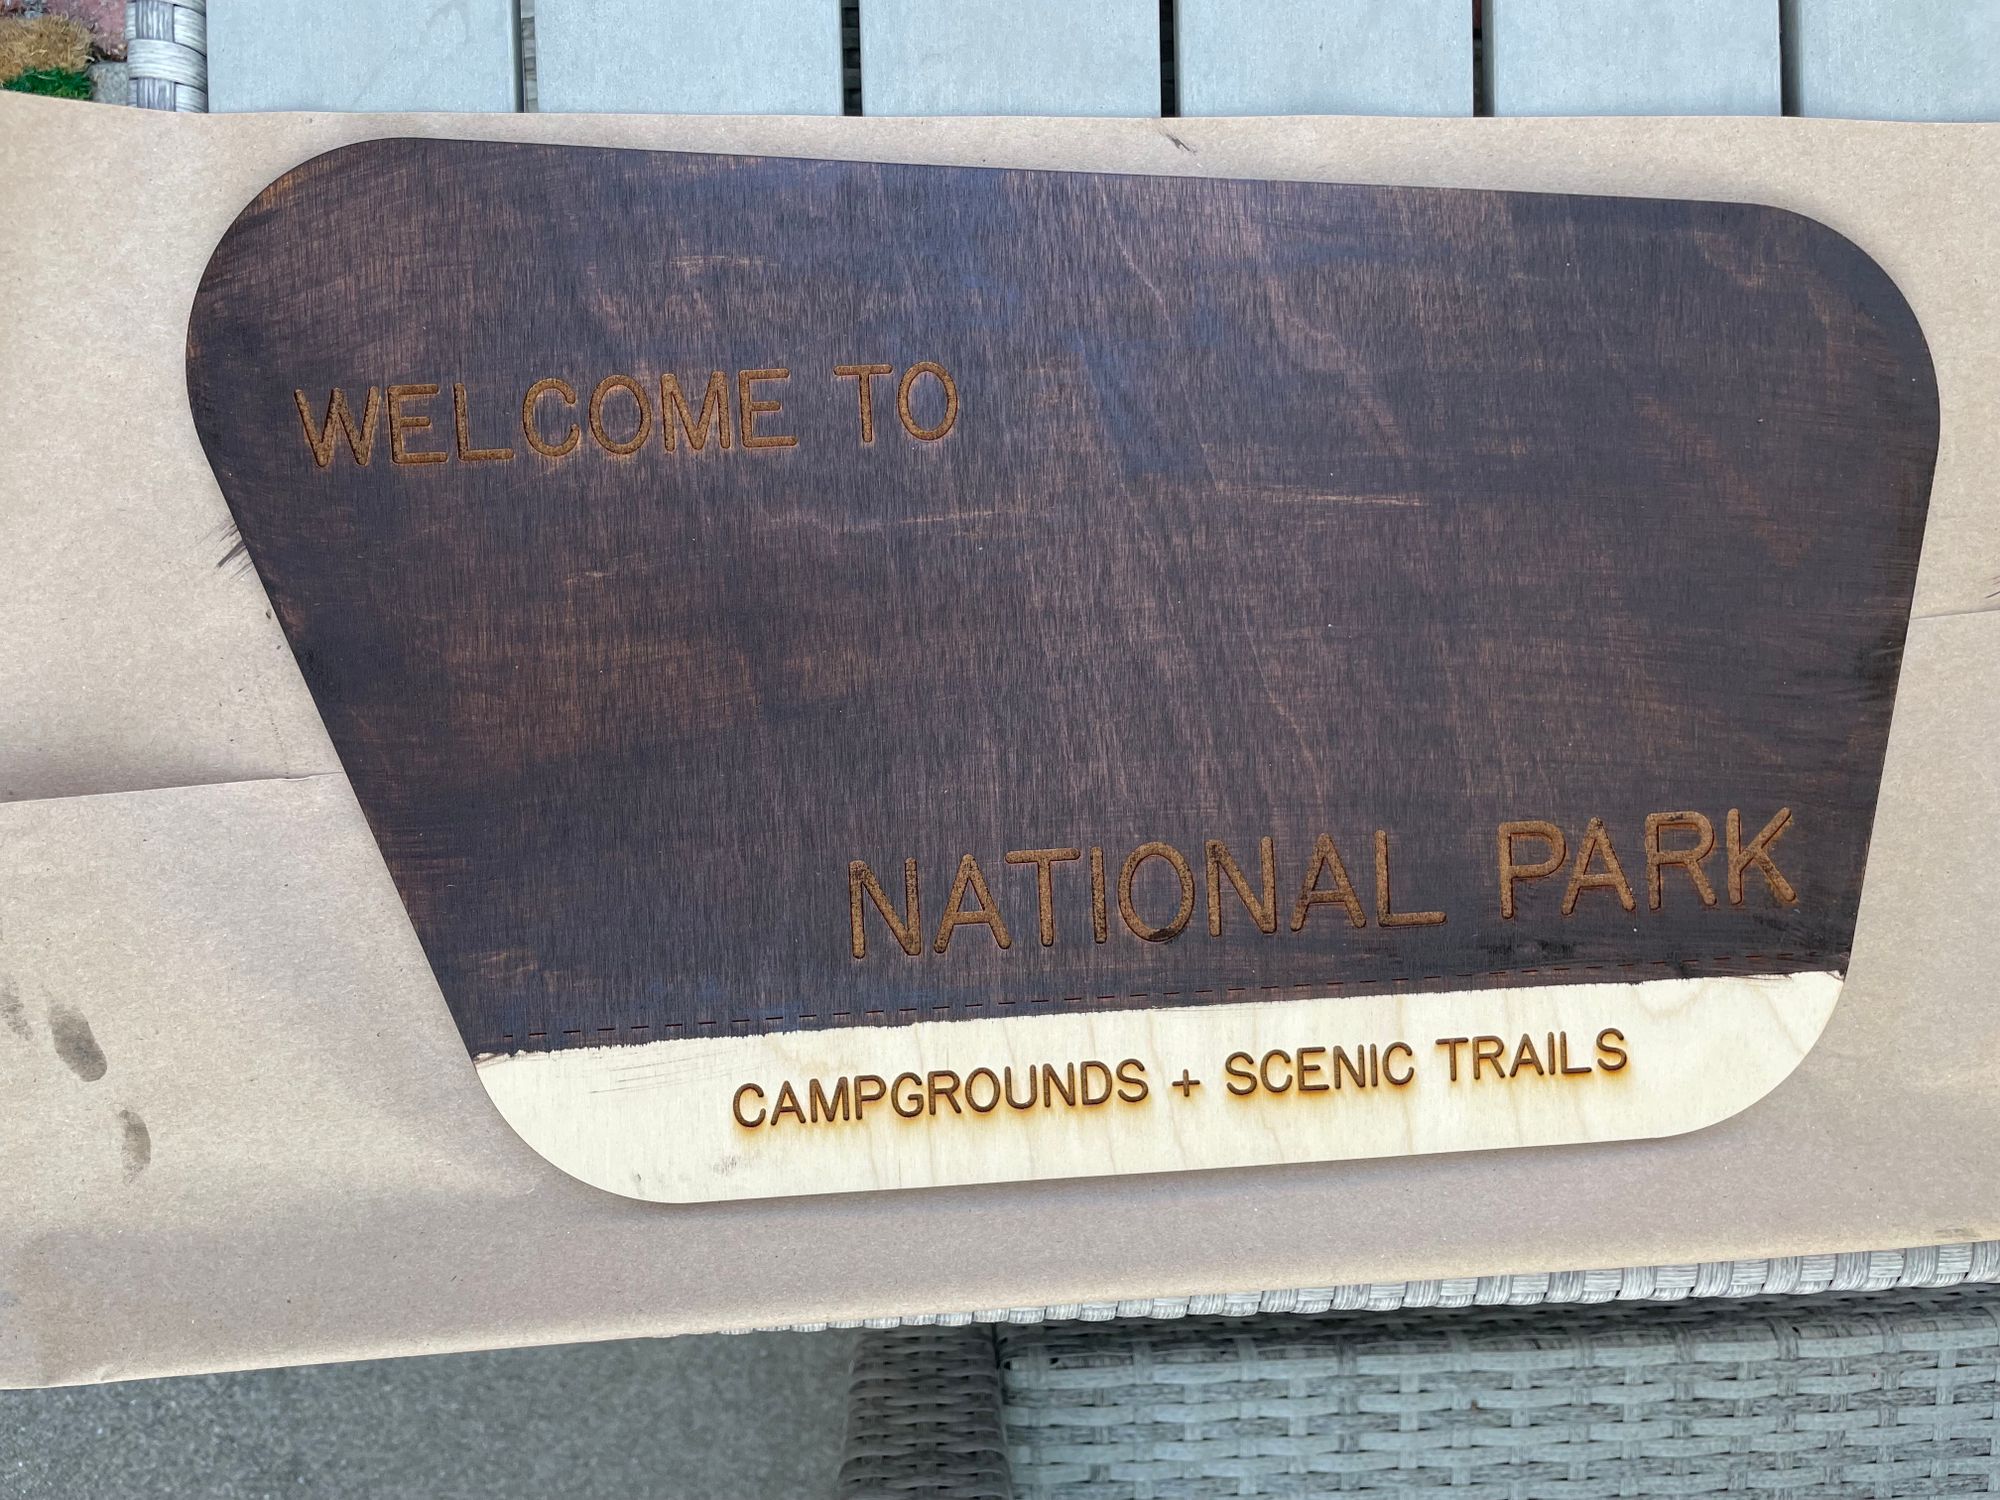
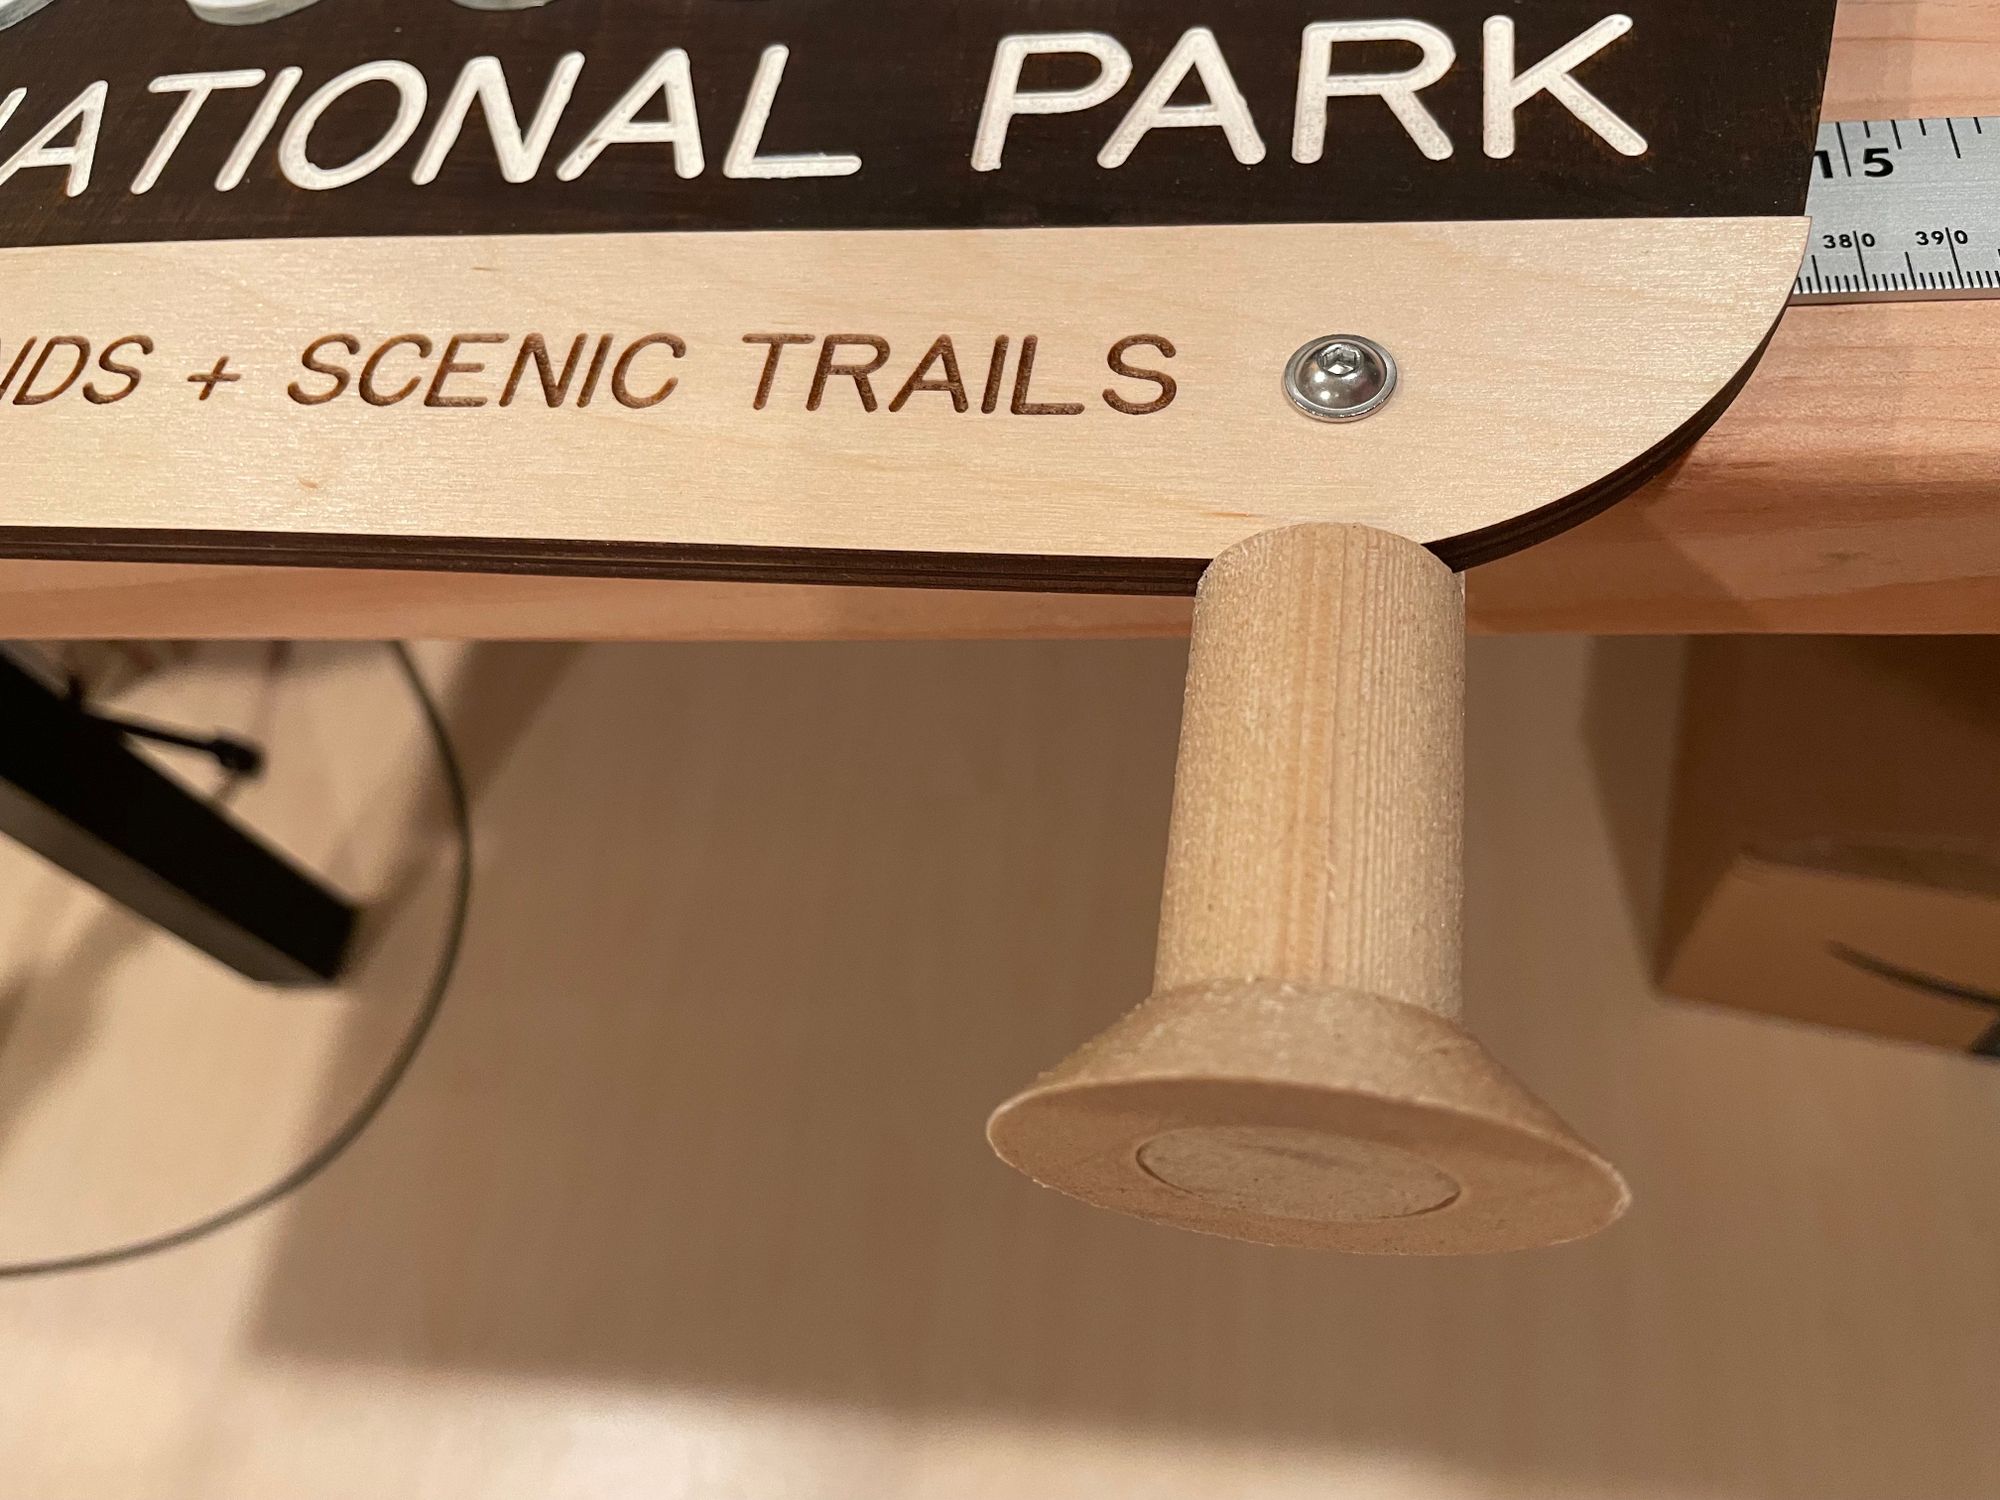
I was supposed to avoid staining the "camgrounds + scenic trails" bottom part, but I messed up, so I just cut and engraved that bottom piece and stuck it in front. Happily, this actually ended up giving the entire thing more depth!
The typeface for the engraved letters is conveniently called "National Park", and it is free to use because according to their website: Our National Parks belong to the people, so this typeface should too. Lovely!
Check out the video of how I painted the engraved letters with some water-diluted white acrylic paint, it's quite satisfying:
The 3D printed legs
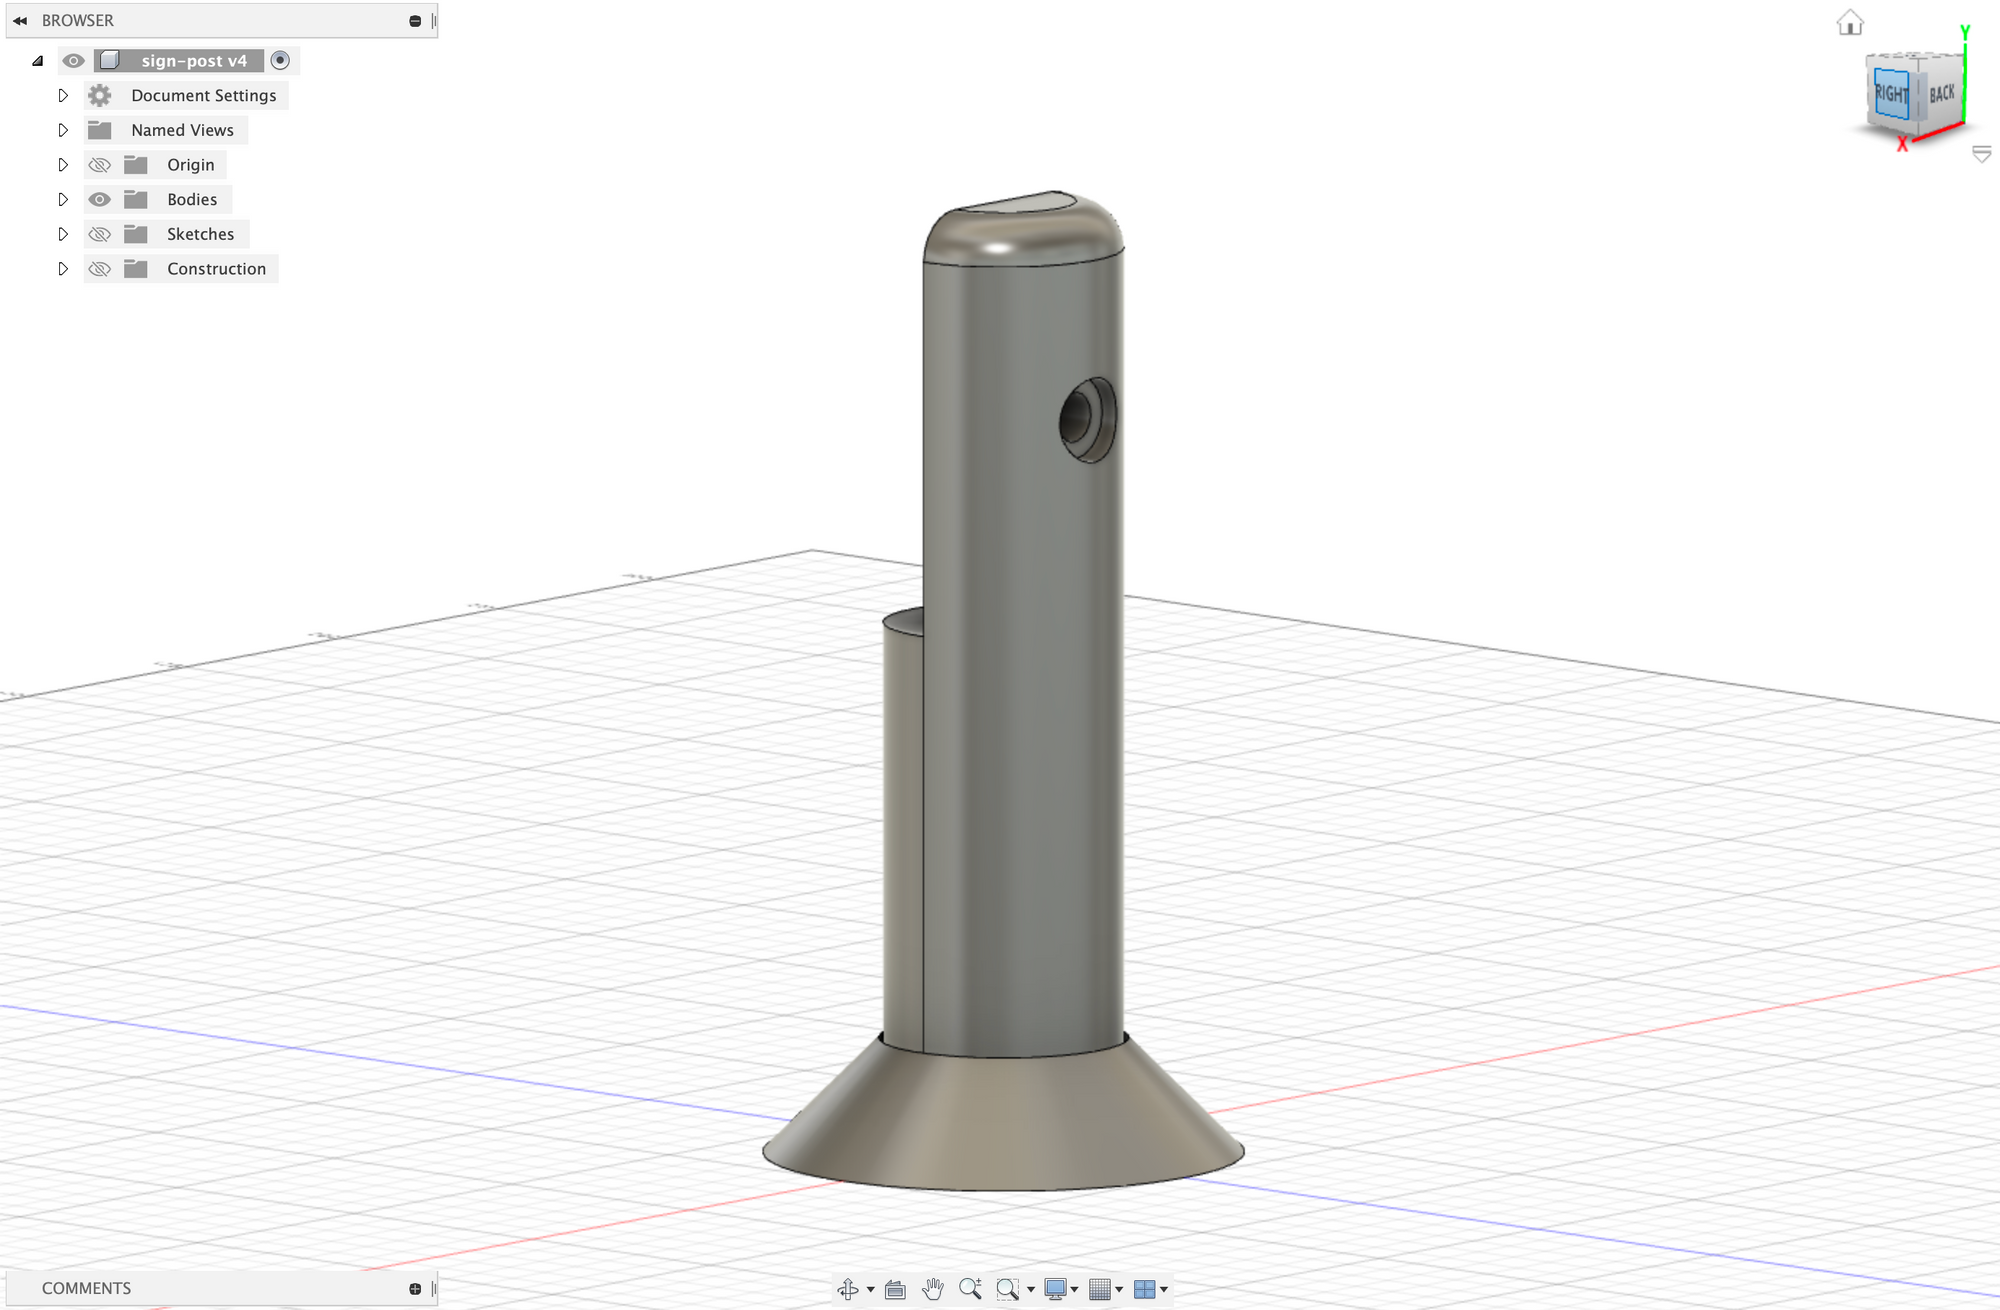
Now, I also had some long wooden dowels, and if I was a more experienced woodworker, I could have carved legs out of that wood. But, as it is, my Fusion 360 skills are better than my woodworking skills, so I got to work designing a simple post that could be printed twice, out of the ColorFabb Woodfill filament that I've always wanted to use. Win-win!
I split the model such that the two lengthwise halves of the post can be printed horizontally and then glued together – this print orientation gave the post enough structural strength. The assembled post just slips right into conical base. Finally, I drilled holes and used a couple of M5 screws and M5 locknuts to secure these legs to the sign. Voila!
Make your own!
If you'd like to customize this sign and make it your own, check out this Printables page for the 3d print files and the lasercut vectors. I'd love to see what you make, tweet at me or tag me on insta if you do! Also, subscribe below if you haven't yet 😄!