

I just got myself a shiny new Glowforge laser cutter, and seized the very first excuse I could take to make a gift: My boyfriend's mom's birthday card! I only had a few hours to make it – I didn't think about it until the night before haha 😅. Let's take a look at how I made it.

Special thanks to Glowforge for featuring this make on their Instagram feed! ✨ And thank you so much if you saw this project on there and found this project interesting! See the lights animate in action:
Step 1: Lasercut!
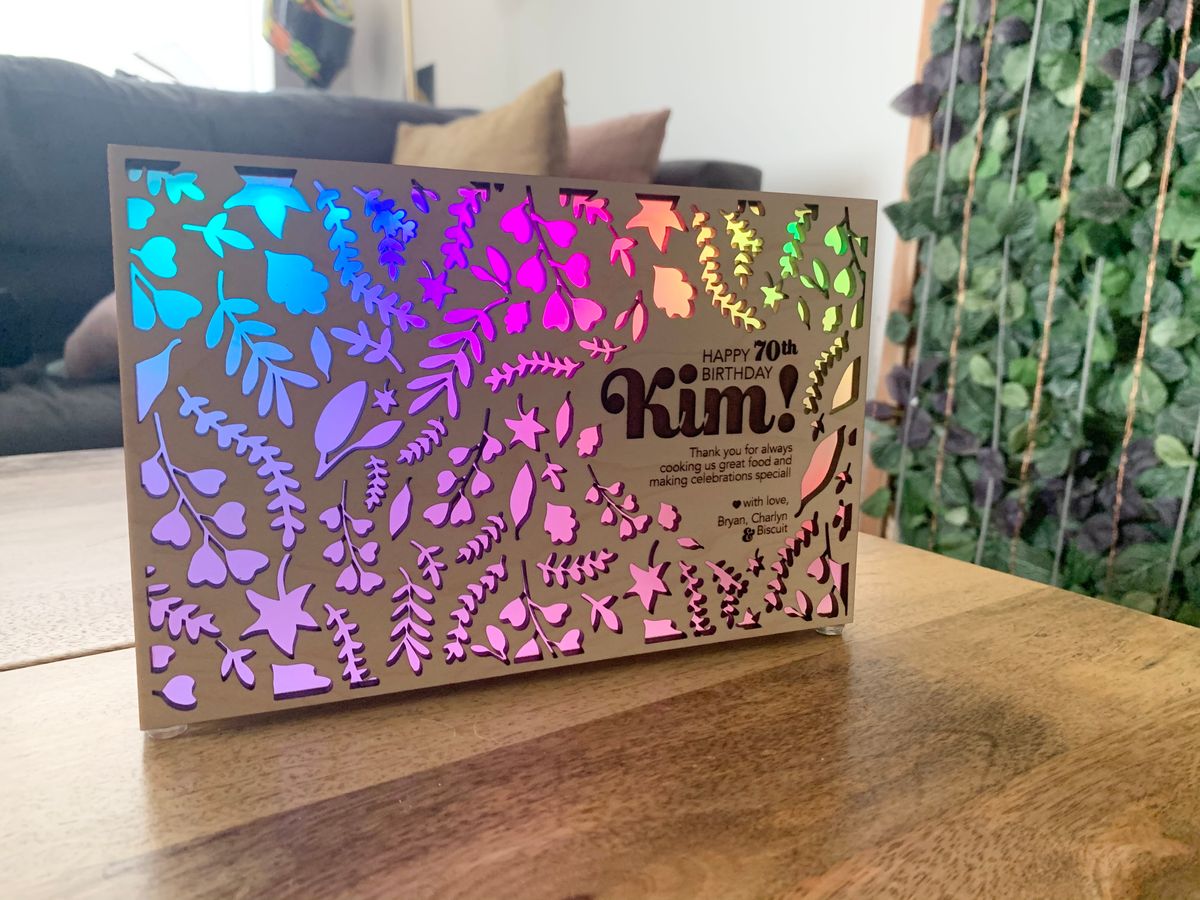
First, I created a vector design using Affinity Designer, and made sure it featured the birthday girl's name prominently. All the shapes cut nicely on the Glowforge Proofgrade Maple Wood sheet.
I've been enjoying my Glowforge so much, it was a big decision, and I'm really happy about it! 💖 I feel like an entire world of possibilities have opened up, and I'm just getting started. 💪🏼
I've used other lasers before, but somehow have only used laser-safe MDF until now. Hardwood definitely cuts a lot better! 👏🏼
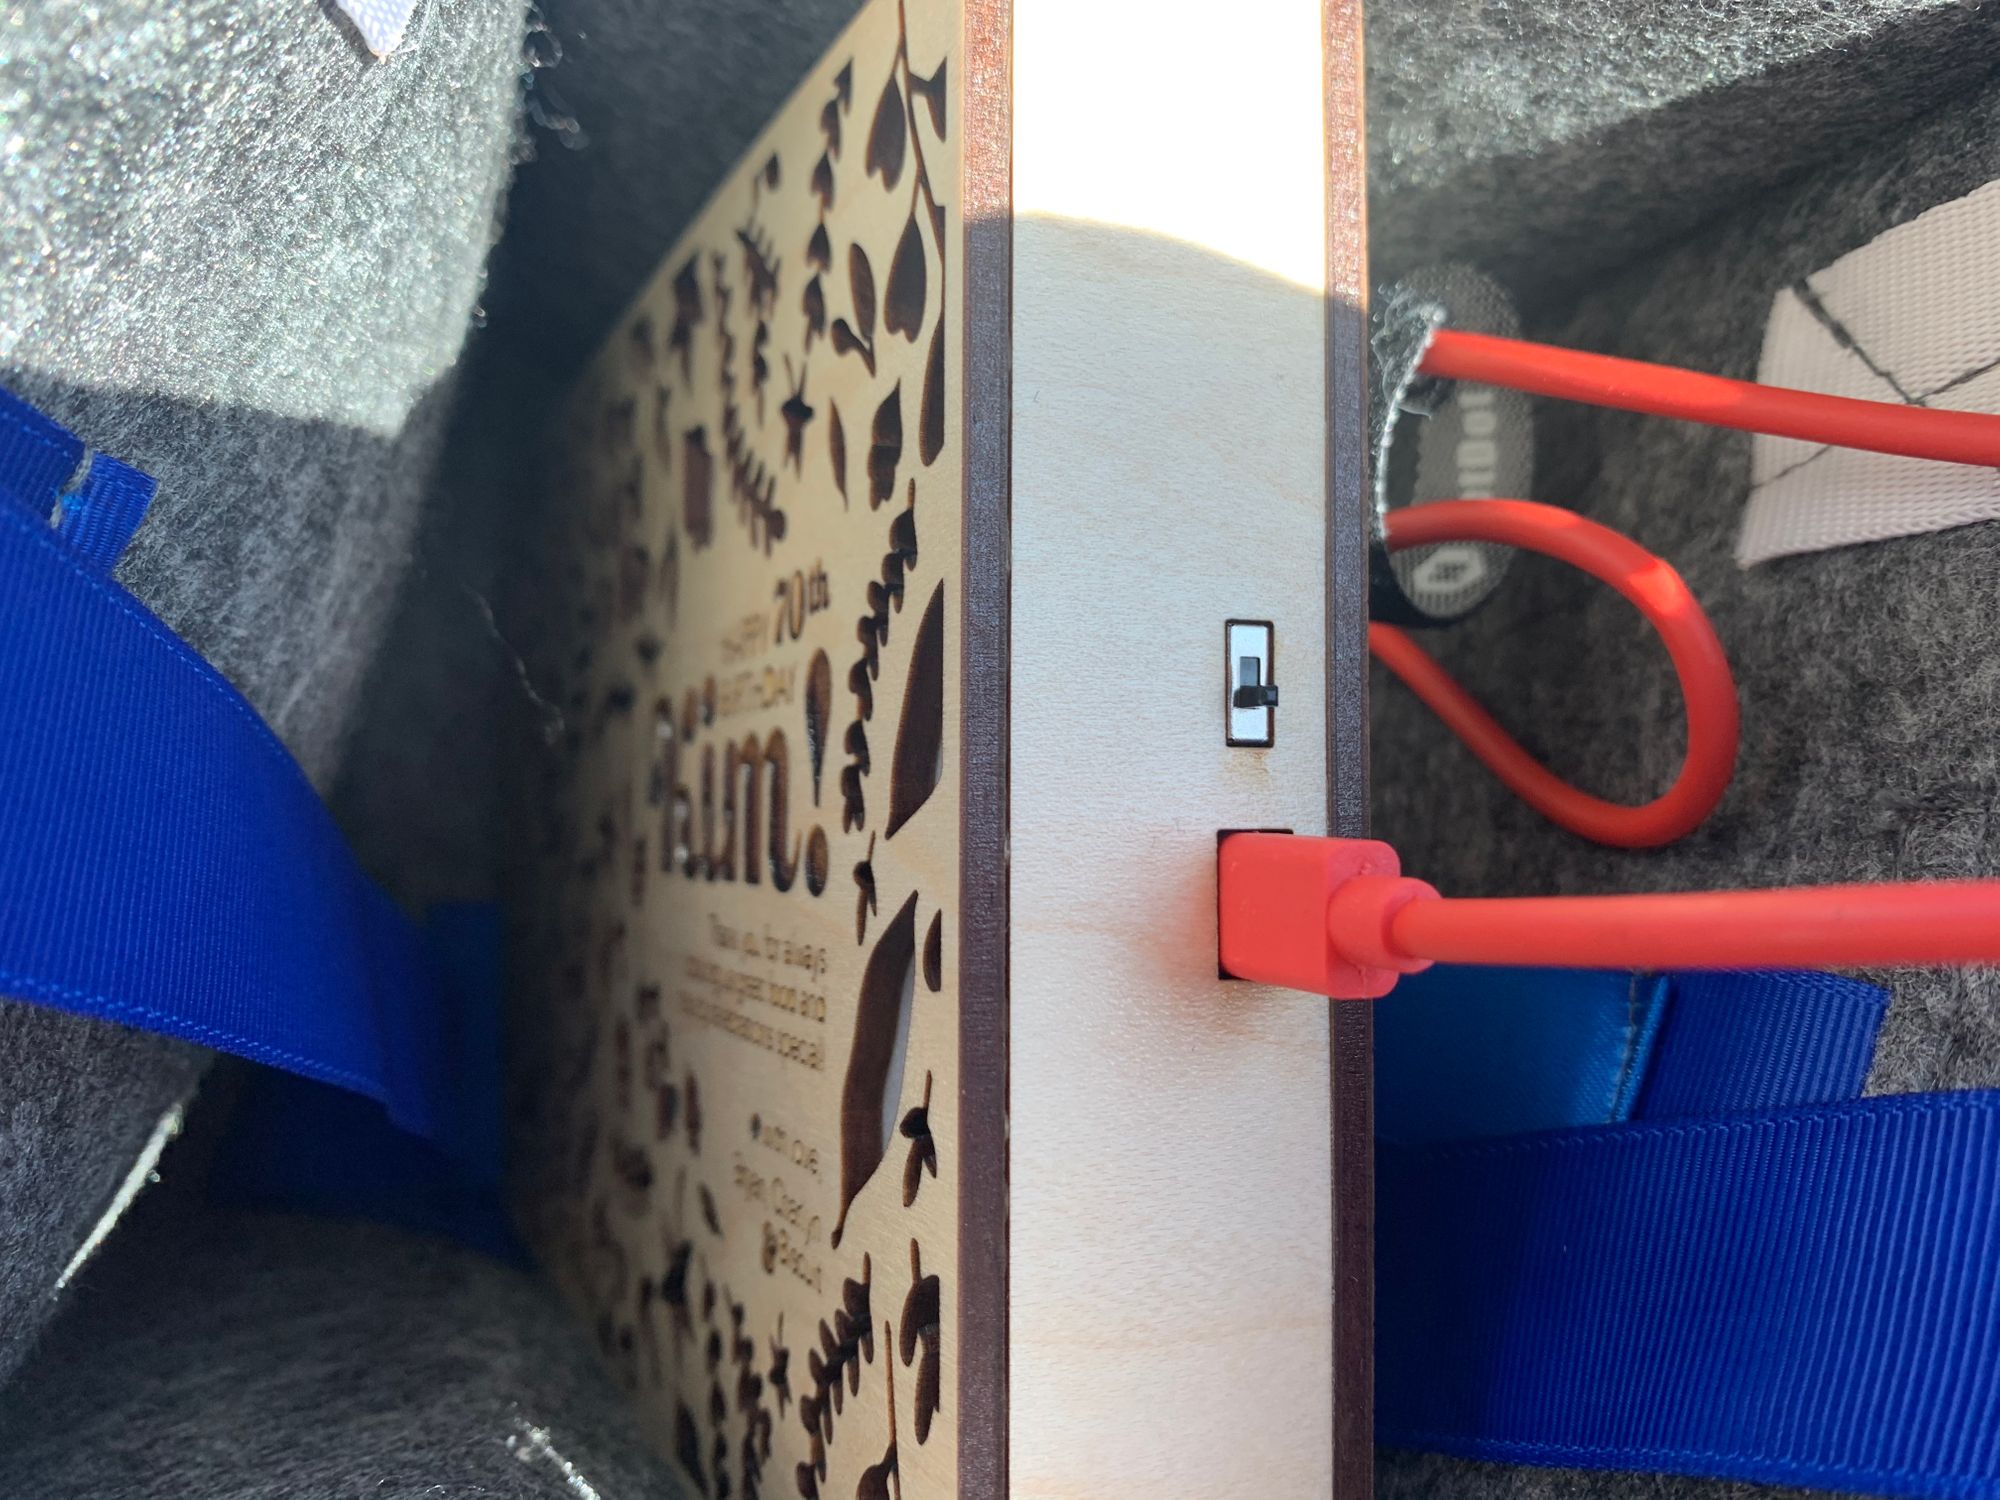
The cut video above includes the sides and the back of the box, which was about 1" in depth. I also went through a few iterations on the side cutouts for the microUSB port and the power switch. This is how it ended up looking post assembly:
Step 2: Assemble the box and knoll
This was my first box cut on this laser, so I didn't think about finger joints. But I had to press on! You can kind of see the rushed little side holes there. To assemble the box, I used wood glue, some clamps, and many silent wishes that it would turn out ok 🙏🏼
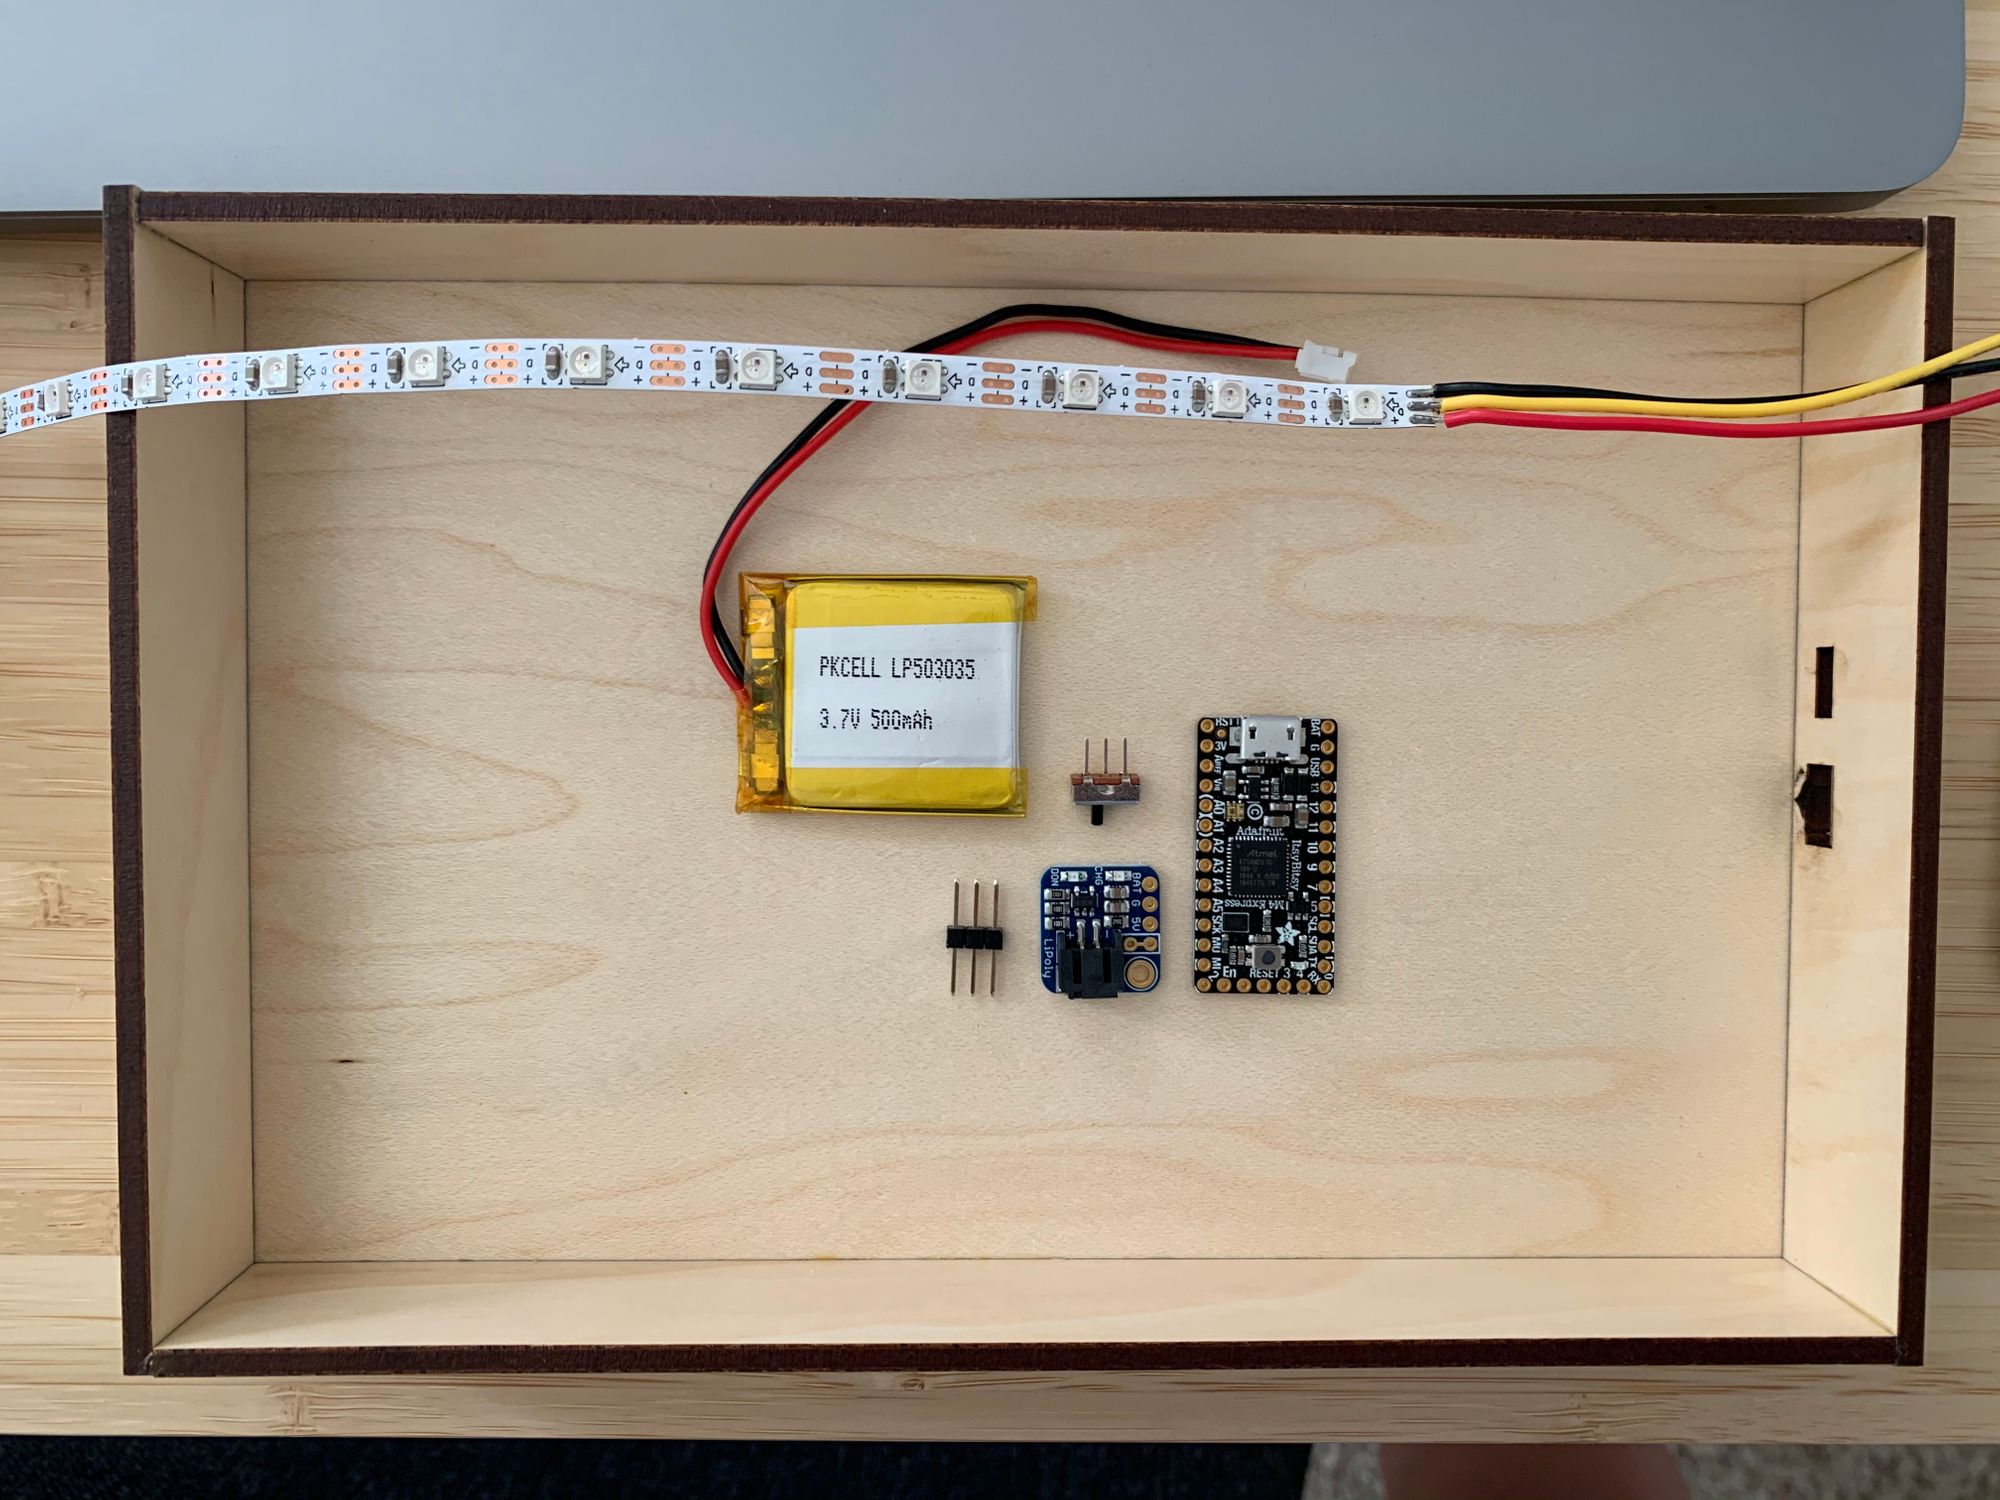
Next up, I gathered the parts for a circuit that I knew would be fast and simple to build: Neopixels with an ItsyBitsy M4 Express!
Step 3: Assemble the circuit
Here are the parts I used for this circuit:
- Adafruit ItsyBitsy M4 Express
- LiPoly Backpack (allows the circuit to be run off a battery and be rechargeable!)
- Neopixels strip
- LiPo Battery
- Switch and wires
- Double sided tape and hot glue
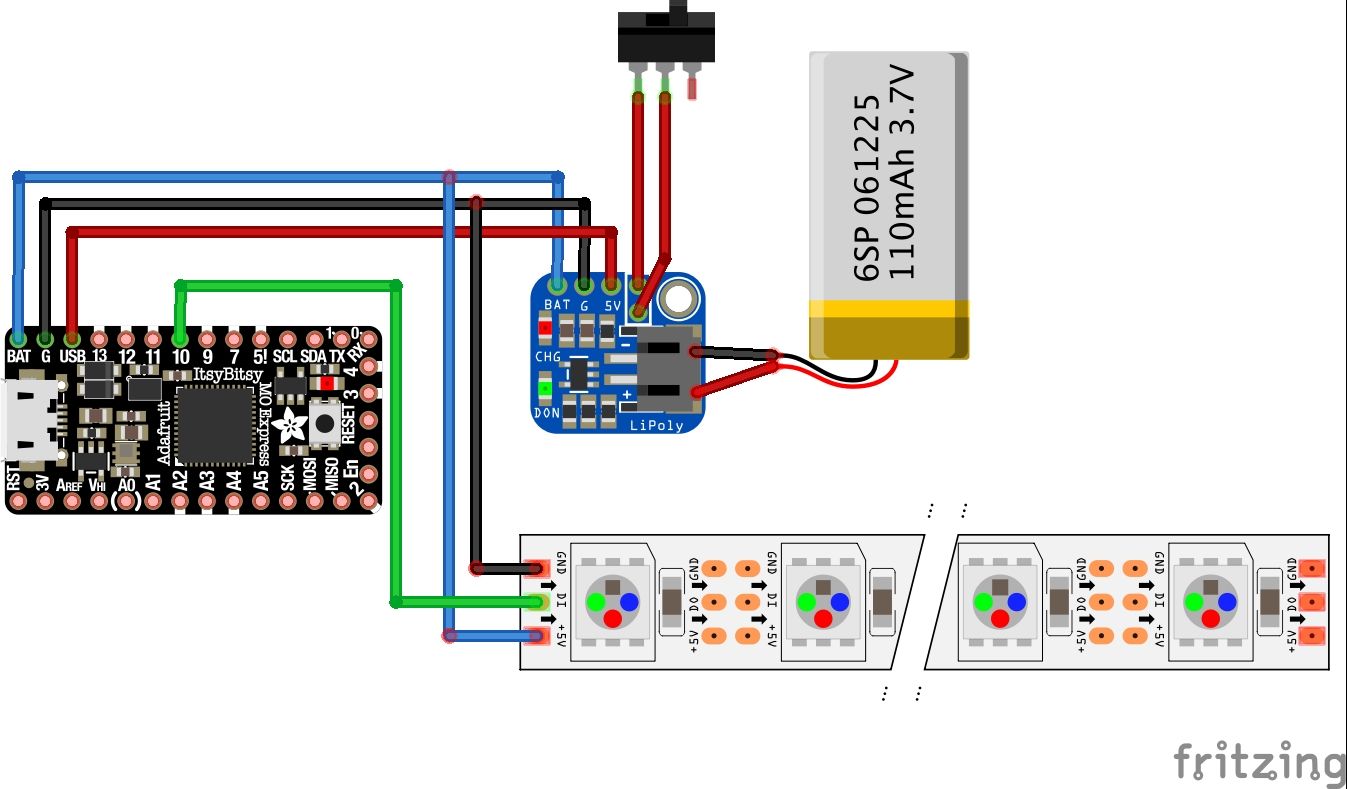
The circuit diagram above describes how the circuit was put together, but here's a handy dandy table too!
| Neopixels | ItsyBitsy M4 | LiPoly Backpack |
|---|---|---|
| GND | GND | GND |
| DIN | D10 | - |
| 5V | BAT | BAT |
- | USB | 5V |
I soldered the LiPoly Backpack on top of the ItsyBitsy M4 Express, and then soldered the Neopixel connections accordingly.
Then, I cut the trace on the power pinouts of the LiPoly Backpack and soldered a switch. More details about that in the Adafruit learn guide.
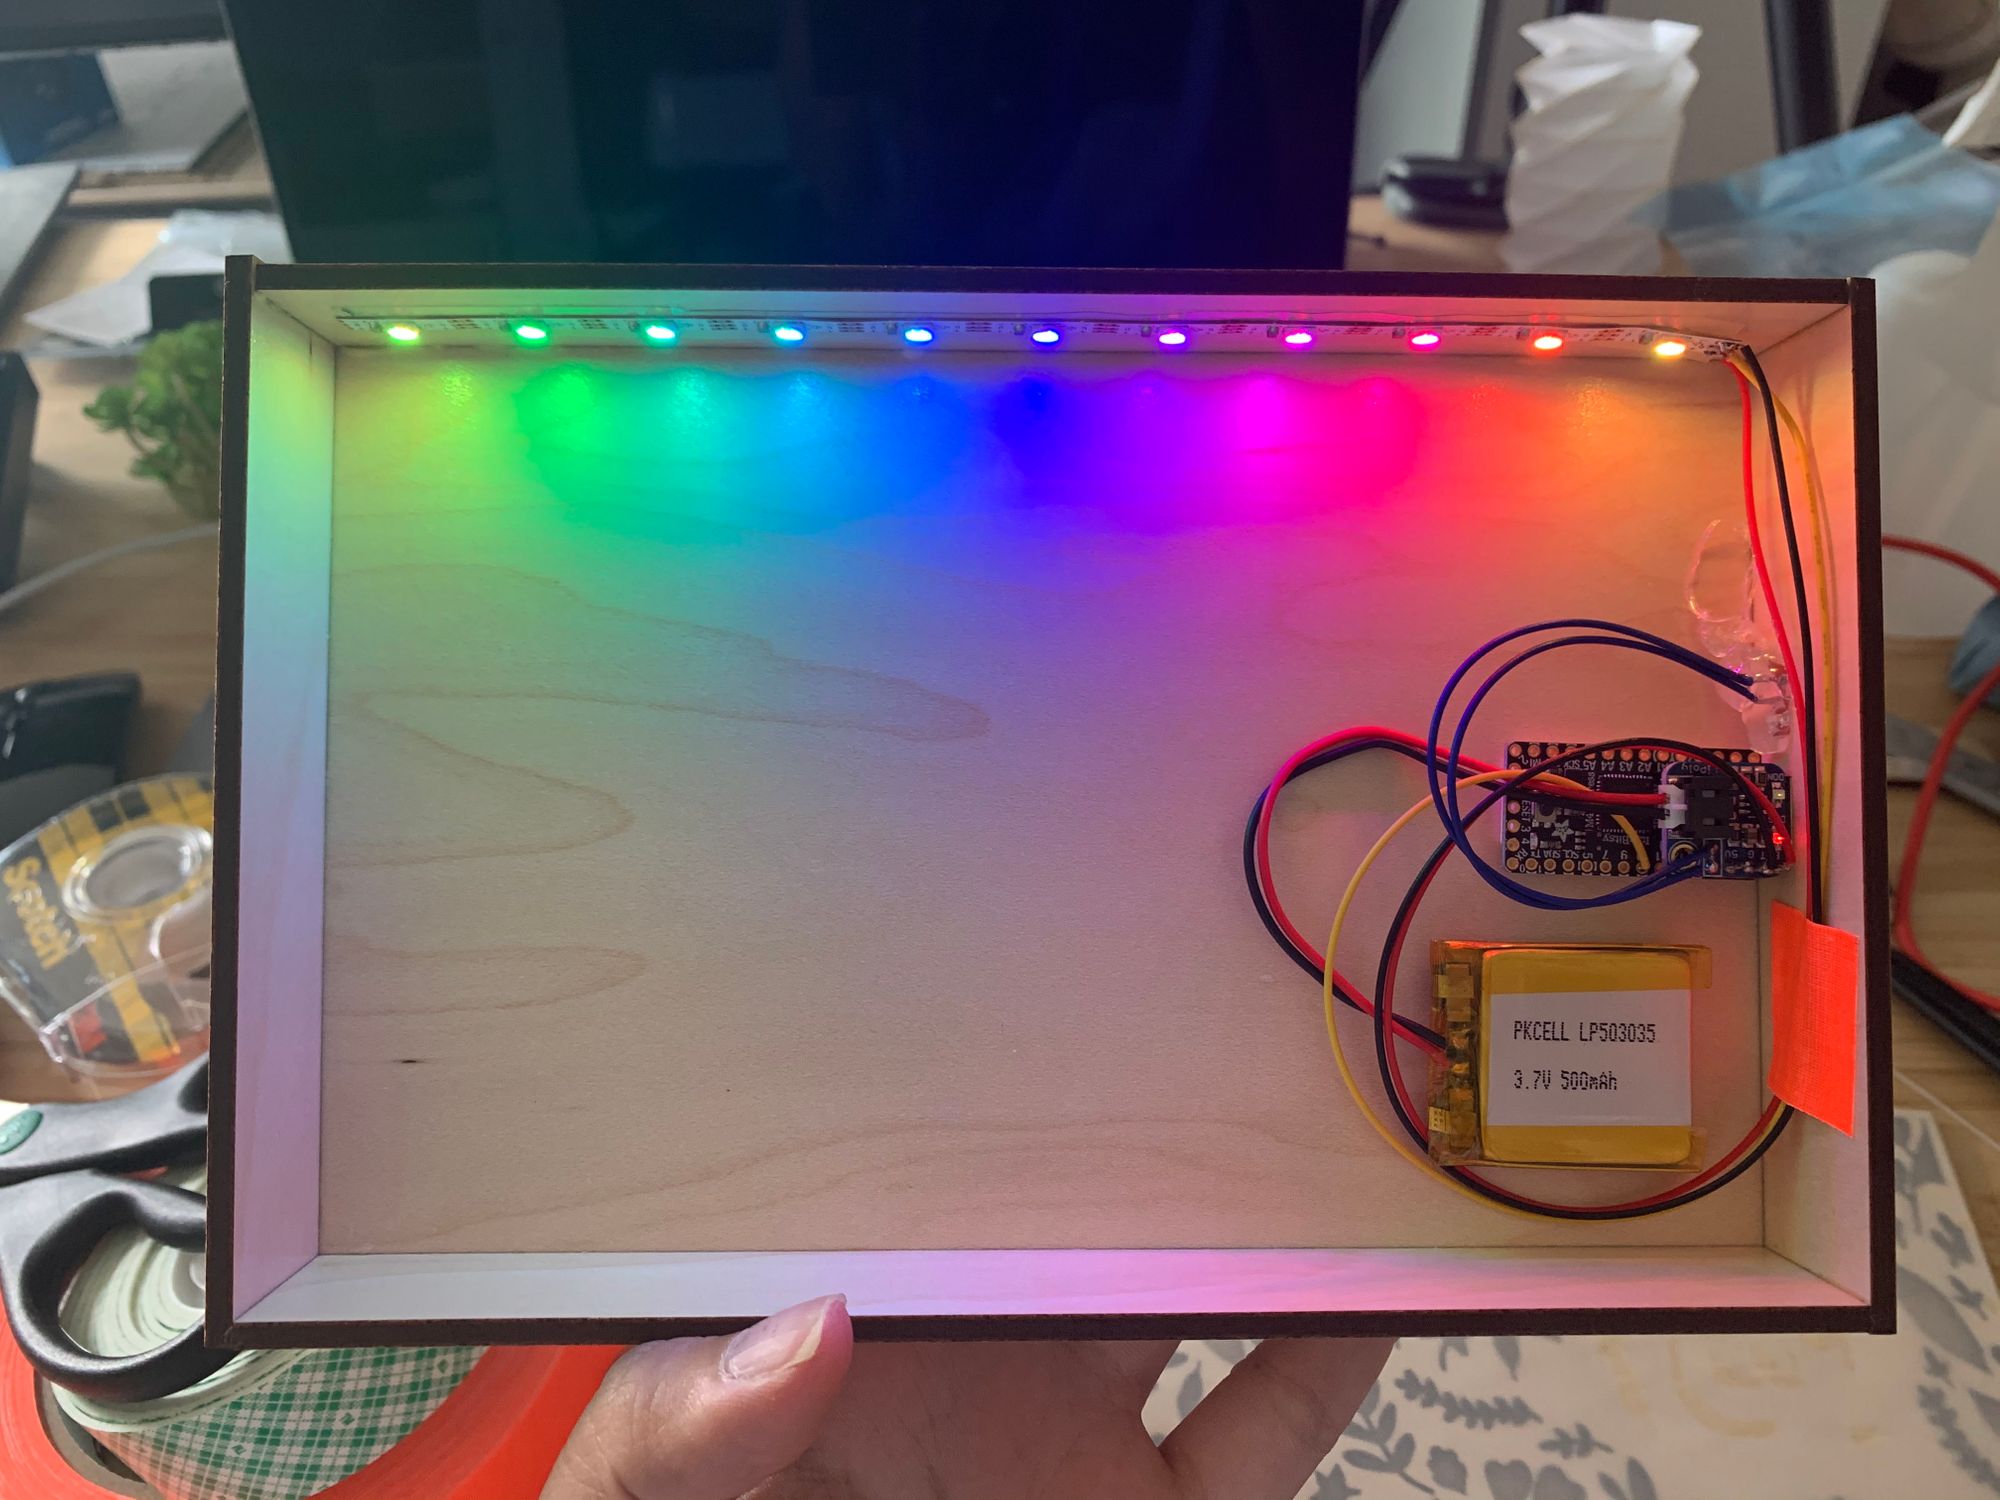
I used some double sided tape to stick the Neopixels at the top of the box, some hot glue to secure the switch to the side of the box so that it wont get pushed in, and lined up the microUSB port of the ItsyBitsy M4 so that it's still accessible even after I glue the box together.
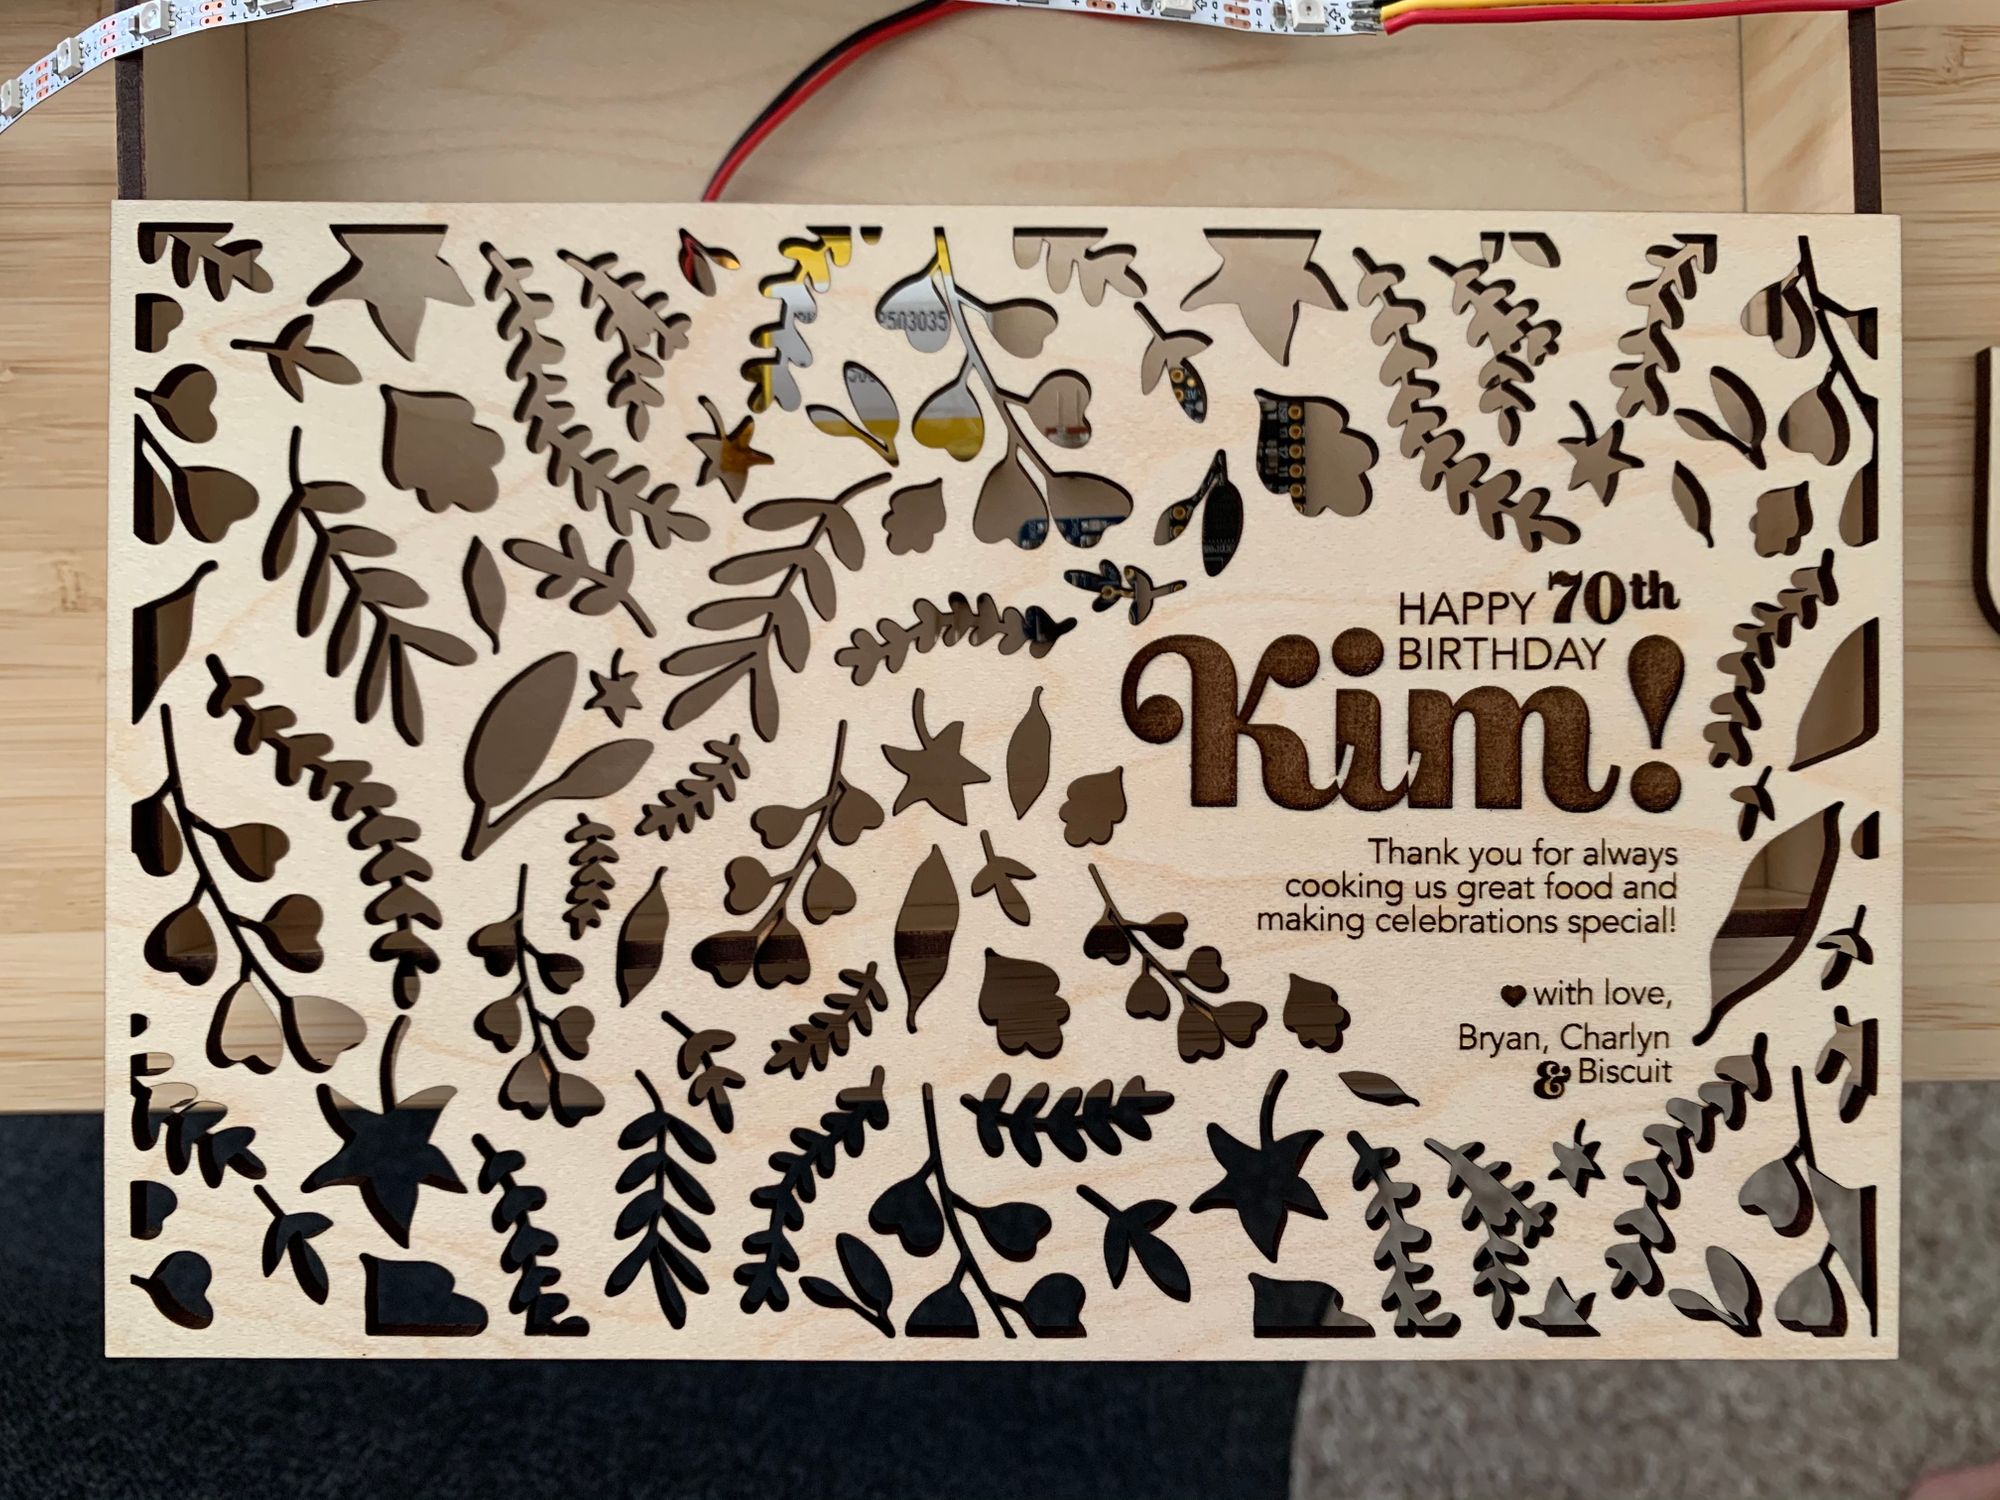
Before the cover was glued on top, I glued some translucent vellum paper behind it to diffuse the rainbow appropriately 🌈.
Step 4: Use the rainbow code!
I needed something quick and easy, so I used the code from Adafruit's learn guide for CircuitPython Essentials: Neopixels and modified it ever so slightly. This code is absolutely my favorite bit of rainbow goodness from Adafruit.
Here's a very short summary of how this code is loaded onto the ItsyBitsy M4 Express board:
- Connect the ItsyBitsy M4 to your computer using a USB data cable.
- Setup the board to use CircuitPython
- If you're just getting started, download Mu Editor to make it even easier to edit files on your board. Otherwise, use any other text editor to edit the `code.py` file that should already be on the board
- Download the latest library bundle and copy over the
neopixel.mpyfile to the `lib` folder on your board - Copy and paste the code in CircuitPython Essentials: Neopixels code and save
If all goes well, your Neopixel strip should be screaming rainbows! 🌈✨
Step 5: Enjoy ✨
Of course, the birthday package wouldn't be complete without a lovely bouquet of flowers! 💐 I'm happy to report that she enjoyed it very much.
Thanks for reading this post! I hope it inspires you to make your own version! Tag me @chardane on Insta and Twitter if you do, I'd love to cheer you on!