
Preview
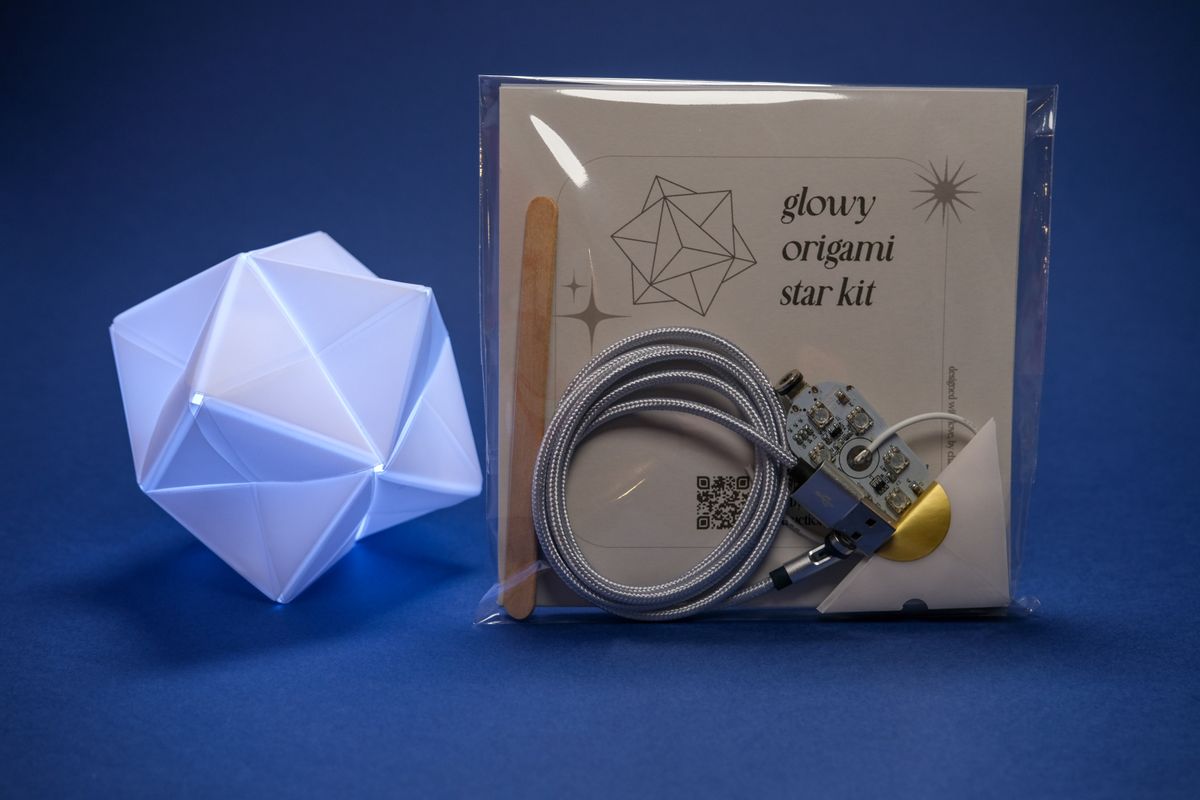
This is a relaxing, almost meditative project with a rewarding result! Take a peek at what we'll be building here:
Materials
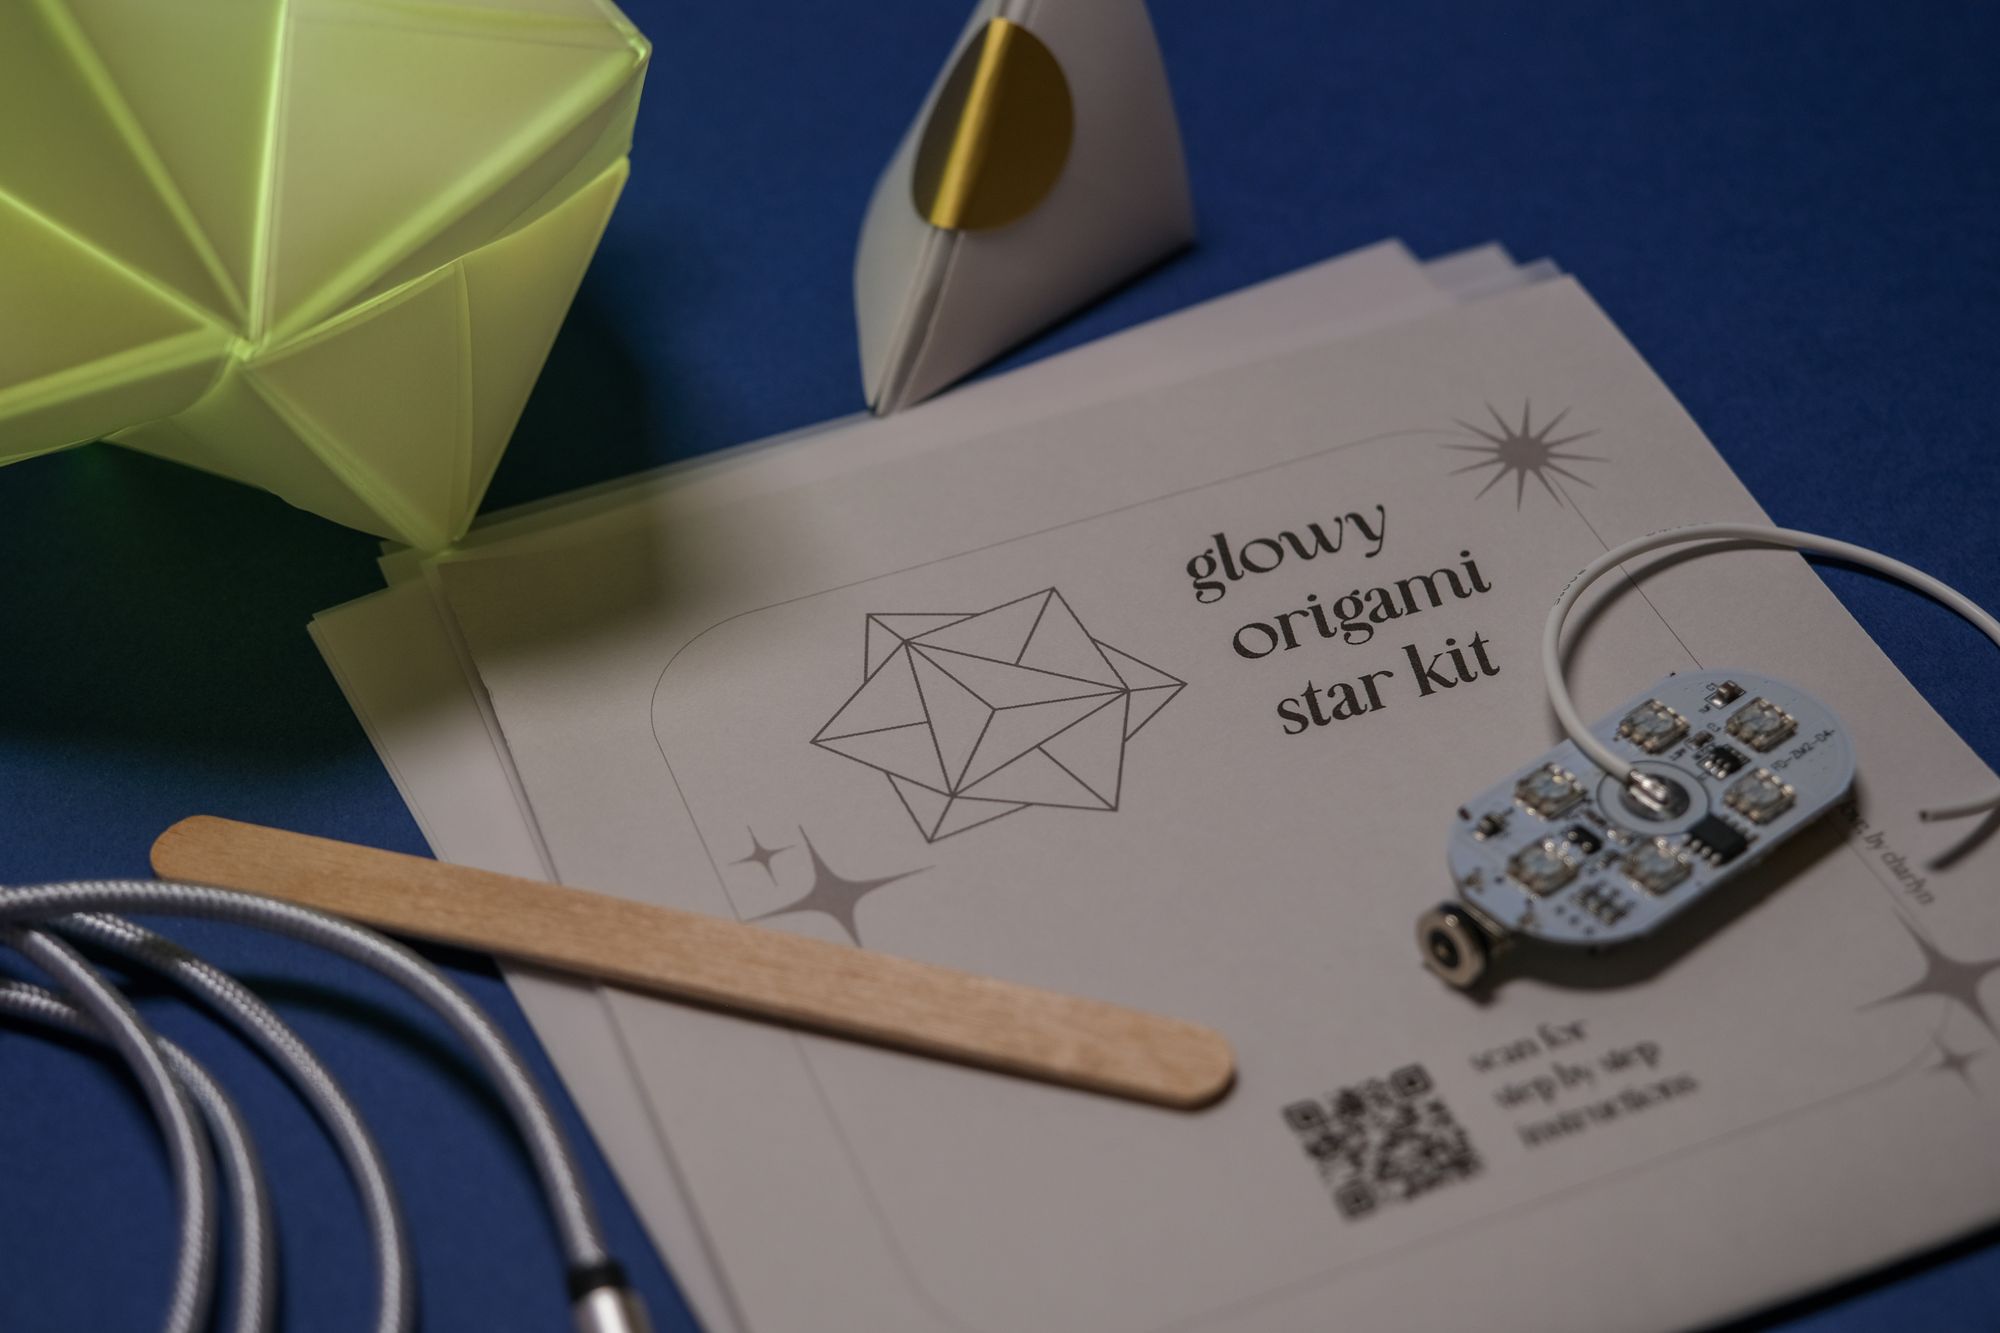
- 12 squares of vellum paper (5.5" x 5.5")
- rechargeable touch-controlled LED board
- magnetic charging cable (with tips)
- (optional) 1 popsicle stick
1: Fold twelve sonobe modules
Follow this video tutorial for folding a sonobe origami module.
I recommend always picking the LEFT corner (the one I show in the video). After folding one, we'll need to fold 11 more, for a total of 12. It's best to do each step 11 times each, instead of doing all the steps 11 times.
2: Create three pyramids
After we fold all modules, we can assemble them together. We'll build a "pyramid" shape with 3 modules, and build a total of 3 pyramid shapes.
3: Partially assemble octahedron
Afterwards, we assemble these three pyramids into a partial octahedron.
4: Final assembly
Last step! Secure the LED board onto the special hole panel, and integrate into the partial octahedron to close up the shape.
If your LED board came with a wire sticking out, you can tuck it into one of the pockets.
Enjoy!
That's it! I hope you enjoyed making your glowagami star!
This LED board is rechargeable, so you can always open up the octahedron and recharge the battery. A short touch will turn the LED on, each successive touch will change the color (there's even a color-changing mode at the end, my favorite) and a long touch will turn it off. The board will remember what color it was when it was was last switched on, so you'll be able to pick your favorite mode and keep it there if you wish.