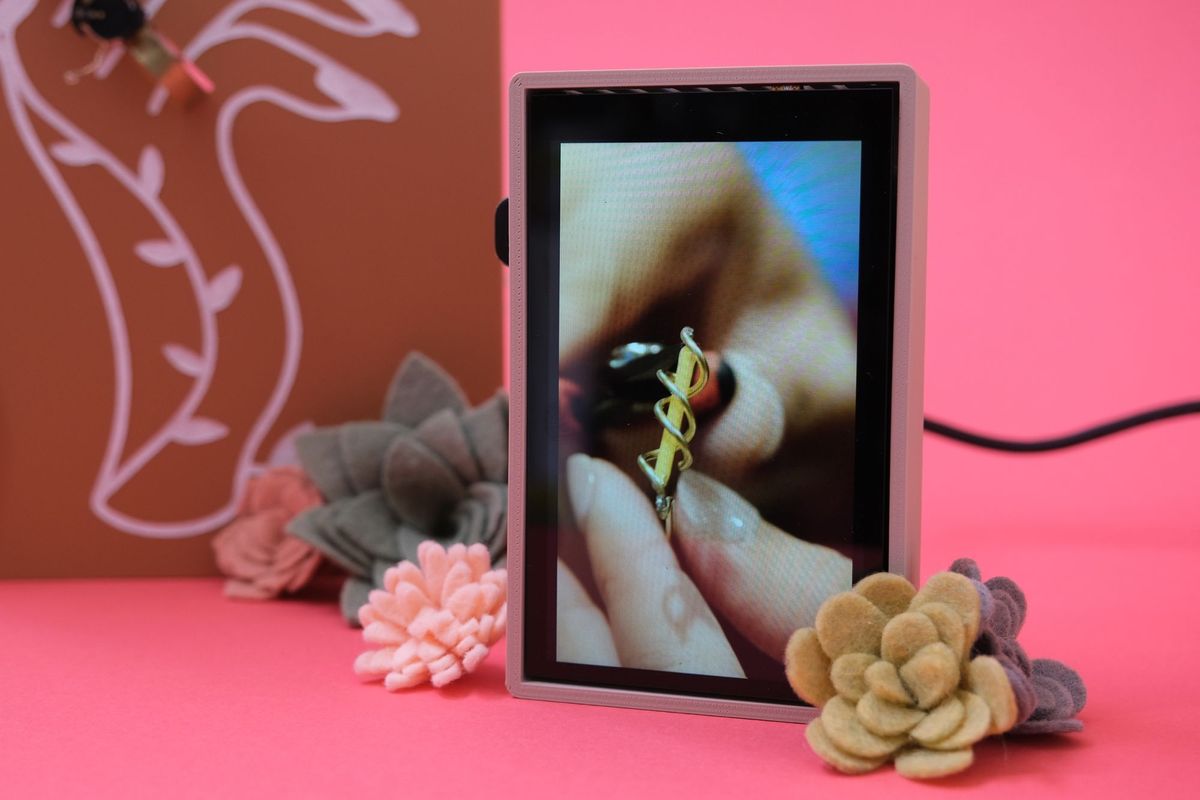
In this guide, I'll share the simplest steps to set up a video kiosk using a Raspberry Pi 5, a HyperPixel rectangular touch screen, and a 3D printed case. I thought about using off-the-shelf video players, but I decided to go with a Raspberry Pi so I could potentially repurpose it for some other project later. I'm writing this for you and for future Charlyn as well. 😄
Materials Needed
- HyperPixel4 rectangular touch screen - a beautiful hi-res screen!
- Raspberry Pi 5 - either 4GB or 8GB RAM will do fine
- 3D printed case for the Raspberry Pi 5 and HyperPixel screen
Steps
1. Install the Latest Raspberry Pi OS
To get started, use the Raspberry Pi Imager since it's the easiest way to install the OS. Download the Raspberry Pi Imager from the official Raspberry Pi website. Once installed, open the Imager, select "Choose OS," and pick the latest Raspberry Pi OS (Bookworm). Insert your microSD card, select it under "Choose Storage," and then click "Write."
If you need more details, refer to the official Raspberry Pi documentation for how to setup your Raspberry Pi
You'll either need to setup an SSH connection to continue, or attach an HDMI monitor and keyboard to your Pi to continue.
2. Set Up HyperPixel4
To configure your HyperPixel4 touch screen, you need to edit the /boot/firmware/config.txt file. Open this file in a text editor and add the following lines to the end:
[all]
dtoverlay=vc4-kms-dpi-hyperpixel4
dtparam=rotate=180
This configuration enables the HyperPixel display and sets it to rotate 180 degrees. Restart your Pi for the changes to take effect:
sudo rebootAfter restarting, you should see your Hyperpixel display the Raspberry Pi graphical desktop.
3. Optional: Change Screen Orientation
If you want to change the screen orientation, you can do so through the Raspberry Pi's graphical interface. Navigate to the Pi menu, select "Screen Configuration," right-click on the DPI screen, and choose "Orientation" followed by "Inverted."
4. Create a Video Kiosk Service
To set up your Raspberry Pi to play a list of videos in a loop, you need to create a new systemd service. This service will use VLC to play the videos.
Create a new file called /etc/systemd/system/videokiosk.service and add the following contents:
[Unit]
Description=videokiosk

[Service]
User=casually-glowy
Environment="DISPLAY=:0"
ExecStart=/usr/bin/vlc -Rf --loop /home/casually-glowy/vids/app-demo.mov /home/casually-glowy/vids/cute-cube.mov /home/casually-glowy/vids/innards.mov /home/casually-glowy/vids/tiny-cube.mov
WorkingDirectory=/home/casually-glowy
Restart=always
RestartSec=30

[Install]
WantedBy=multi-user.target/etc/systemd/system/videokiosk.service- Replace
casually-glowywith your actual username and update the list of video file paths as needed.
5. Enable and start the service with the following commands:
sudo systemctl enable videokiosk.service
sudo systemctl start videokiosk.service
This service configuration tells the Raspberry Pi to start VLC in fullscreen mode and loop through the specified video files. If VLC crashes or stops, the service will automatically restart it after 30 seconds.
Conclusion
That's it! You now have the simplest video kiosk using a Raspberry Pi 5, a HyperPixel rectangular touch screen, and a custom 3D printed case. Your Raspberry Pi is now configured to play videos in a loop, making it an ideal setup for showing your video content in booths or conferences or art shows. This was a great upgrade for my exhibit. I used 4 of these displays at my Casually Glowy exhibit at Open Sauce 2024 and lots of folks seemed to like it, so I wanted to share how you can make one as well. Thanks for being here, and I hope you find this useful!


