
The following content was written as an accompaniment to a physical workshop that I taught in 2025, so some of it might not make sense outside of that context. Subscribe to this blog using the button above 👆🏽 if you're interested in a more polished version of this workshop content!
Kit Materials
Please double check that your kit has these!
- 1x knit looper - made with 3/8" wooden dowel rod + 3d printed looper
- 1x drawplate - 3D printed!
- 1x clasp (w/ 8mm hole magnets installed)
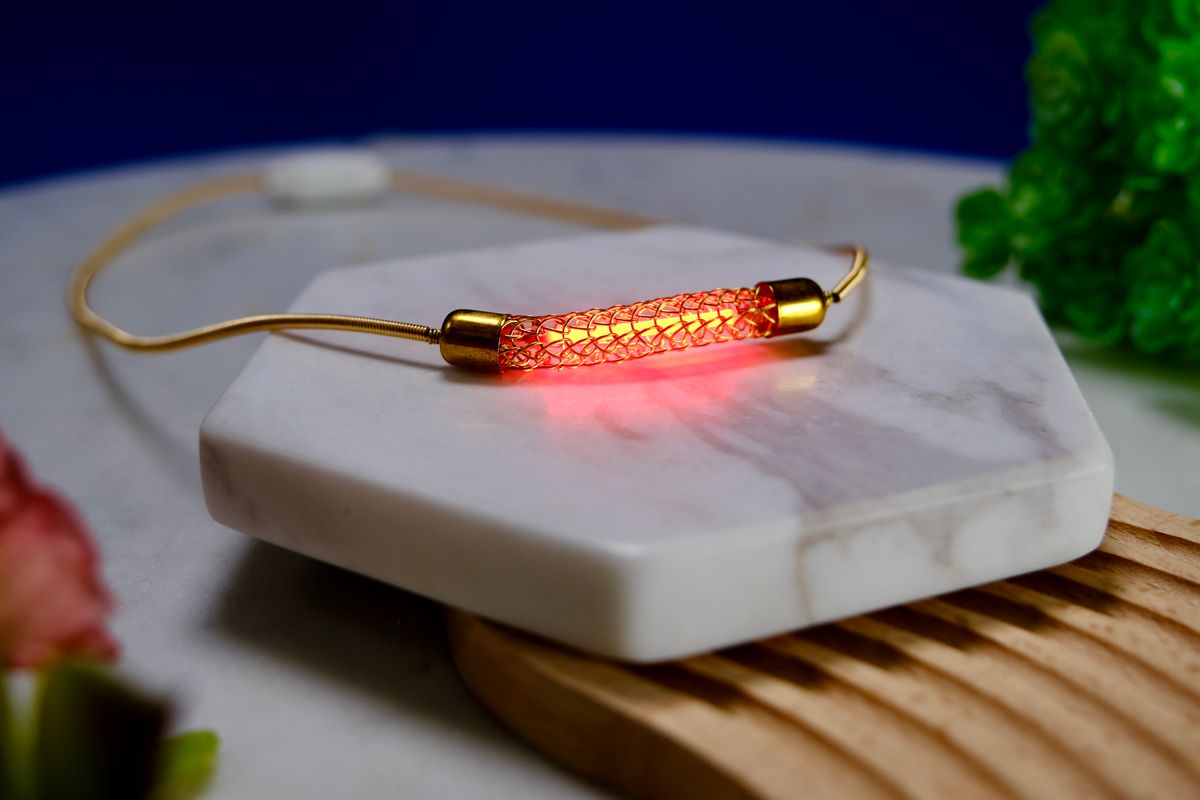
- 1x LED filament (w/ 30awg silicone wire)
- 1x m2x8 screw - from this set
- 1x m2.5x8 screw - from this set
- 3x screwdrivers
- 4x LR41 batteries - you only need 2, but the other 2 is extra for later ✨
- 1x awl
- 3x copper wire pieces - for pulling through drawplate (you'll want to use the same gauge as the wire you use to knit with)
Customized Parts
You got to choose your own colors during the workshop!
- 26 gauge copper wire - knitting wire! about an arm's length, to keep it manageable
- 7x8mm end caps - gold, silver, copper, black
- 4x3mm bead crimps - gold and silver
- French wire - sometimes called "gimp" wire, gold and silver
Video Reference
If you need to replay some instruction or if you want to skip ahead, this video will walk you through roughly the same content as the live workshop! Use the chapters in the video itself (down in the description) to skip to specific steps in the process.
How to test the LED filament
There's a part of the video above where I talk about testing to make sure that the LED filament lights up and to help center it within the knit piece. Let's talk more about how to do that in this video below:
Notes:
- The video below shows a really long piece of wire exposed, but I recommend that you only expose a smaller length, about 1 inch of wire. Use a wire stripper to expose the wire.
- You can actually use any 3v coin cell battery to do this test as well, if you have one!
3D printed parts
This workshop includes a couple of 3D printed parts that I lovingly designed. You can find all the relevant files in my Thangs page:
👉🏼👉🏼 https://than.gs/m/1510063 👈🏼👈🏼