

Recently, I came across @sehurlburt's wonderful crystals, and I figured I had to get one because of a question that I keep finding myself asking over and over again these days: "can I light that up?"
Ok I’m SO EXCITED about this crystal from @sehurlburt ! 🎉 I love when an object opens up a world of creative possibilities 😍 pic.twitter.com/fx8tvuq590
— ✨ charlyn ✨ (@chardane) January 11, 2020
This project ended up being such great practice for Fusion 360. I'm still learning, but I'm now feeling an inkling of confidence around modeling in 3D.
First idea
I was trying to figure out what exactly to do with this crystal, and my first instinct was to turn it into a necklace. I measured the width of the crystal and found that measurement can be directly used in Fusion 360 to generate a hexagon. Then, all I had to do was extrude it out and made a hollow shell. Voila, crystal holder!
I then experimented with wire wrapping to attach the crystal to a necklace. I'm no jeweler, so the wrap wasn't too sophisticated, but that was quite fun!
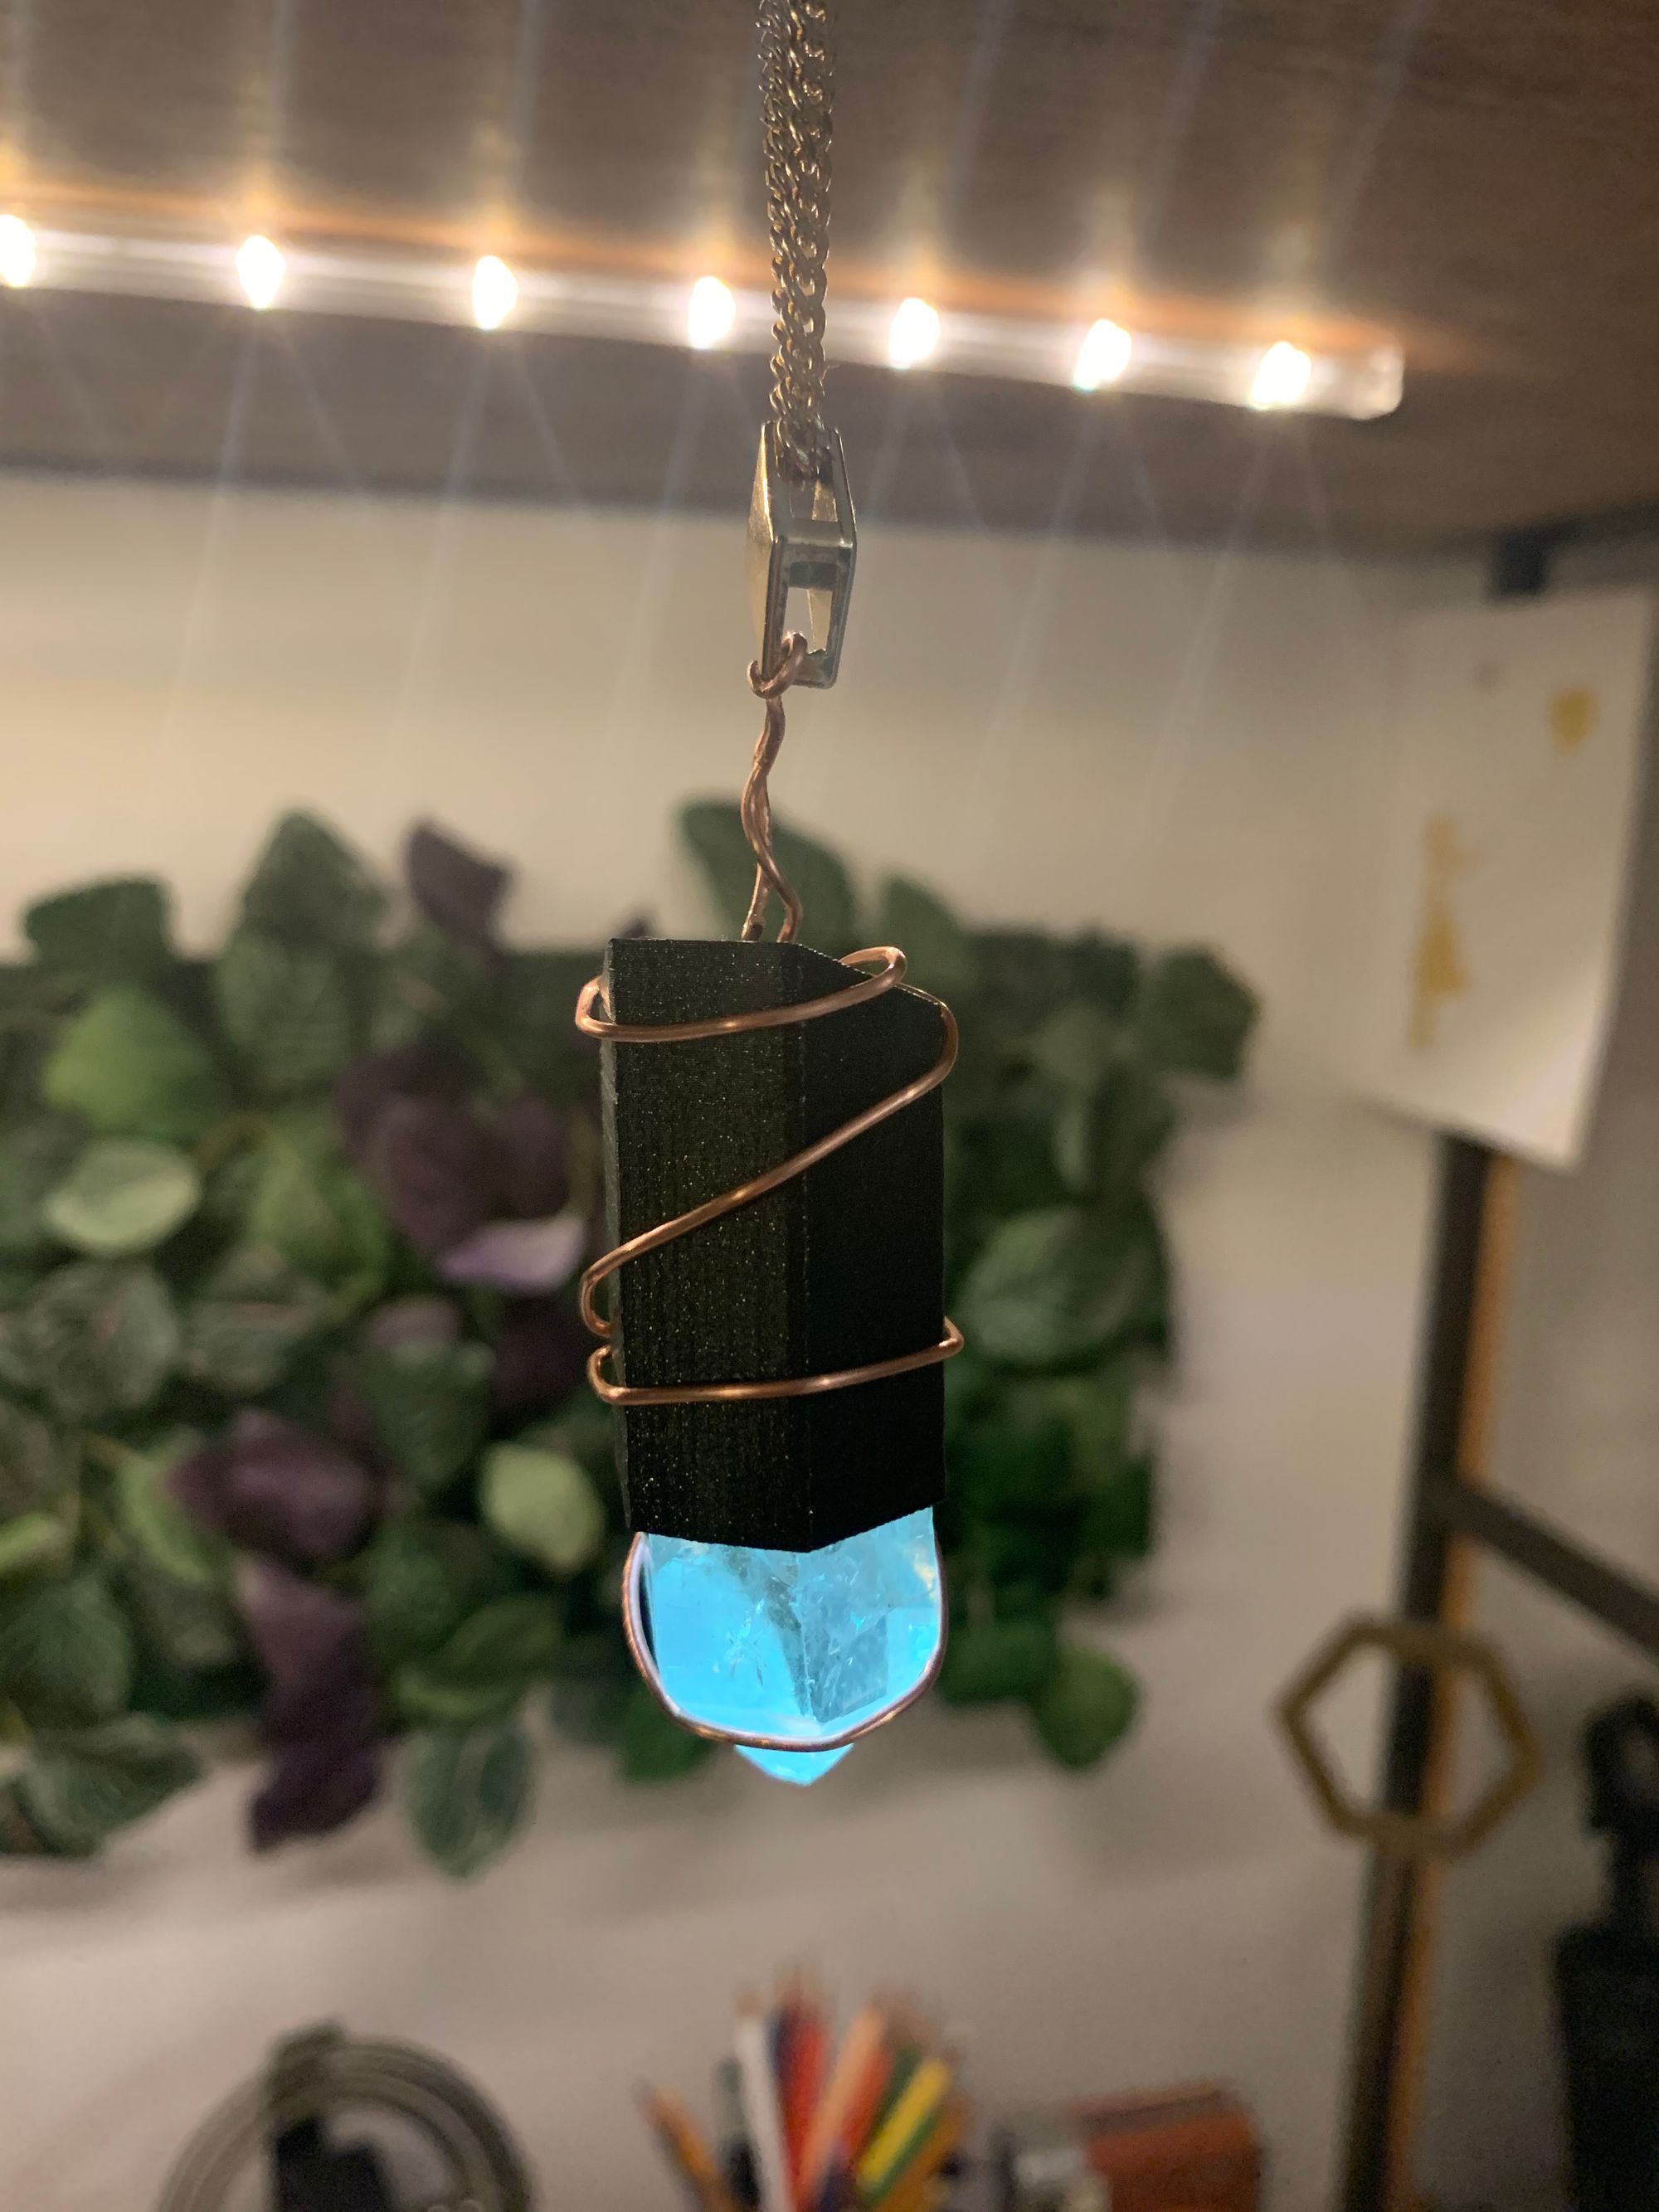
I like it, but I wasn't super happy with it. I wanted something more, something bigger, more epic. Maybe a mage's staff?
Second idea: an epic mage's staff!
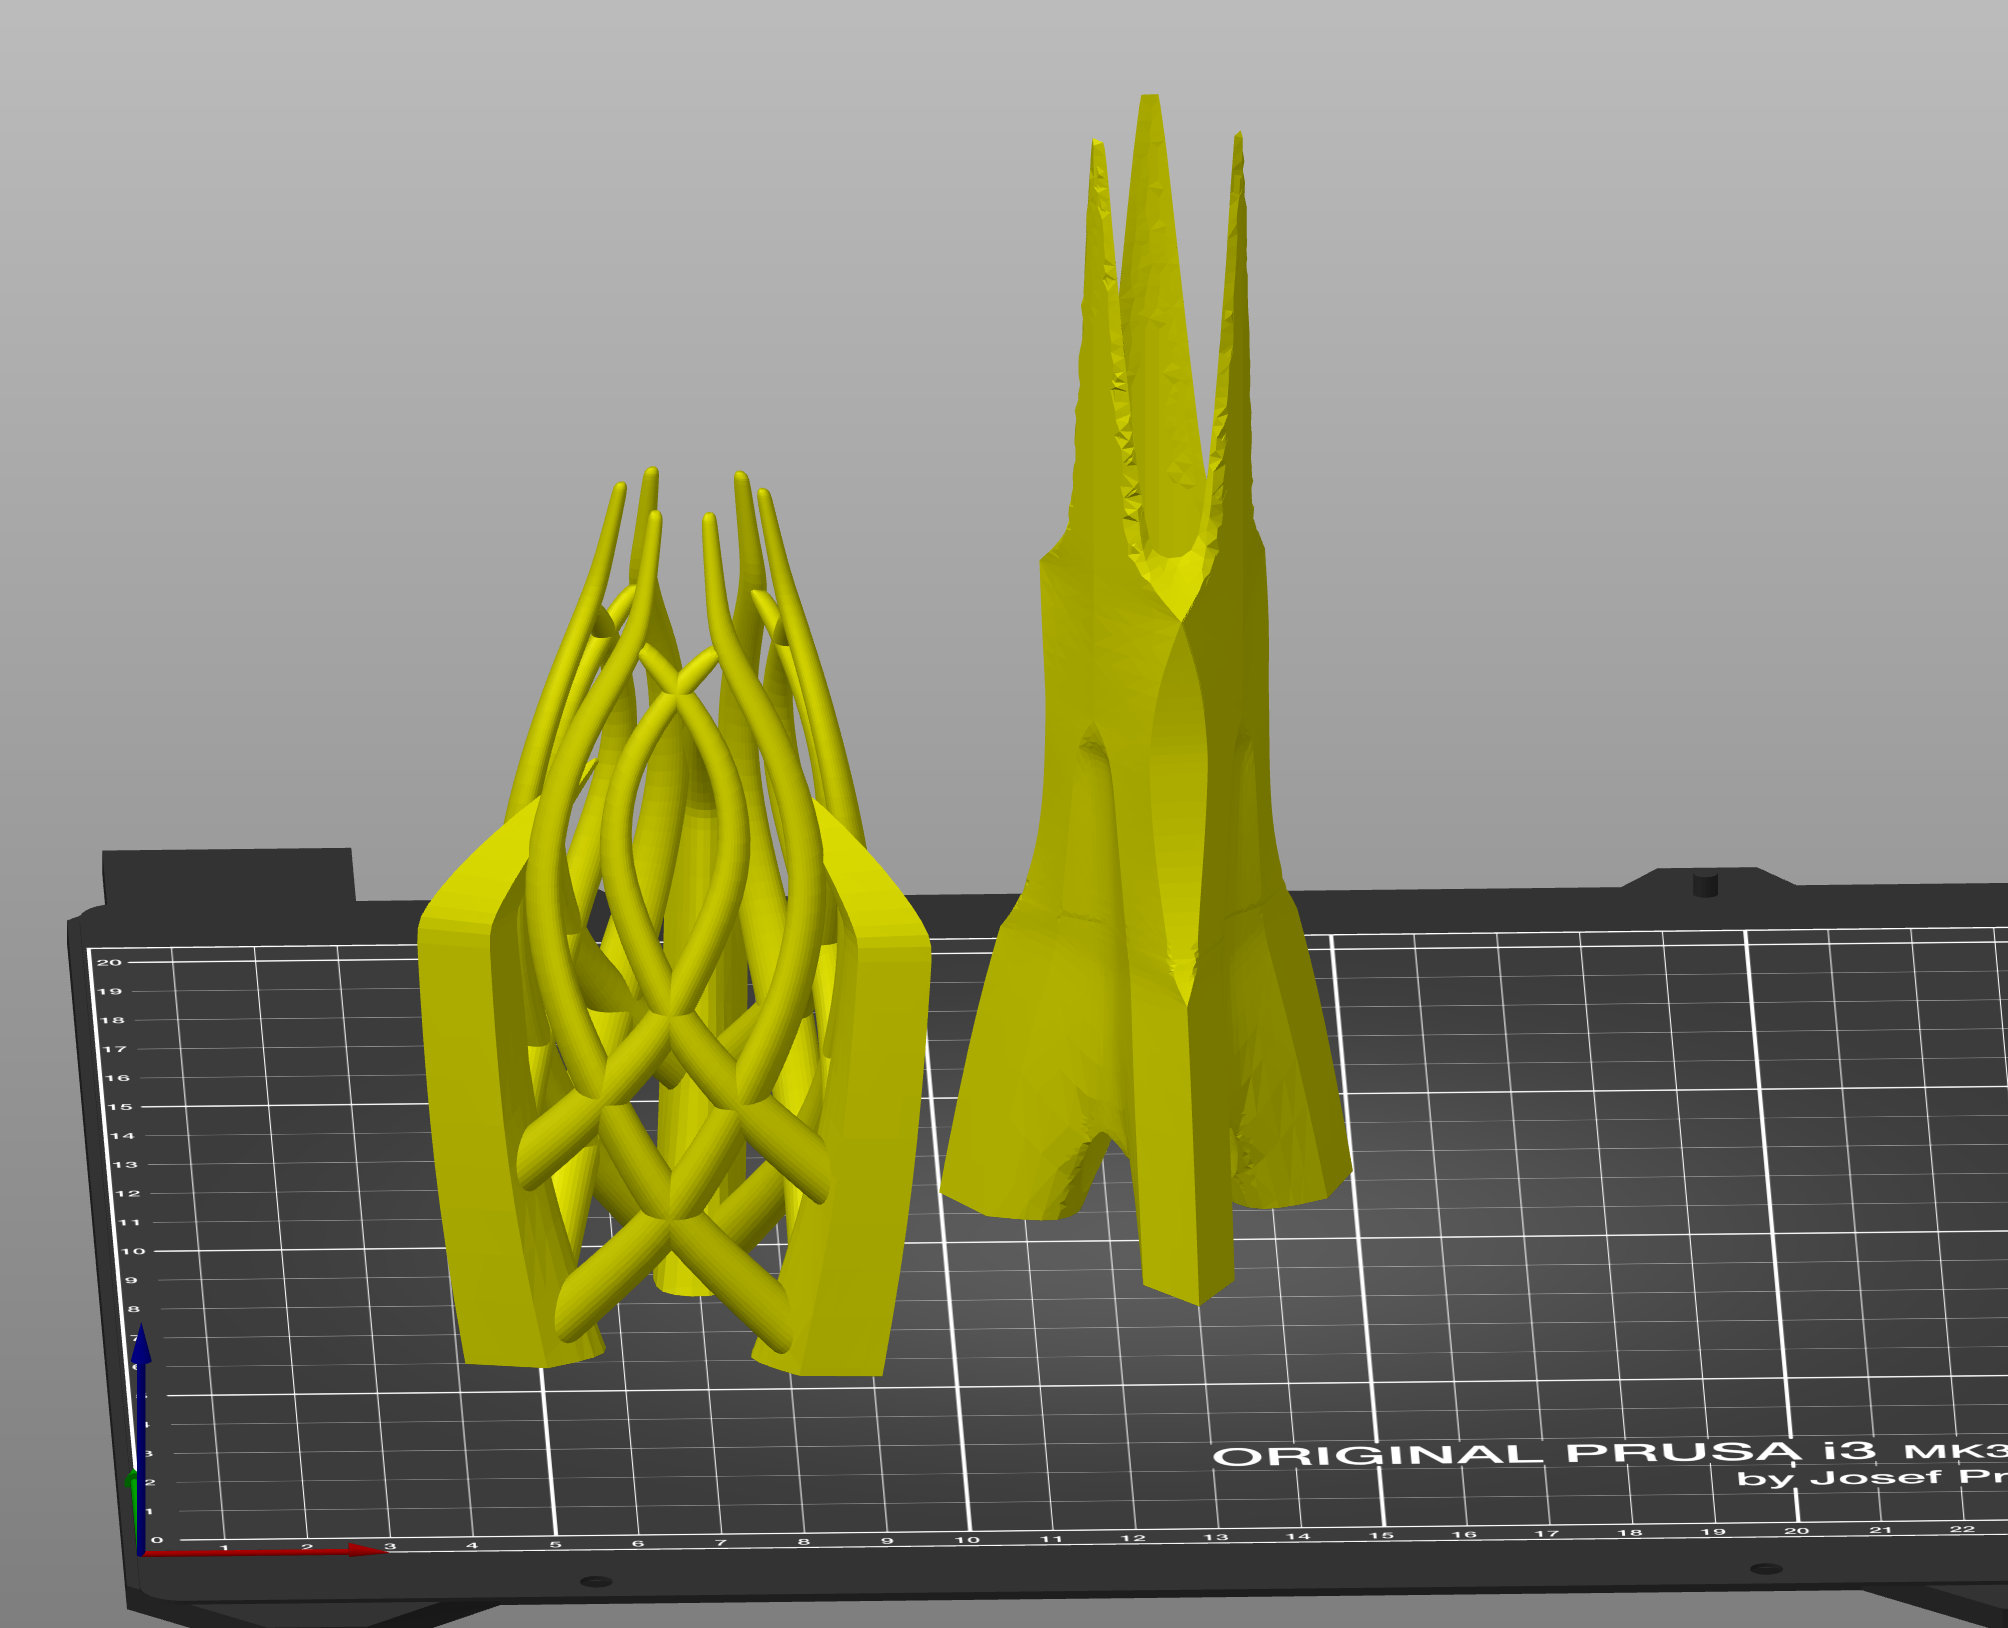
So I searched for "staff" on thingiverse, and found this model of Gandalf the White's staff! Perfect. Can't get much more epic than that.

Since I was, in fact, not Gandalf the White, I printed this model with Fillamentum's Vertigo Galaxy PLA (currently my favorite filament). I guesstimated how much I should scale it down to be proportional to the crystal's size – turns out that's around 60%.
Figuring out the rest of the pieces
After I printed out the models, I relied on my trusty caliper to start measuring some crevices. I needed three things:
- Something to hold the crystal inside the staff head
- The staff body
- Something to attach the staff head to the staff body
- The staff bottom
#1: Crystal holder
Since I already had a model that worked well for holding the crystal, I had a base to work with. Using the already-printed staff head parts, and some more guesstimation, I modeled a crystal holder that would be tall enough to look good inside the staff head, and would slot nicely into the bottom half of the staff head.
#2: Staff body
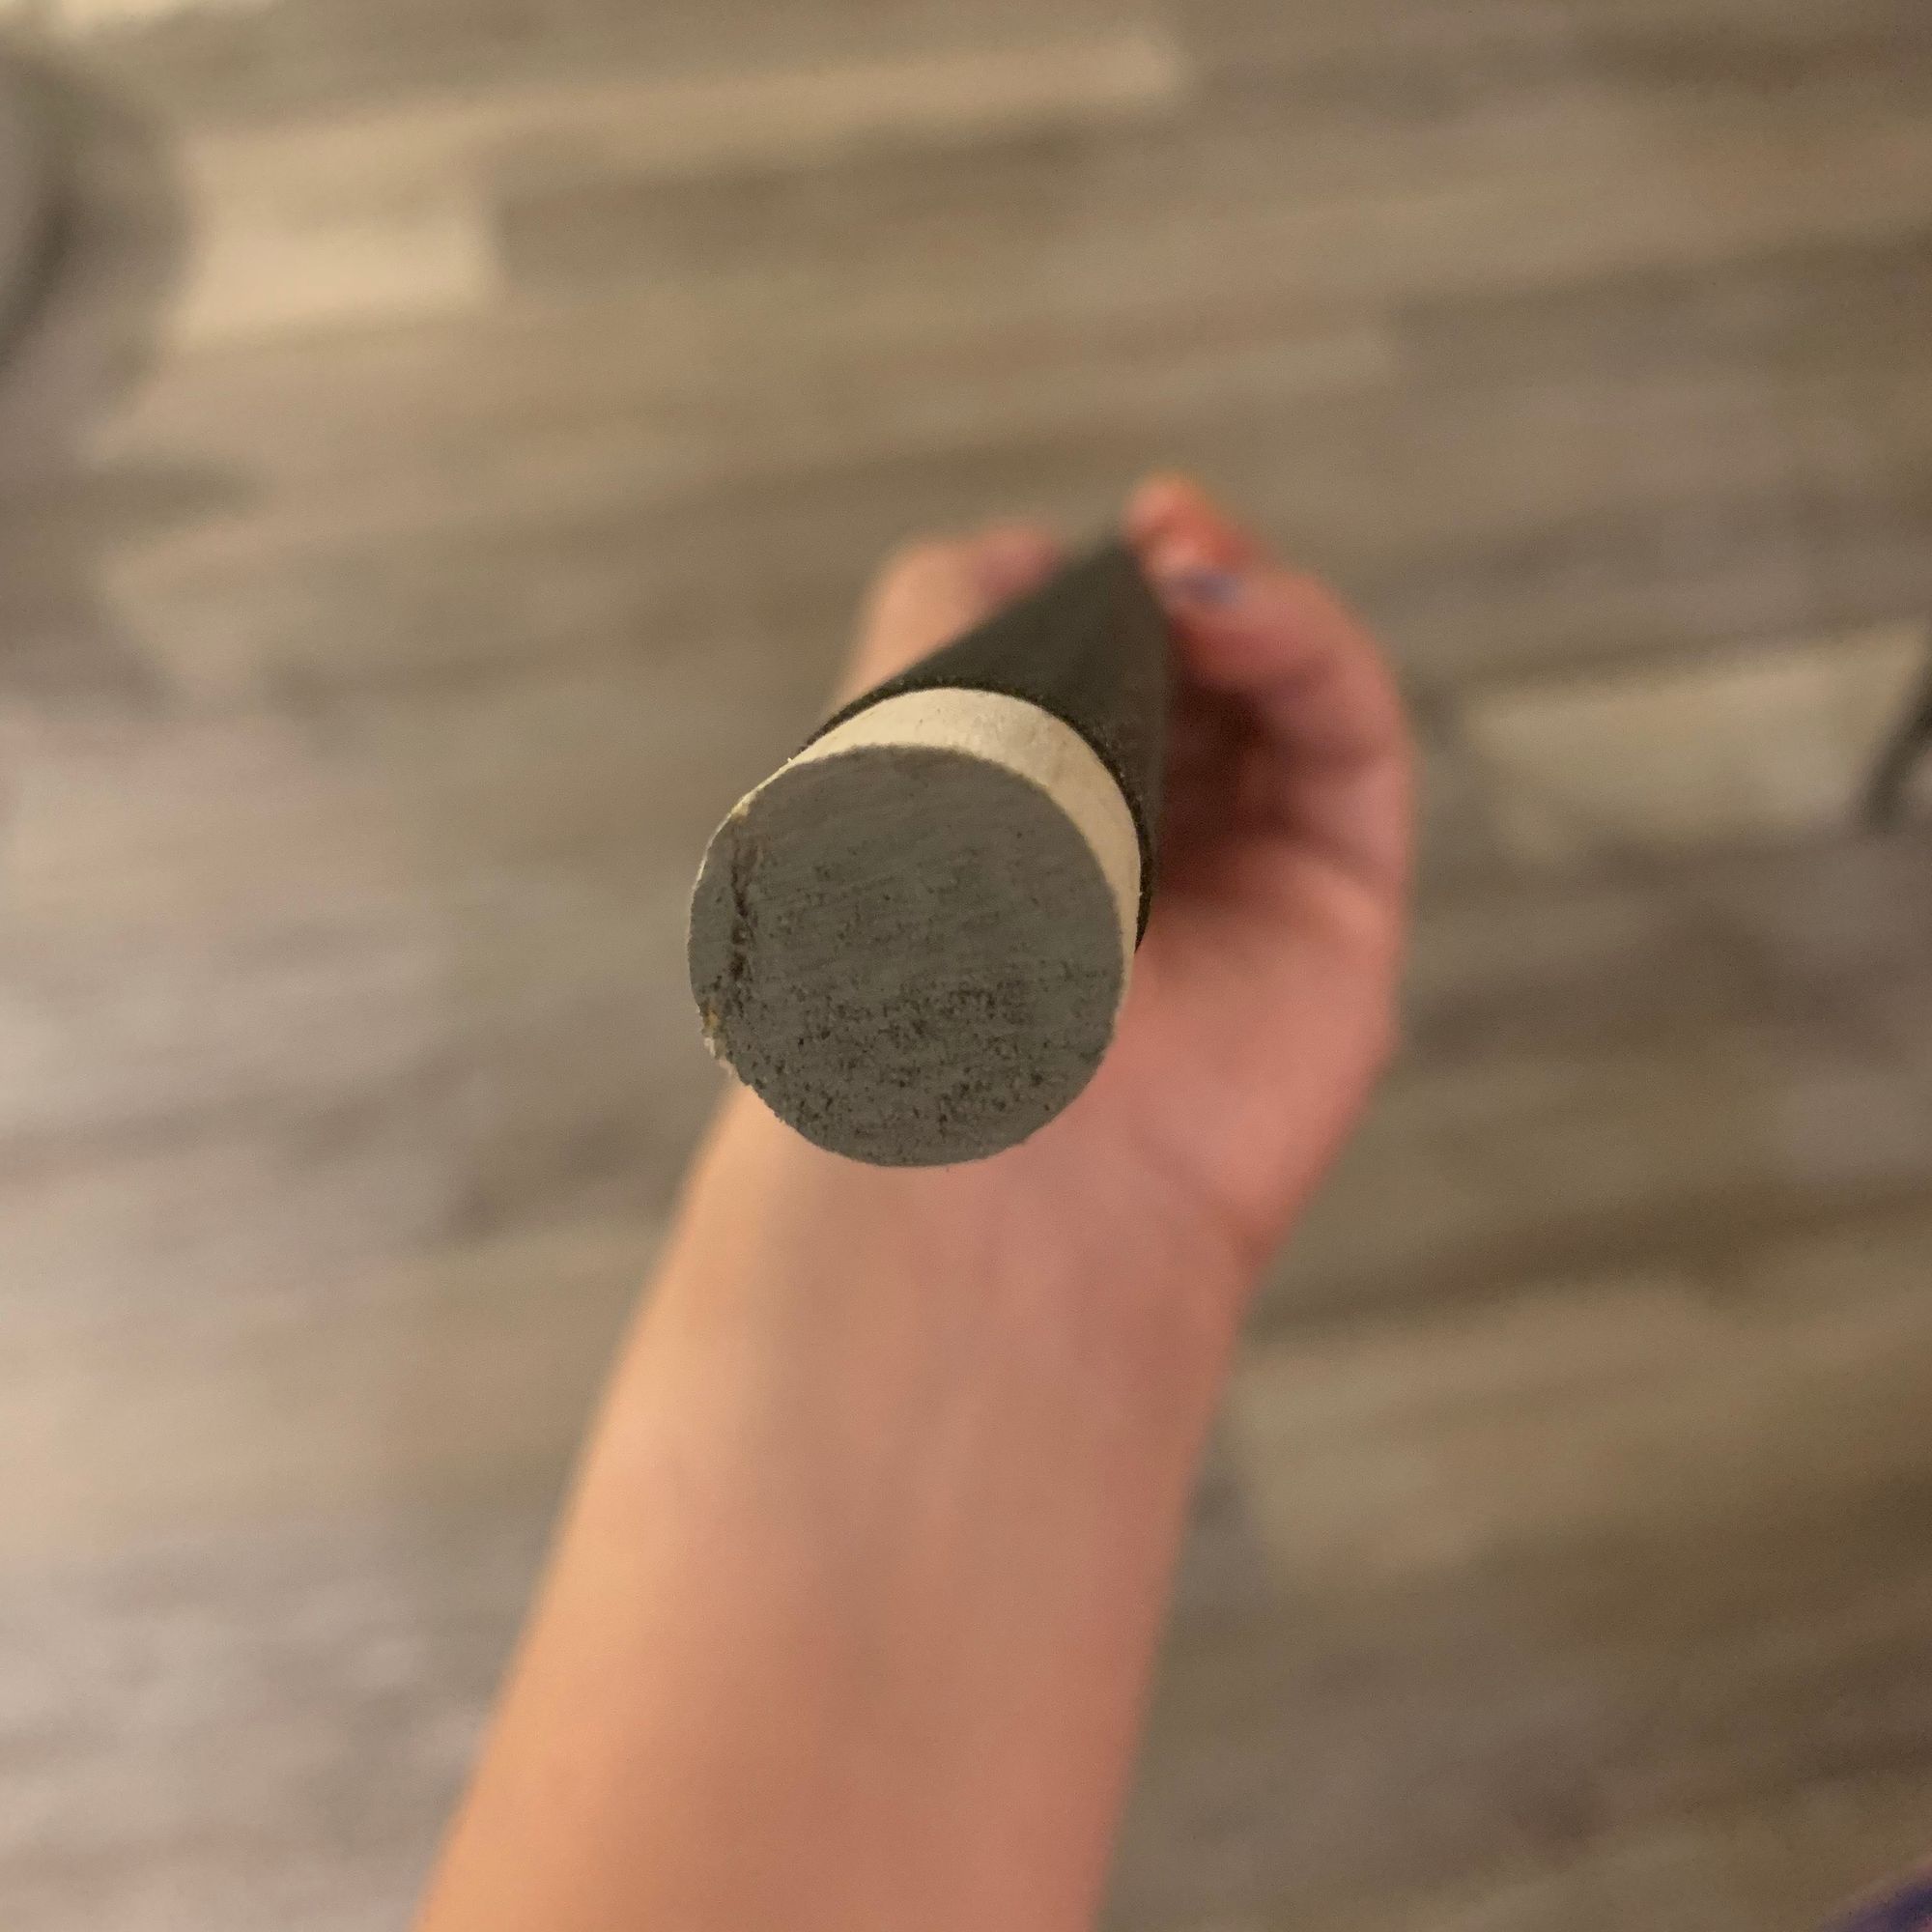
Next, I needed the body of the staff. I knew it would take too long to print something that would be sufficiently tall enough, so I started looking around a hardware store for what to use. I considered PVC tubes and copper tubes and metal rods and even curtain rods! I ultimately settled for a wooden dowel.
I also decided that I didn't want to paint this dowel. Not only did I not have a well-ventilated space to paint, I also really wanted the entire staff to be the same color throughout.
So, I came up with what I think is a pretty clever trick: I modeled a cylinder based on the diameter of the wooden dowel, and then I printed that cylinder using vase /spiralize mode. Then I just covered the entire dowel with the same filament that I used for the staff head! ✨

The effect is quite seamless, unless you look real close. I was able to get this 3D printed sleeve to fit quite nicely, very satisfying.
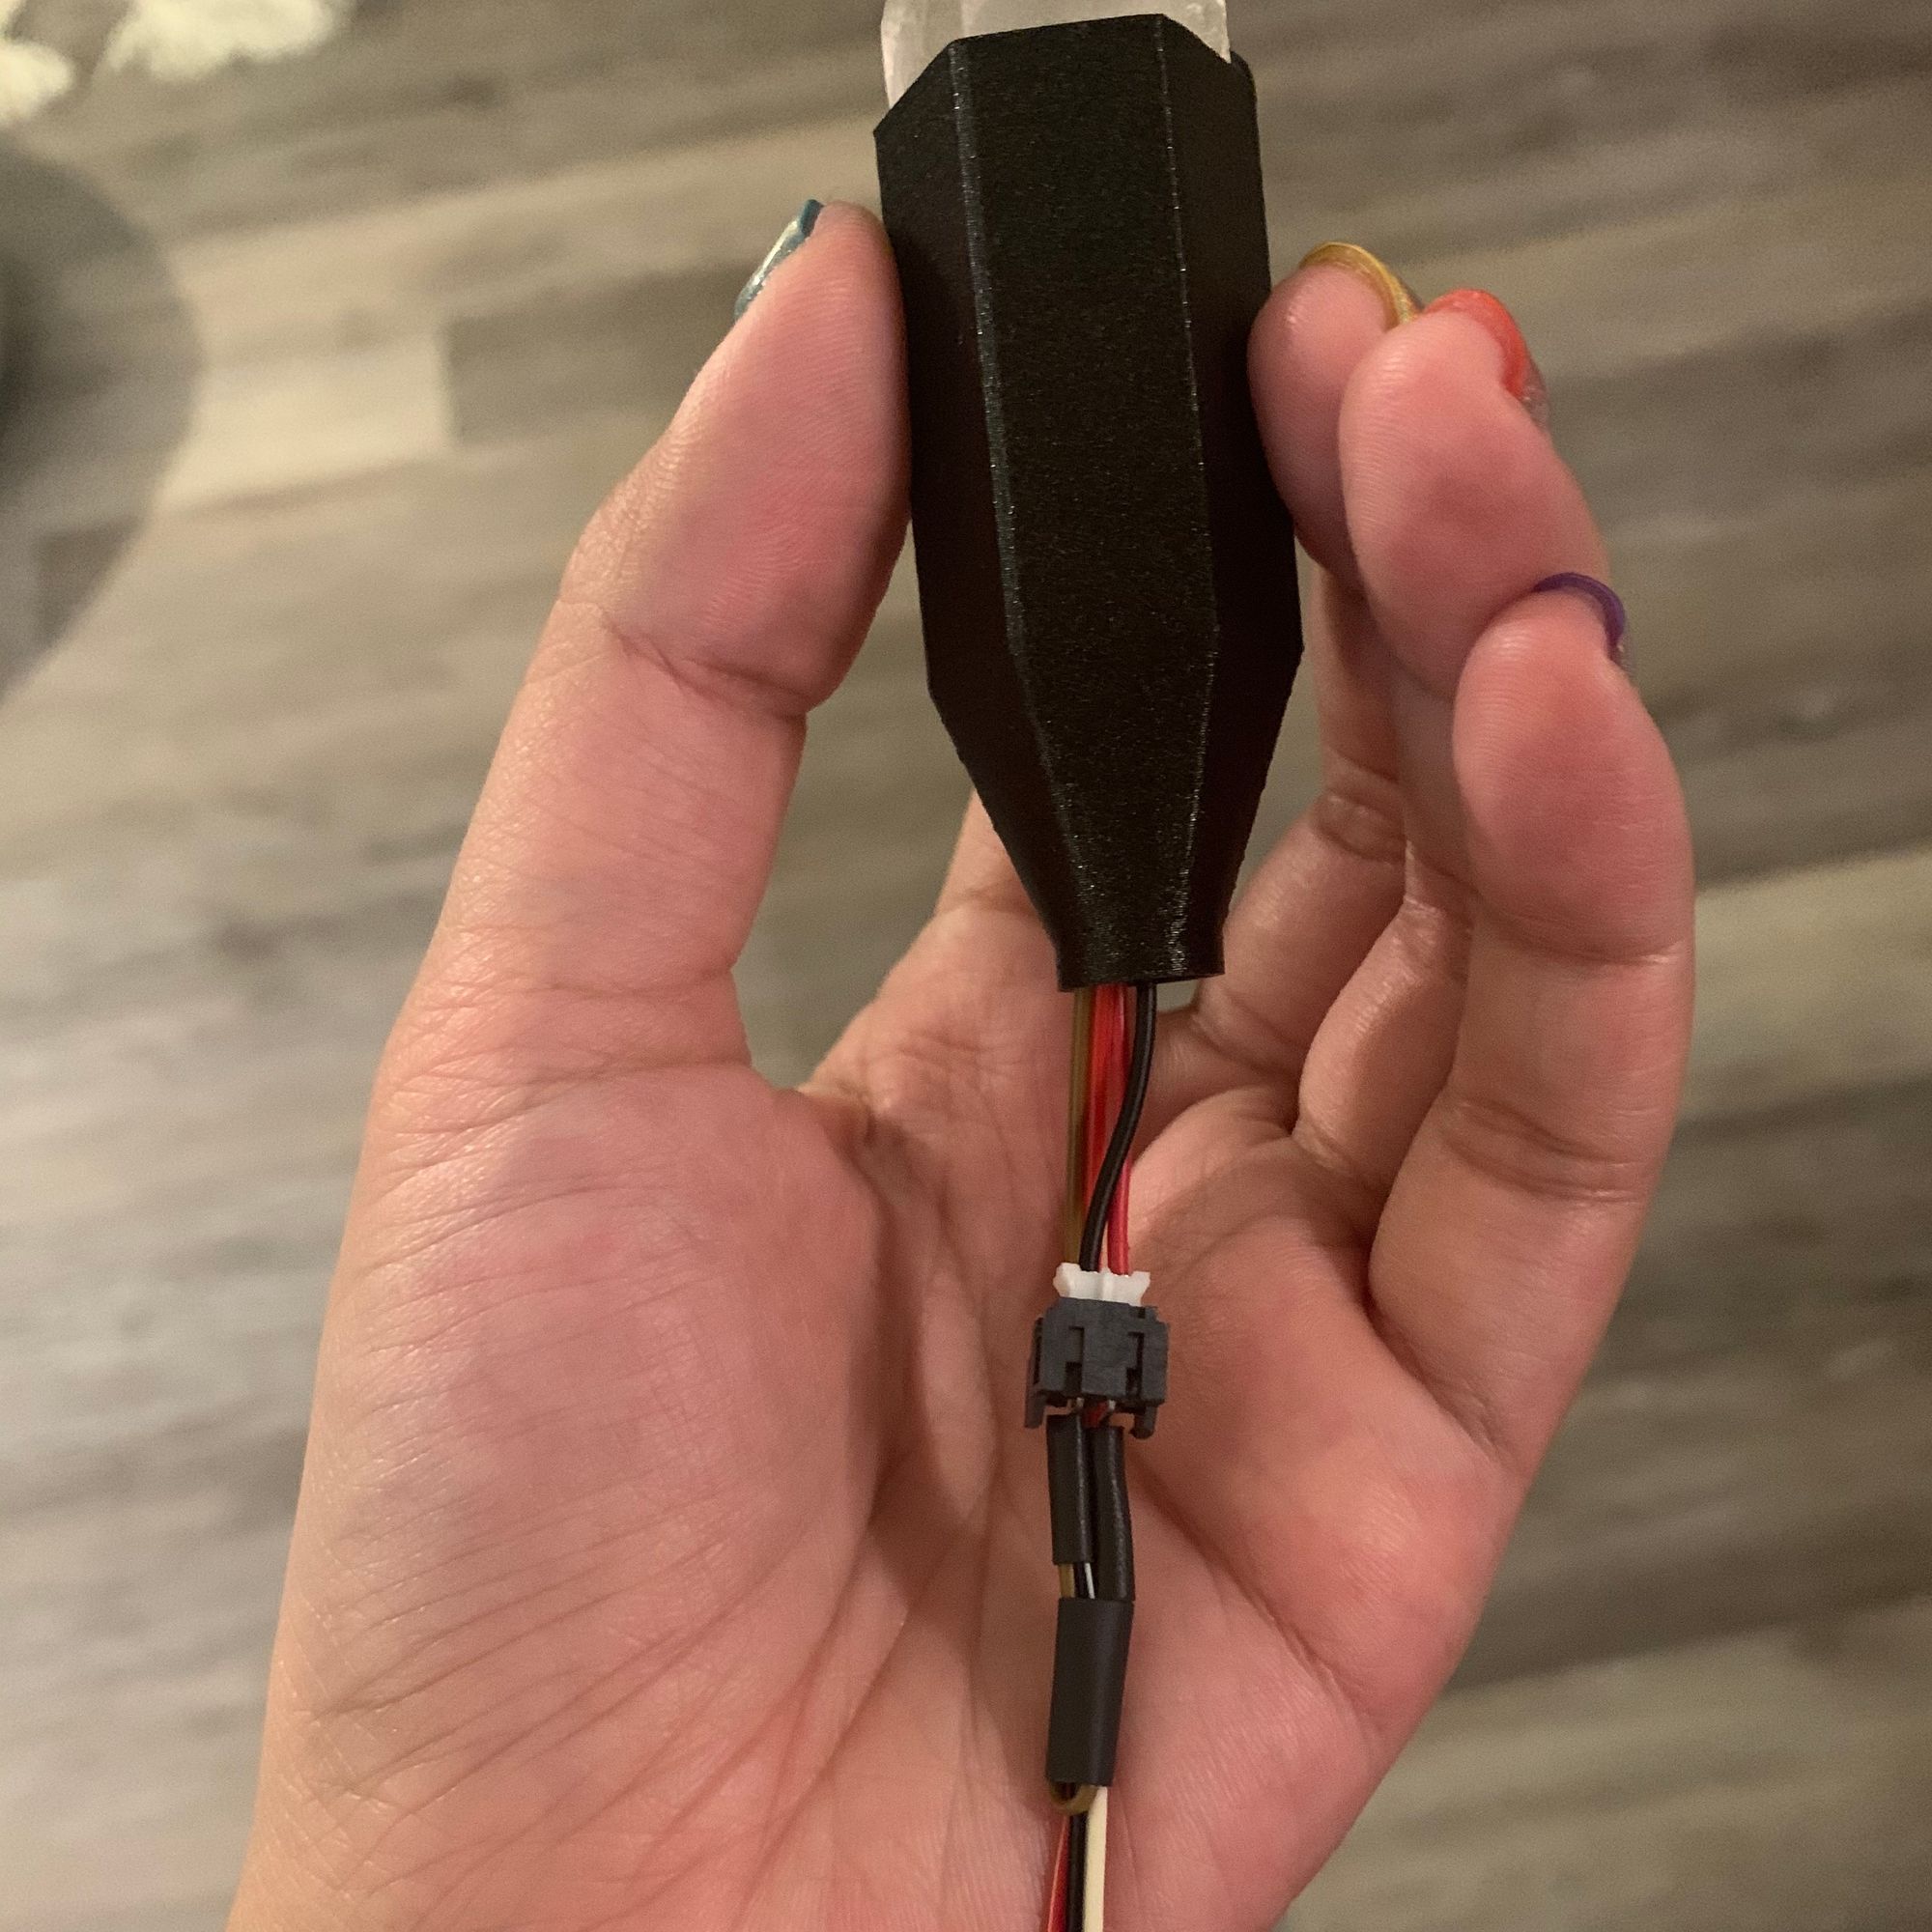
#3: Staff neck
I needed something to connect the head to the body, given that the wooden dowel I chose was a bit too thin. So I modeled a cylinder that would be the exact radius I needed to fit the bottom half of the staff head (this will make sense later on), and would also have a hole that would fit the dowel with enough tolerance. I put a chamfer at the bottom because it looks classy ✨
It eventually also gained a hole for the power switch, though I didn't realize this until after the first print of this part 😅
#4: Staff bottom
This staff would probably be hitting the ground a lot, so I modeled a simple bottom piece that I thought would be worthy of an epic mage's staff. This piece was the first time I felt an inkling of competency with Fusion 360. I chamfered and offset and extruded to my heart's content.
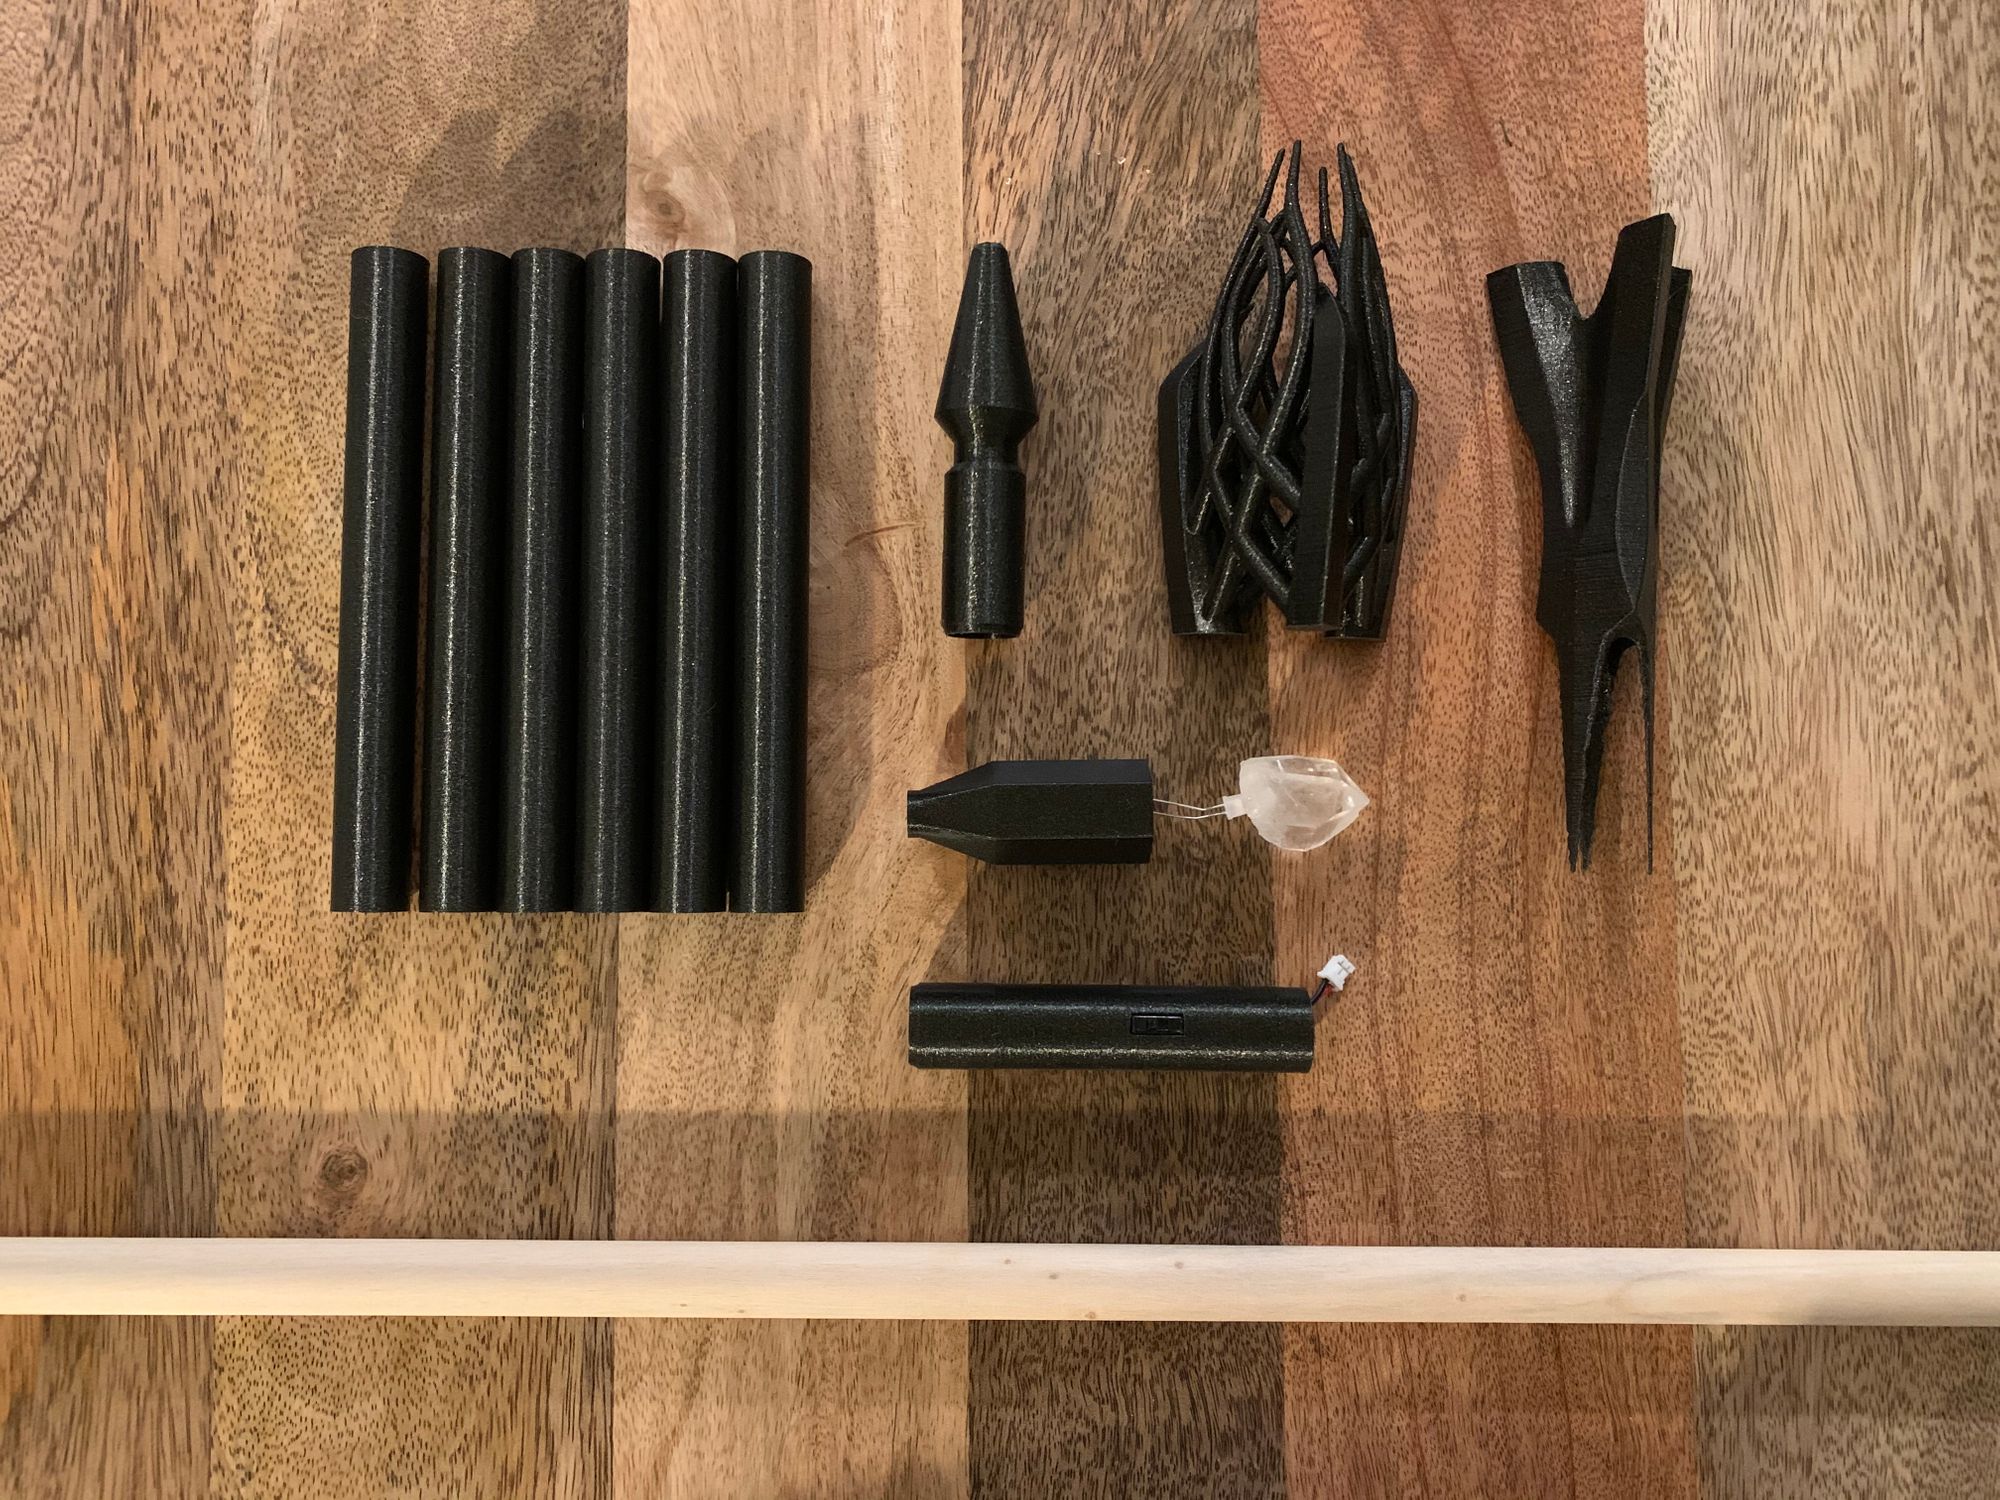
All the parts
Here are all the 3D printed parts I just mentioned above, gently knolled for your viewing pleasure.
Finish it, and then break it.
I actually got all the way done with this project, but I broke it before I could finish the blog post. I was sad about it for a sec, but the great thing about 3d prints is that you can just start over.
Plus, the fact that a few maker twitter friends felt my pain was enough to pick me back up.
NOOO
— Cassidy Williams (@cassidoo) February 3, 2020
Assembly and electronics!
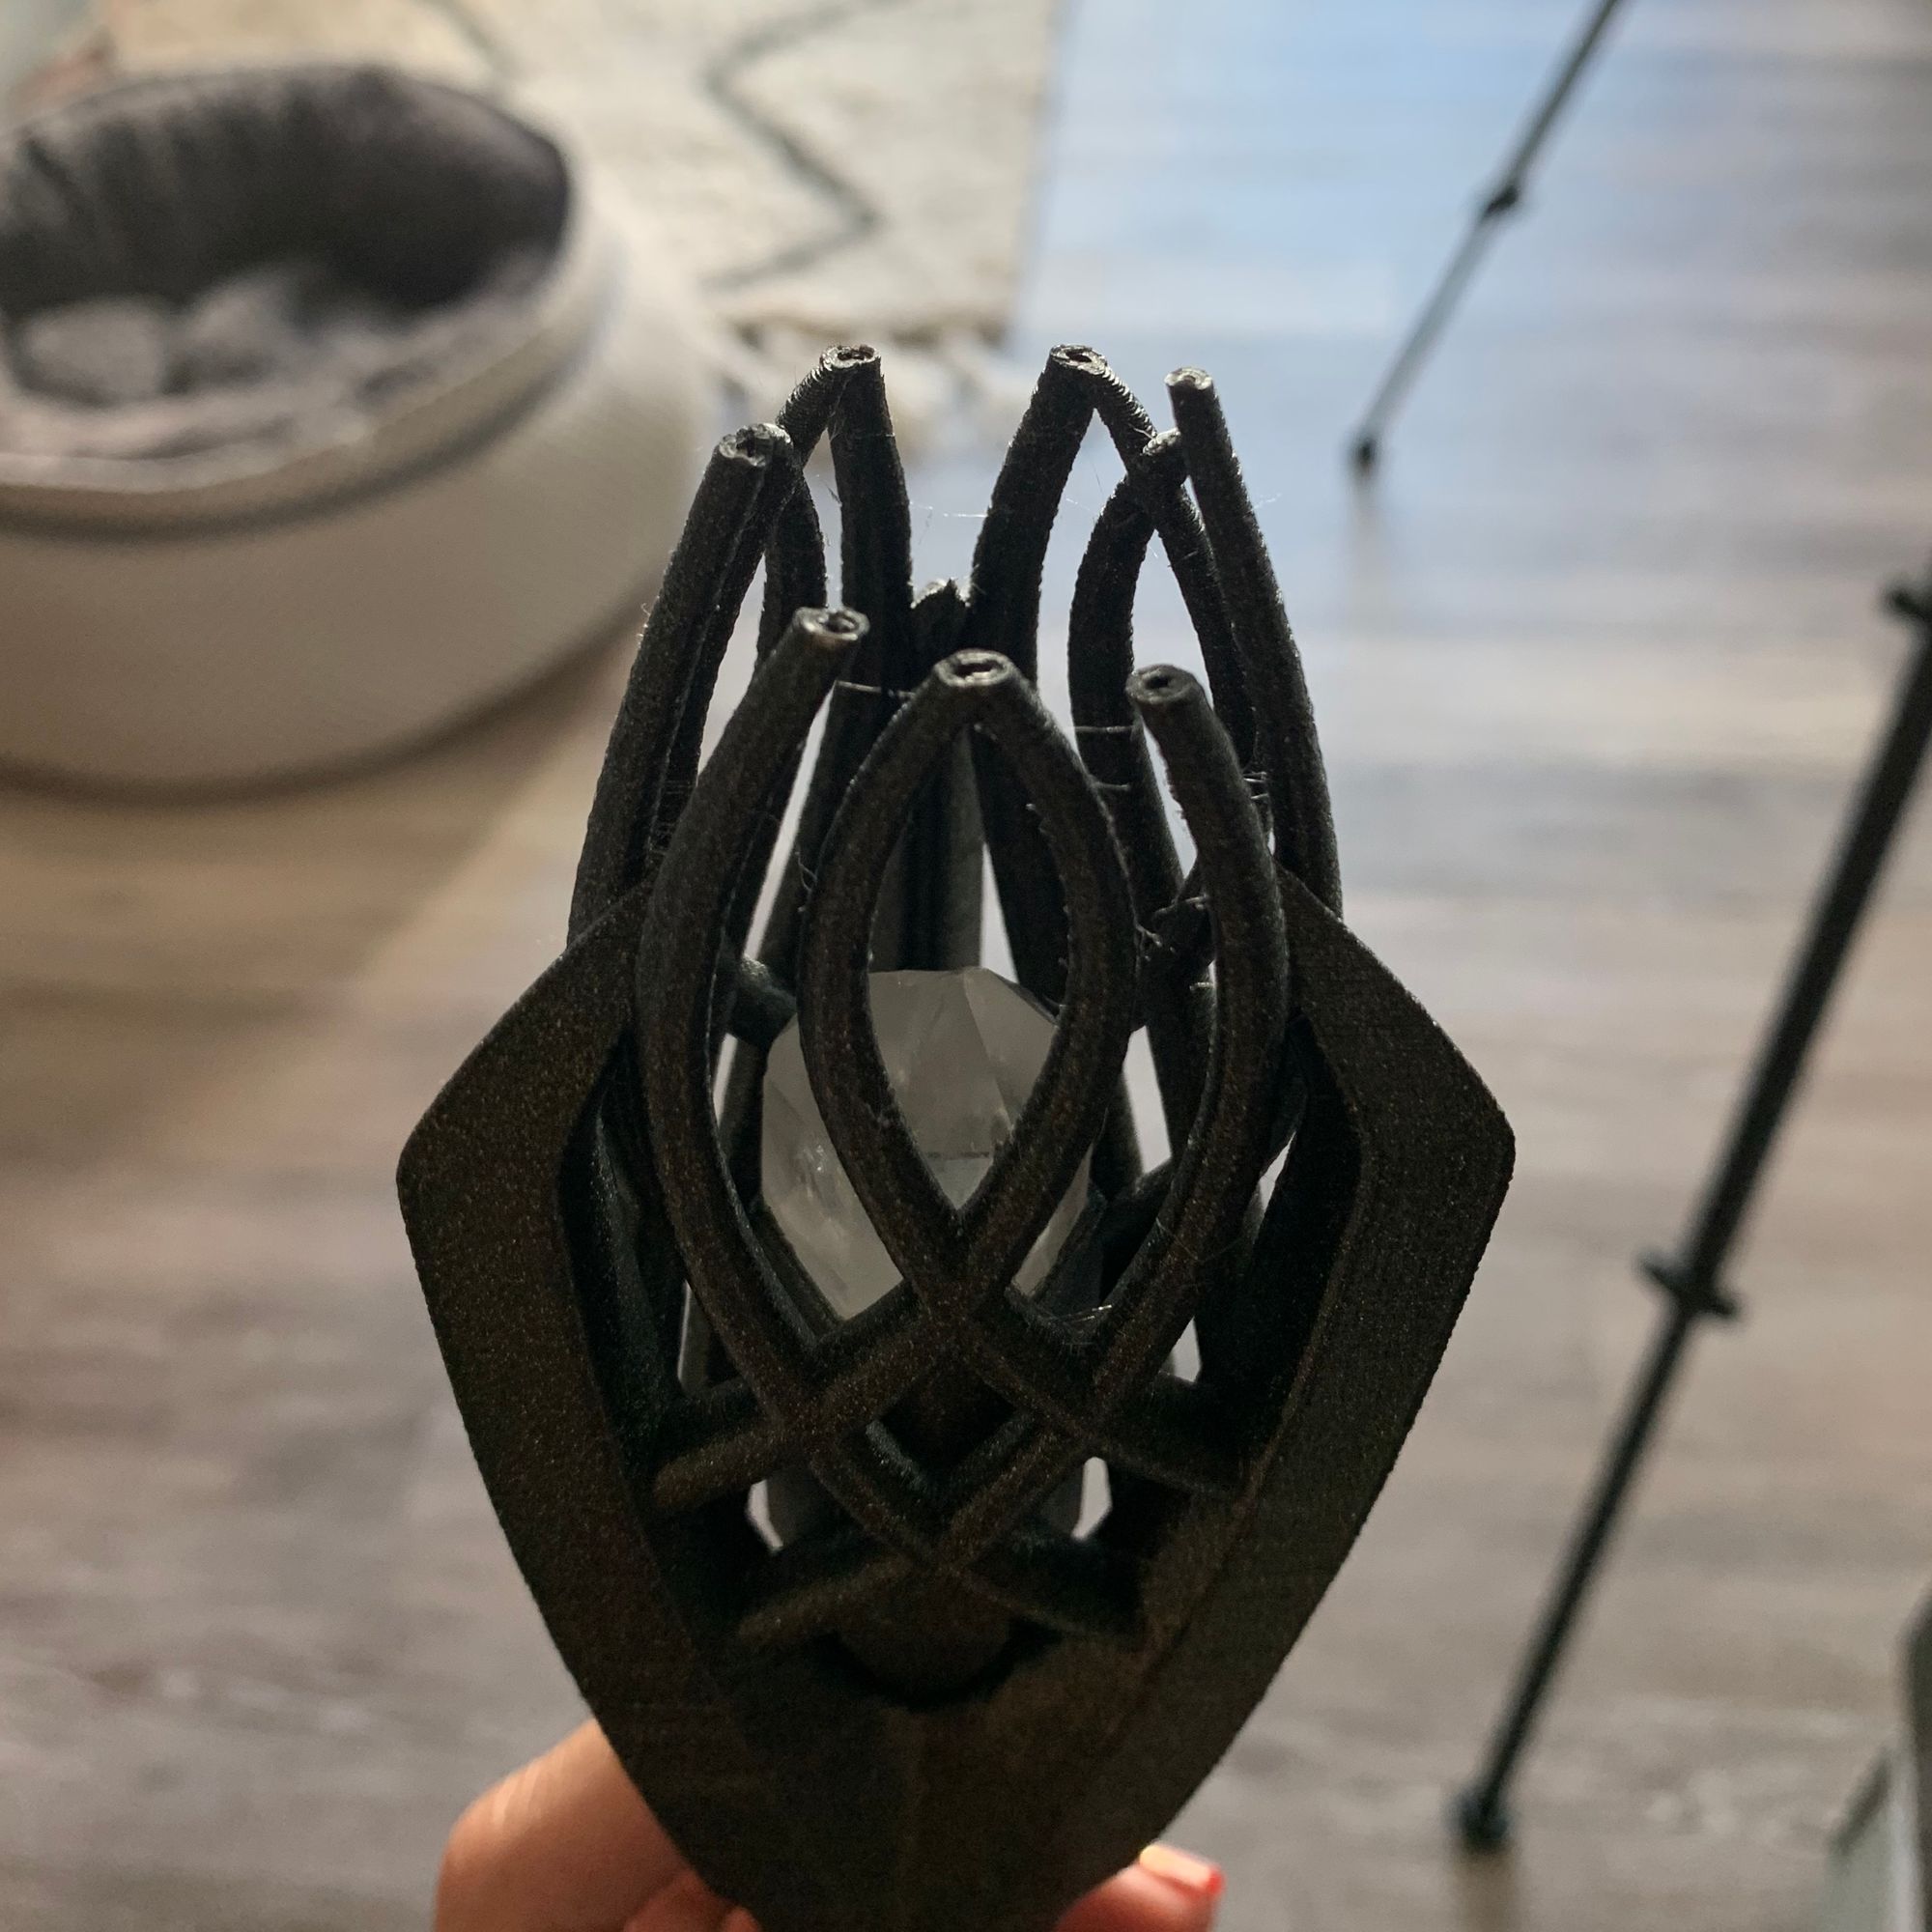
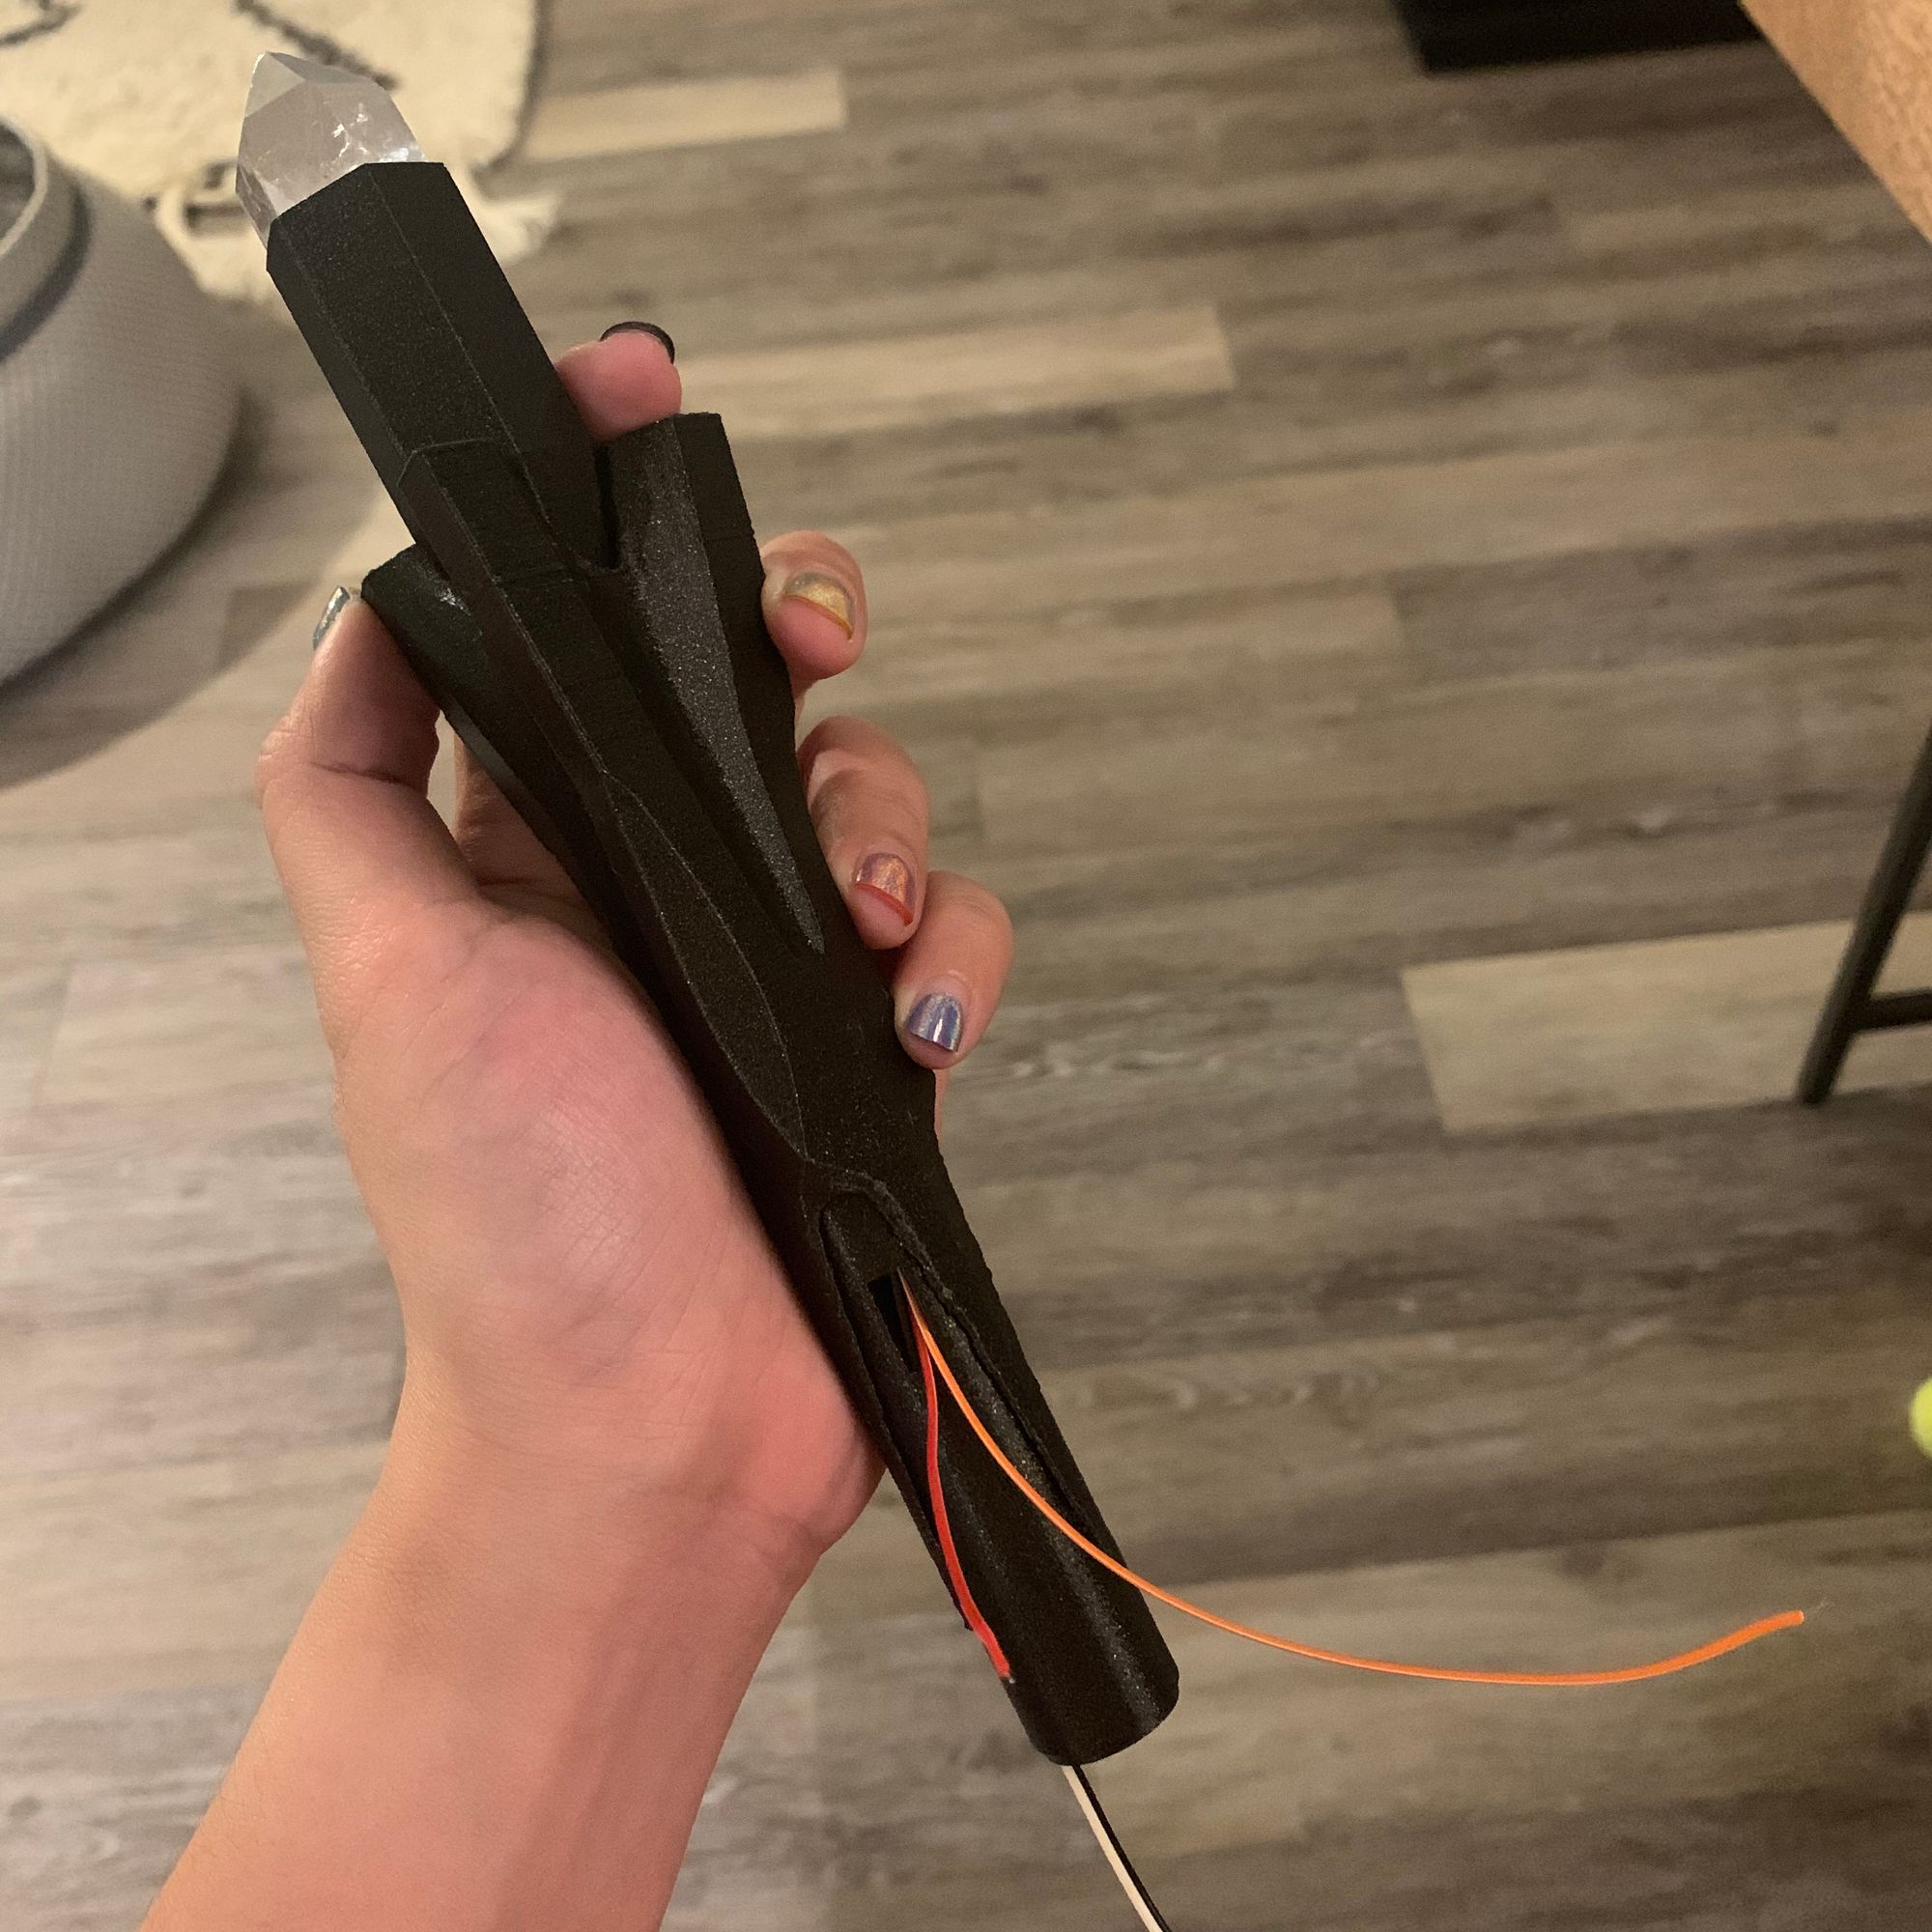
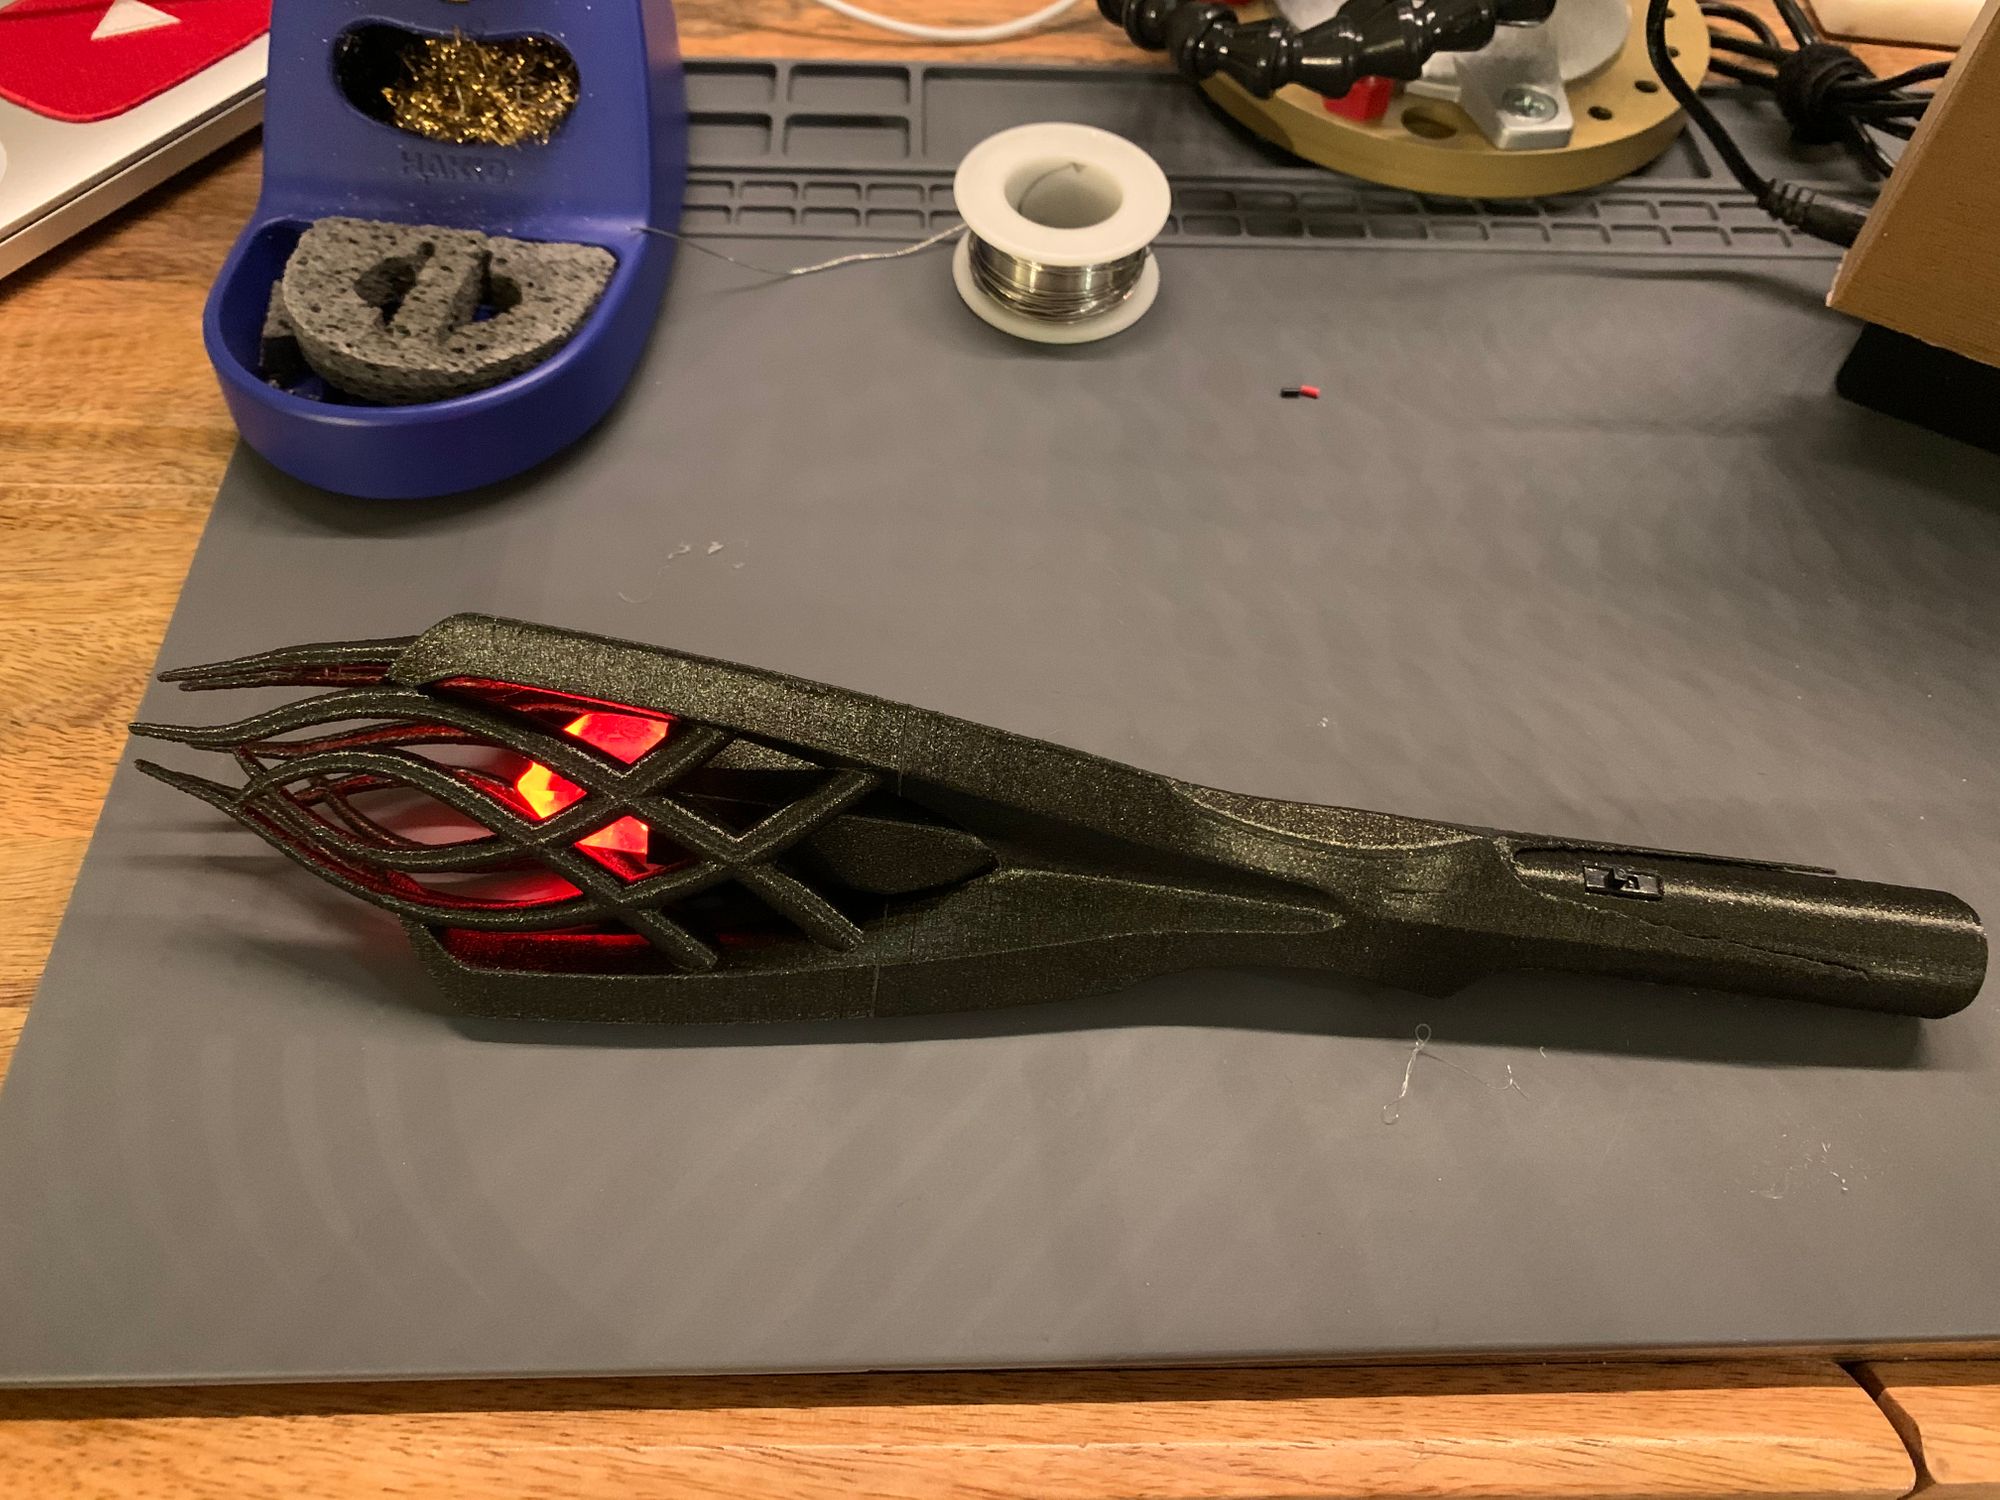
After all that modeling, I got to the fun part: putting everything together! I started with the staff head, and here's a preview of how the pieces fit together:
I had to assemble the electronics as I was assembling the staff head, and I have to be honest, it took me a while to decide on how the wires were going to go together. I think I'm getting better about my mental models around wiring, but it still takes a bit of time to plan it out.
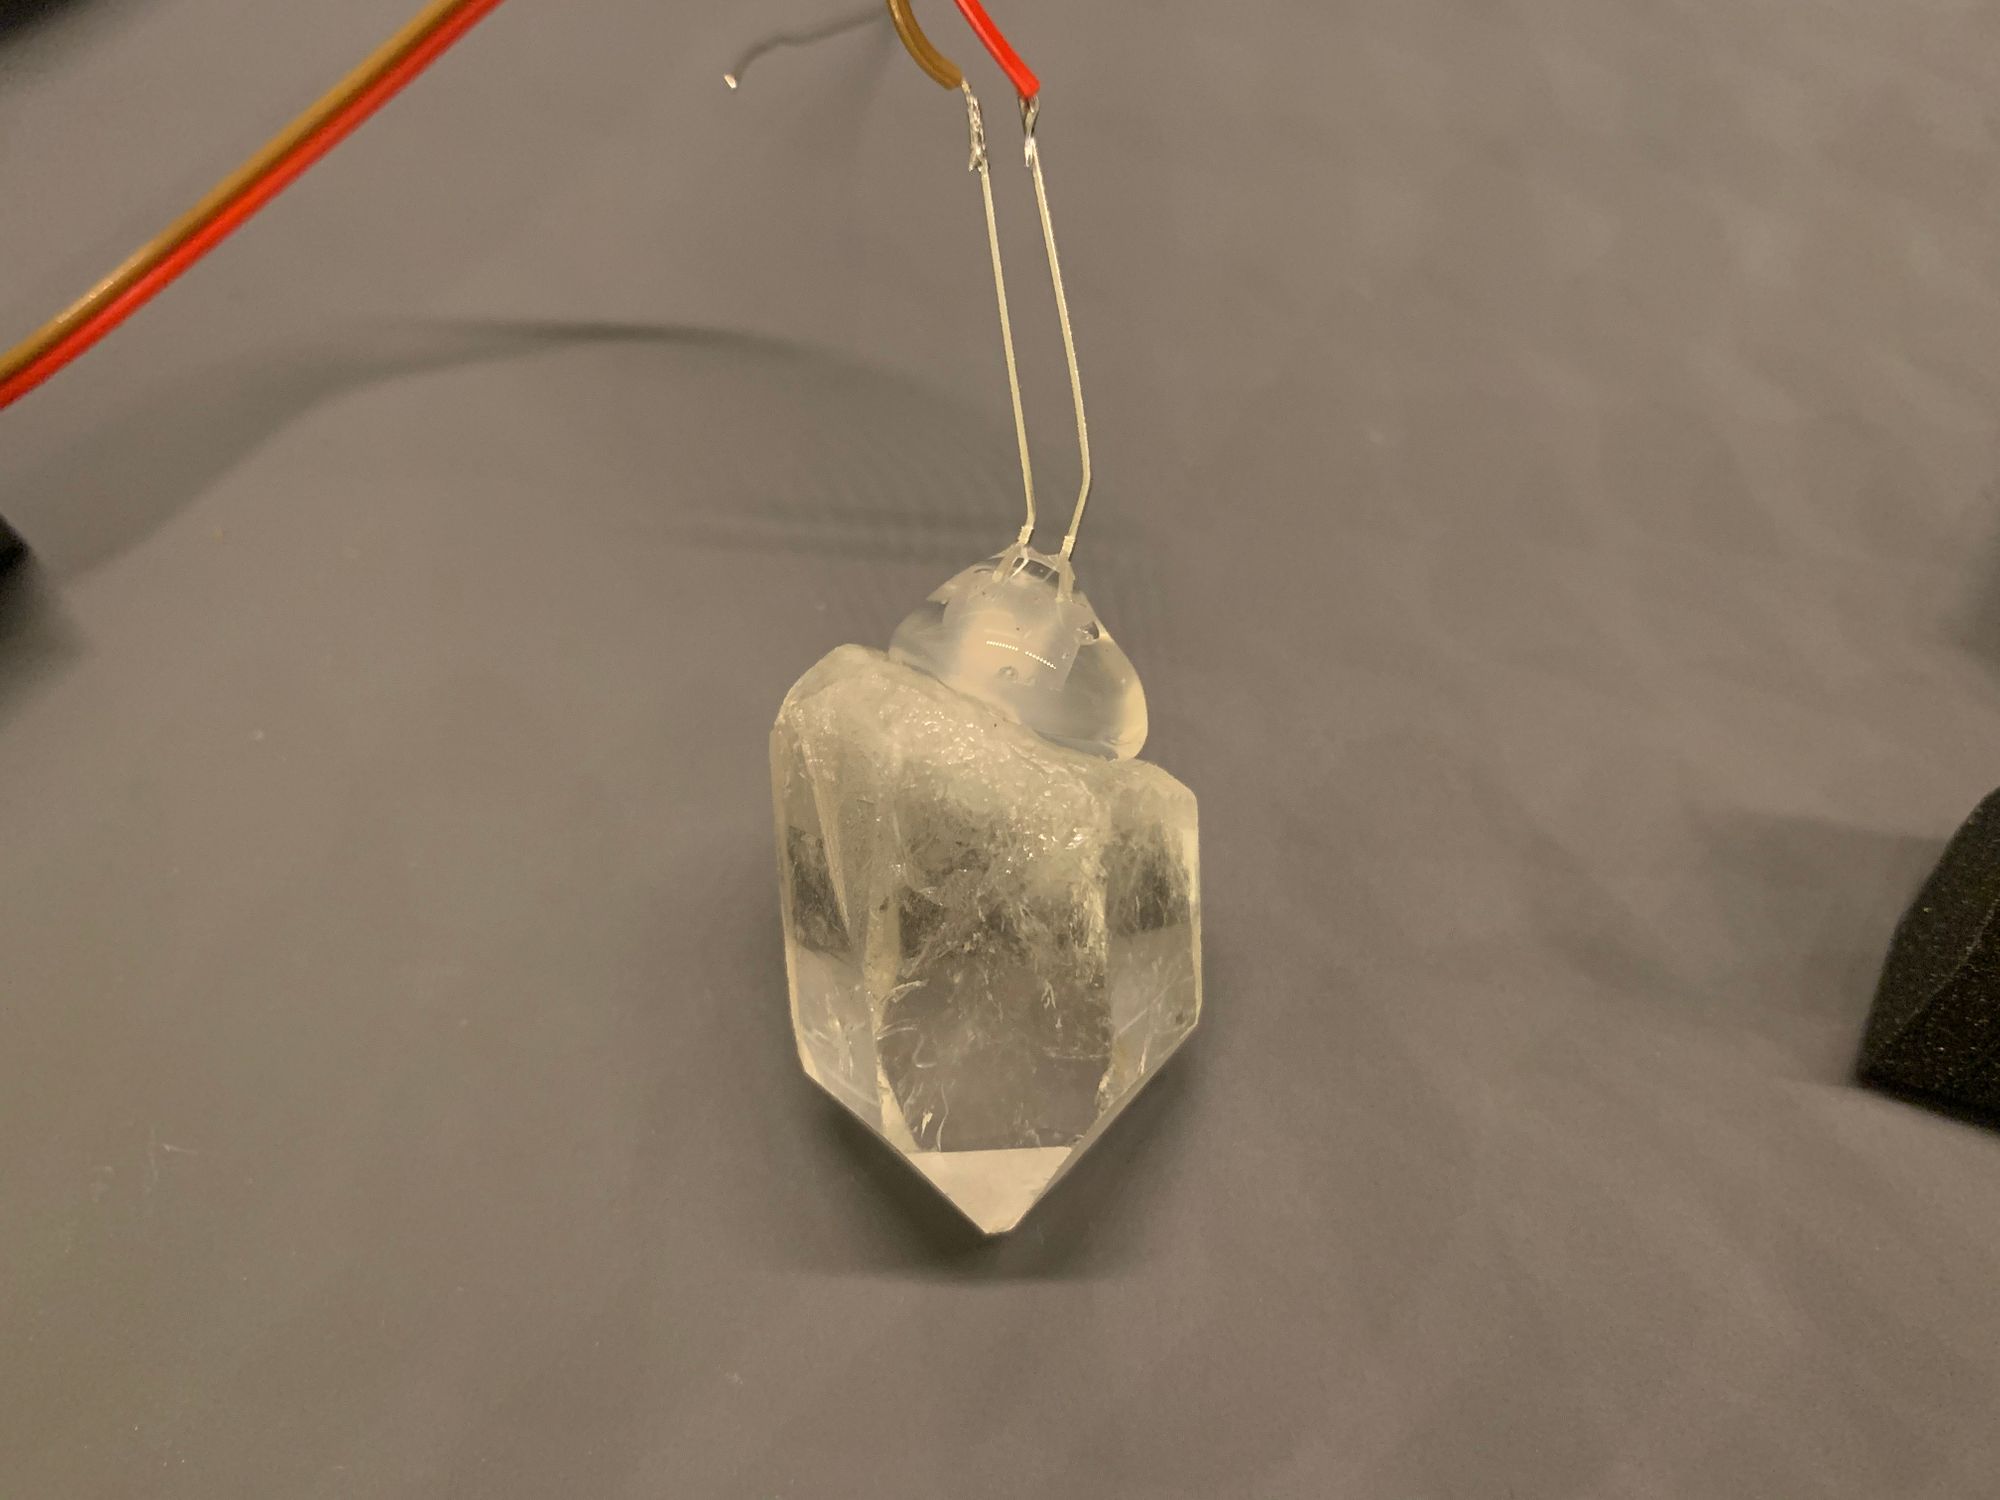
I used a slow-fade color changing LED, a 105mAh battery and a switch to be able to turn the light off. I also used a looot of hot glue to secure the LED to the crystal.
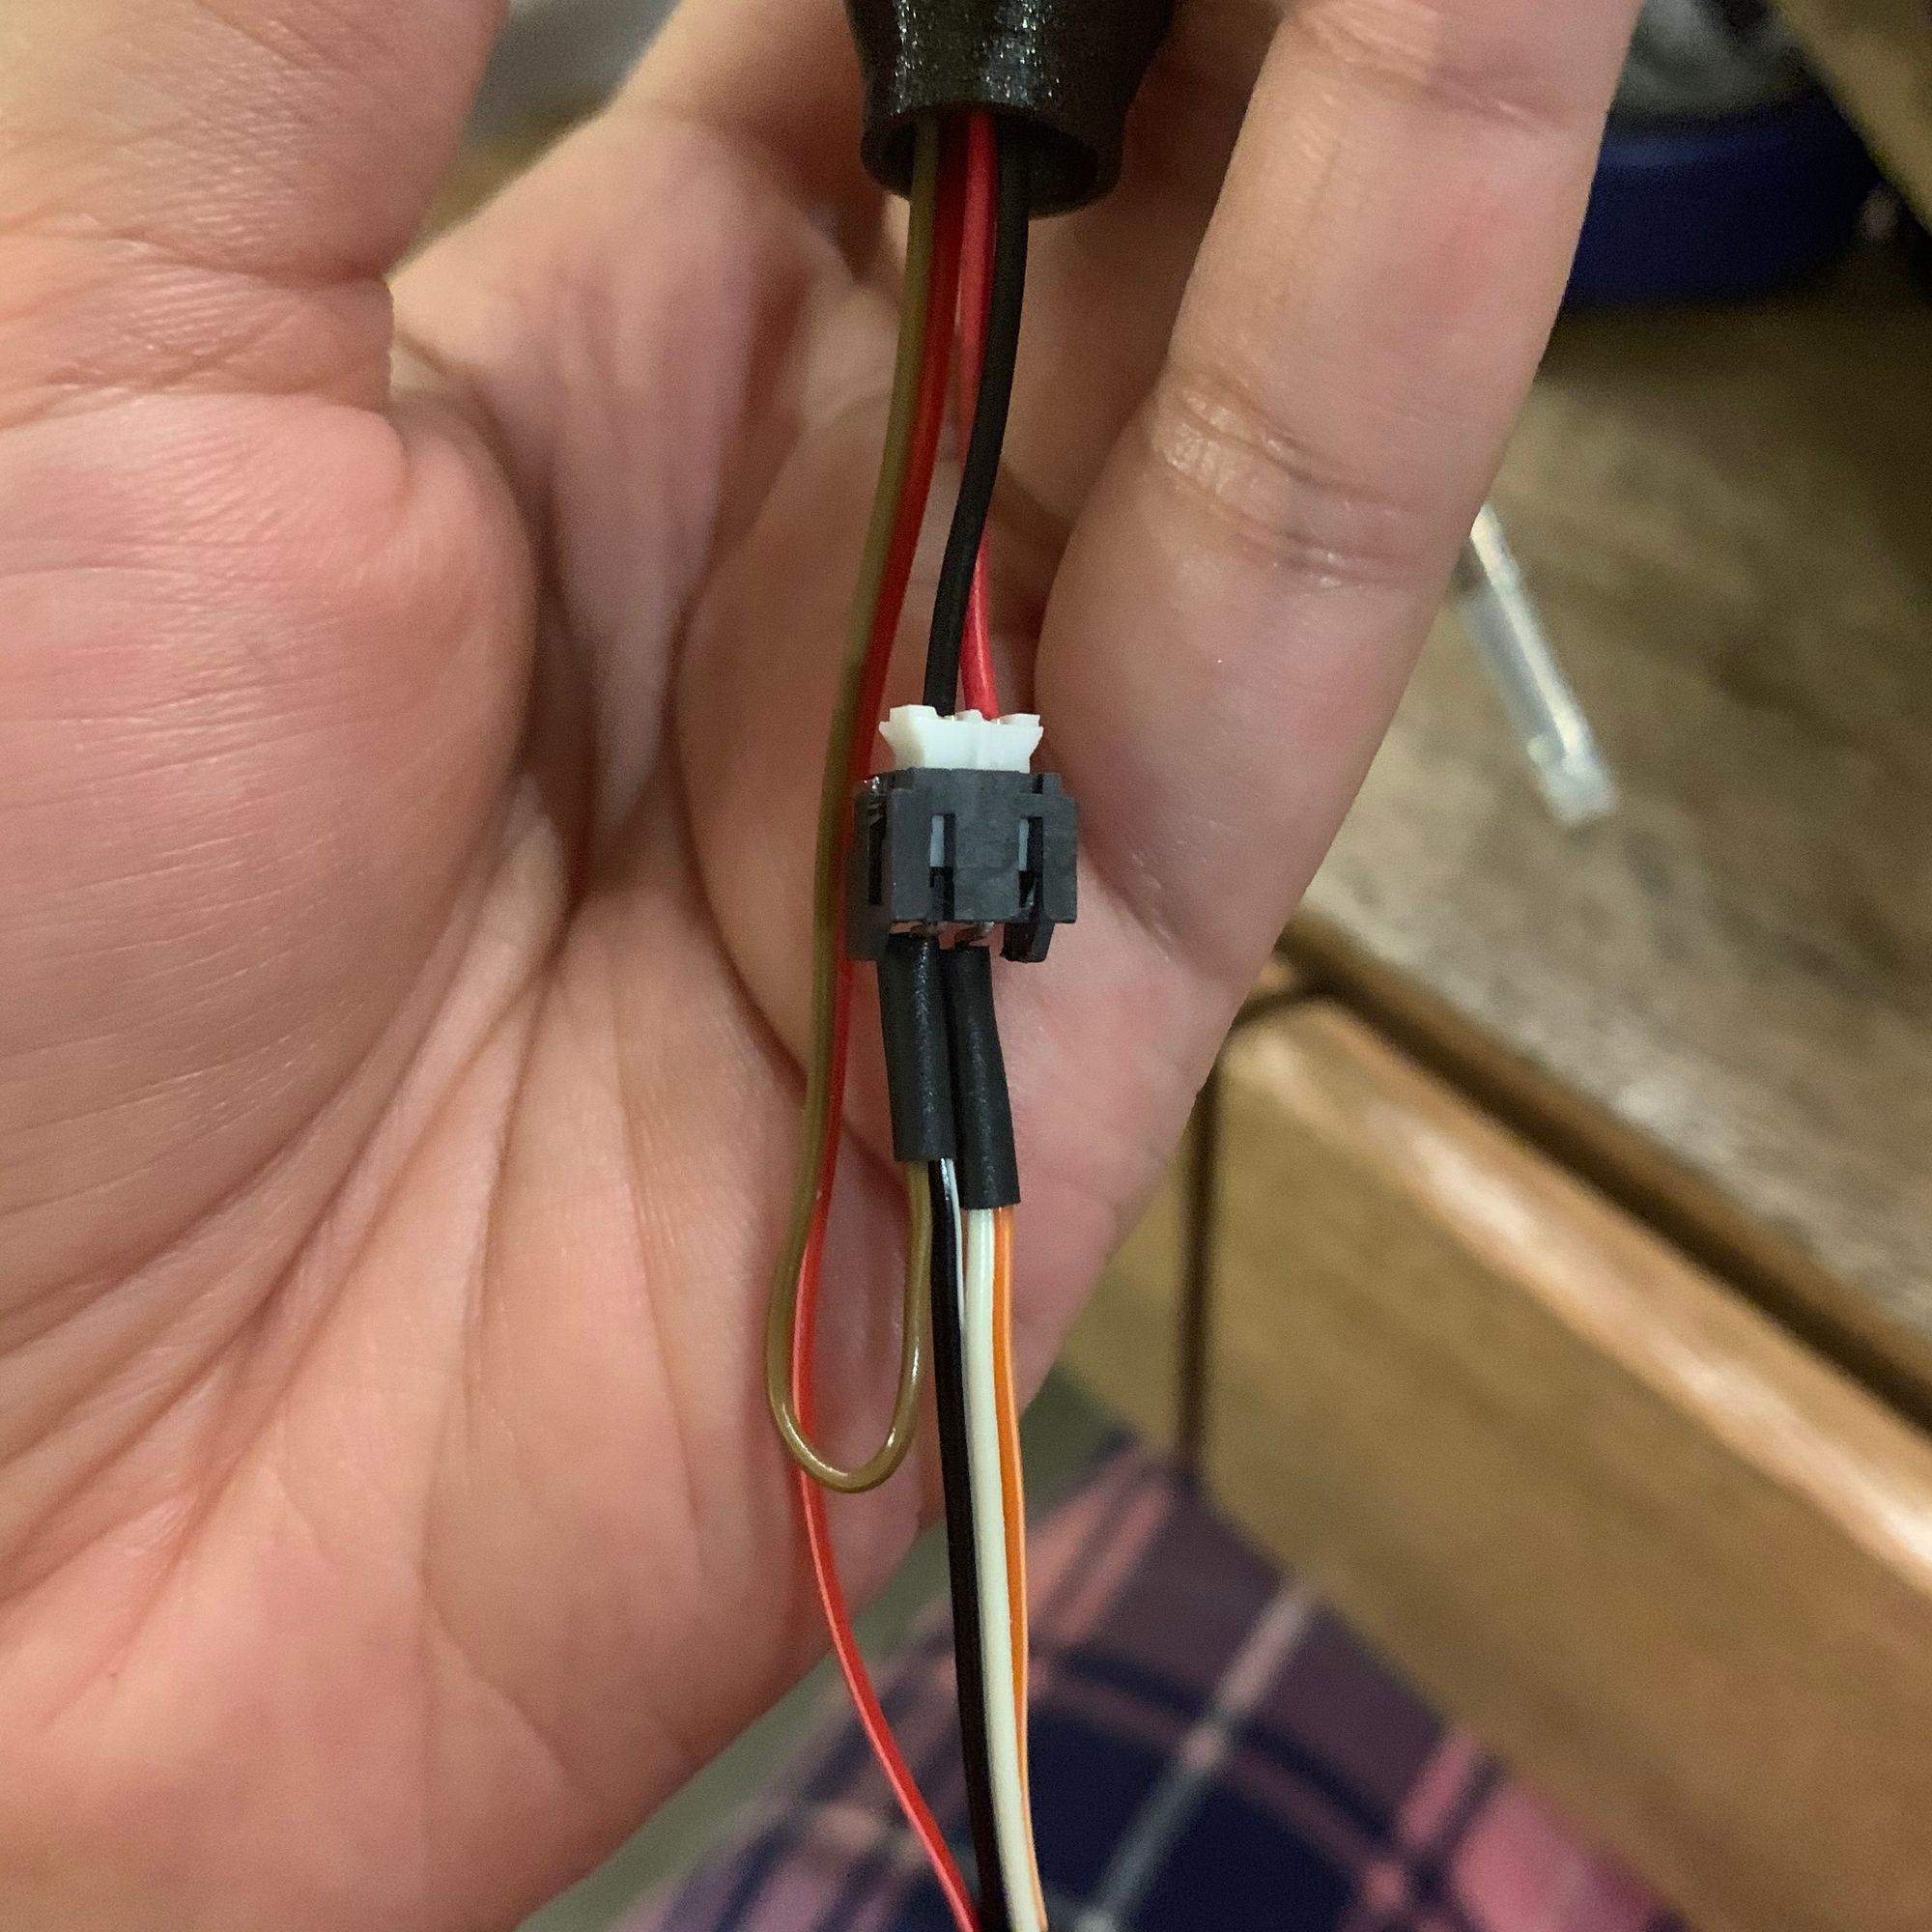
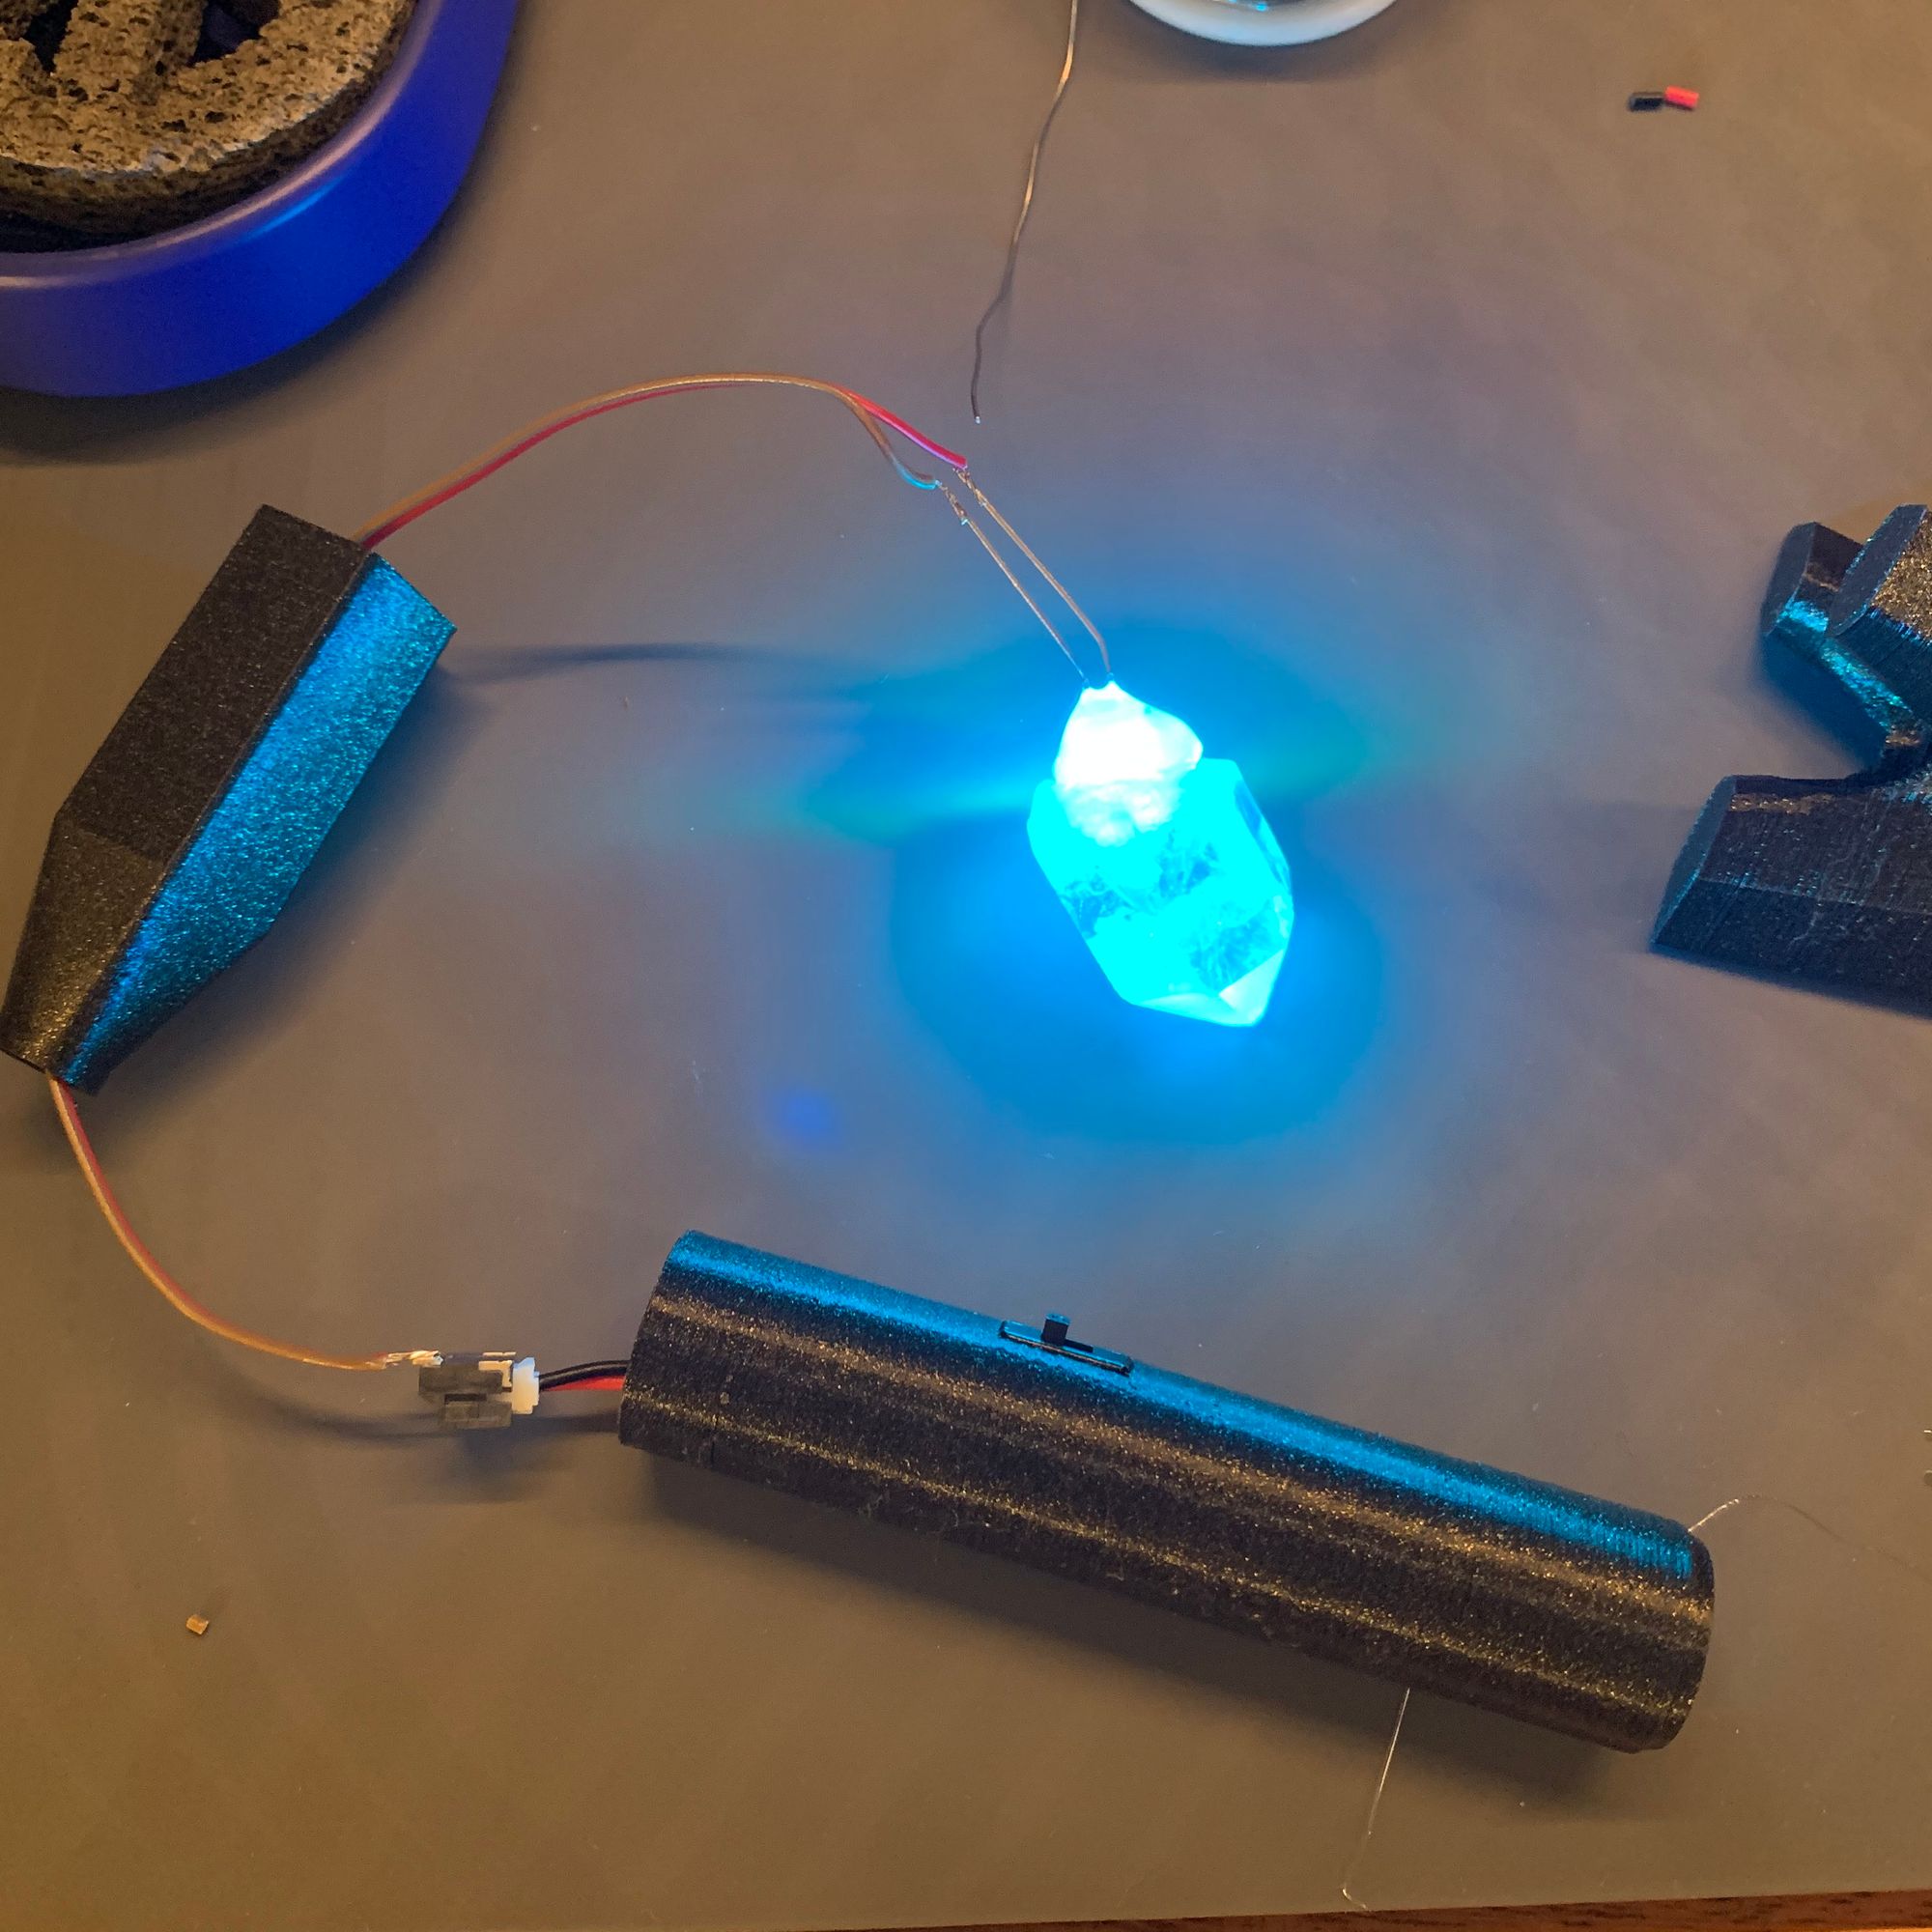
I wanted to have a switch to turn the light on and off, and I also wanted some way to recharge the battery. I tried to fit a LiPo charger PCB into the staff neck, but ultimately decided to follow some old programming wisdom: KISS (keep it simple, stupid 😛). I came up with this wiring, and created a VERY professional looking schematic for your convenience:

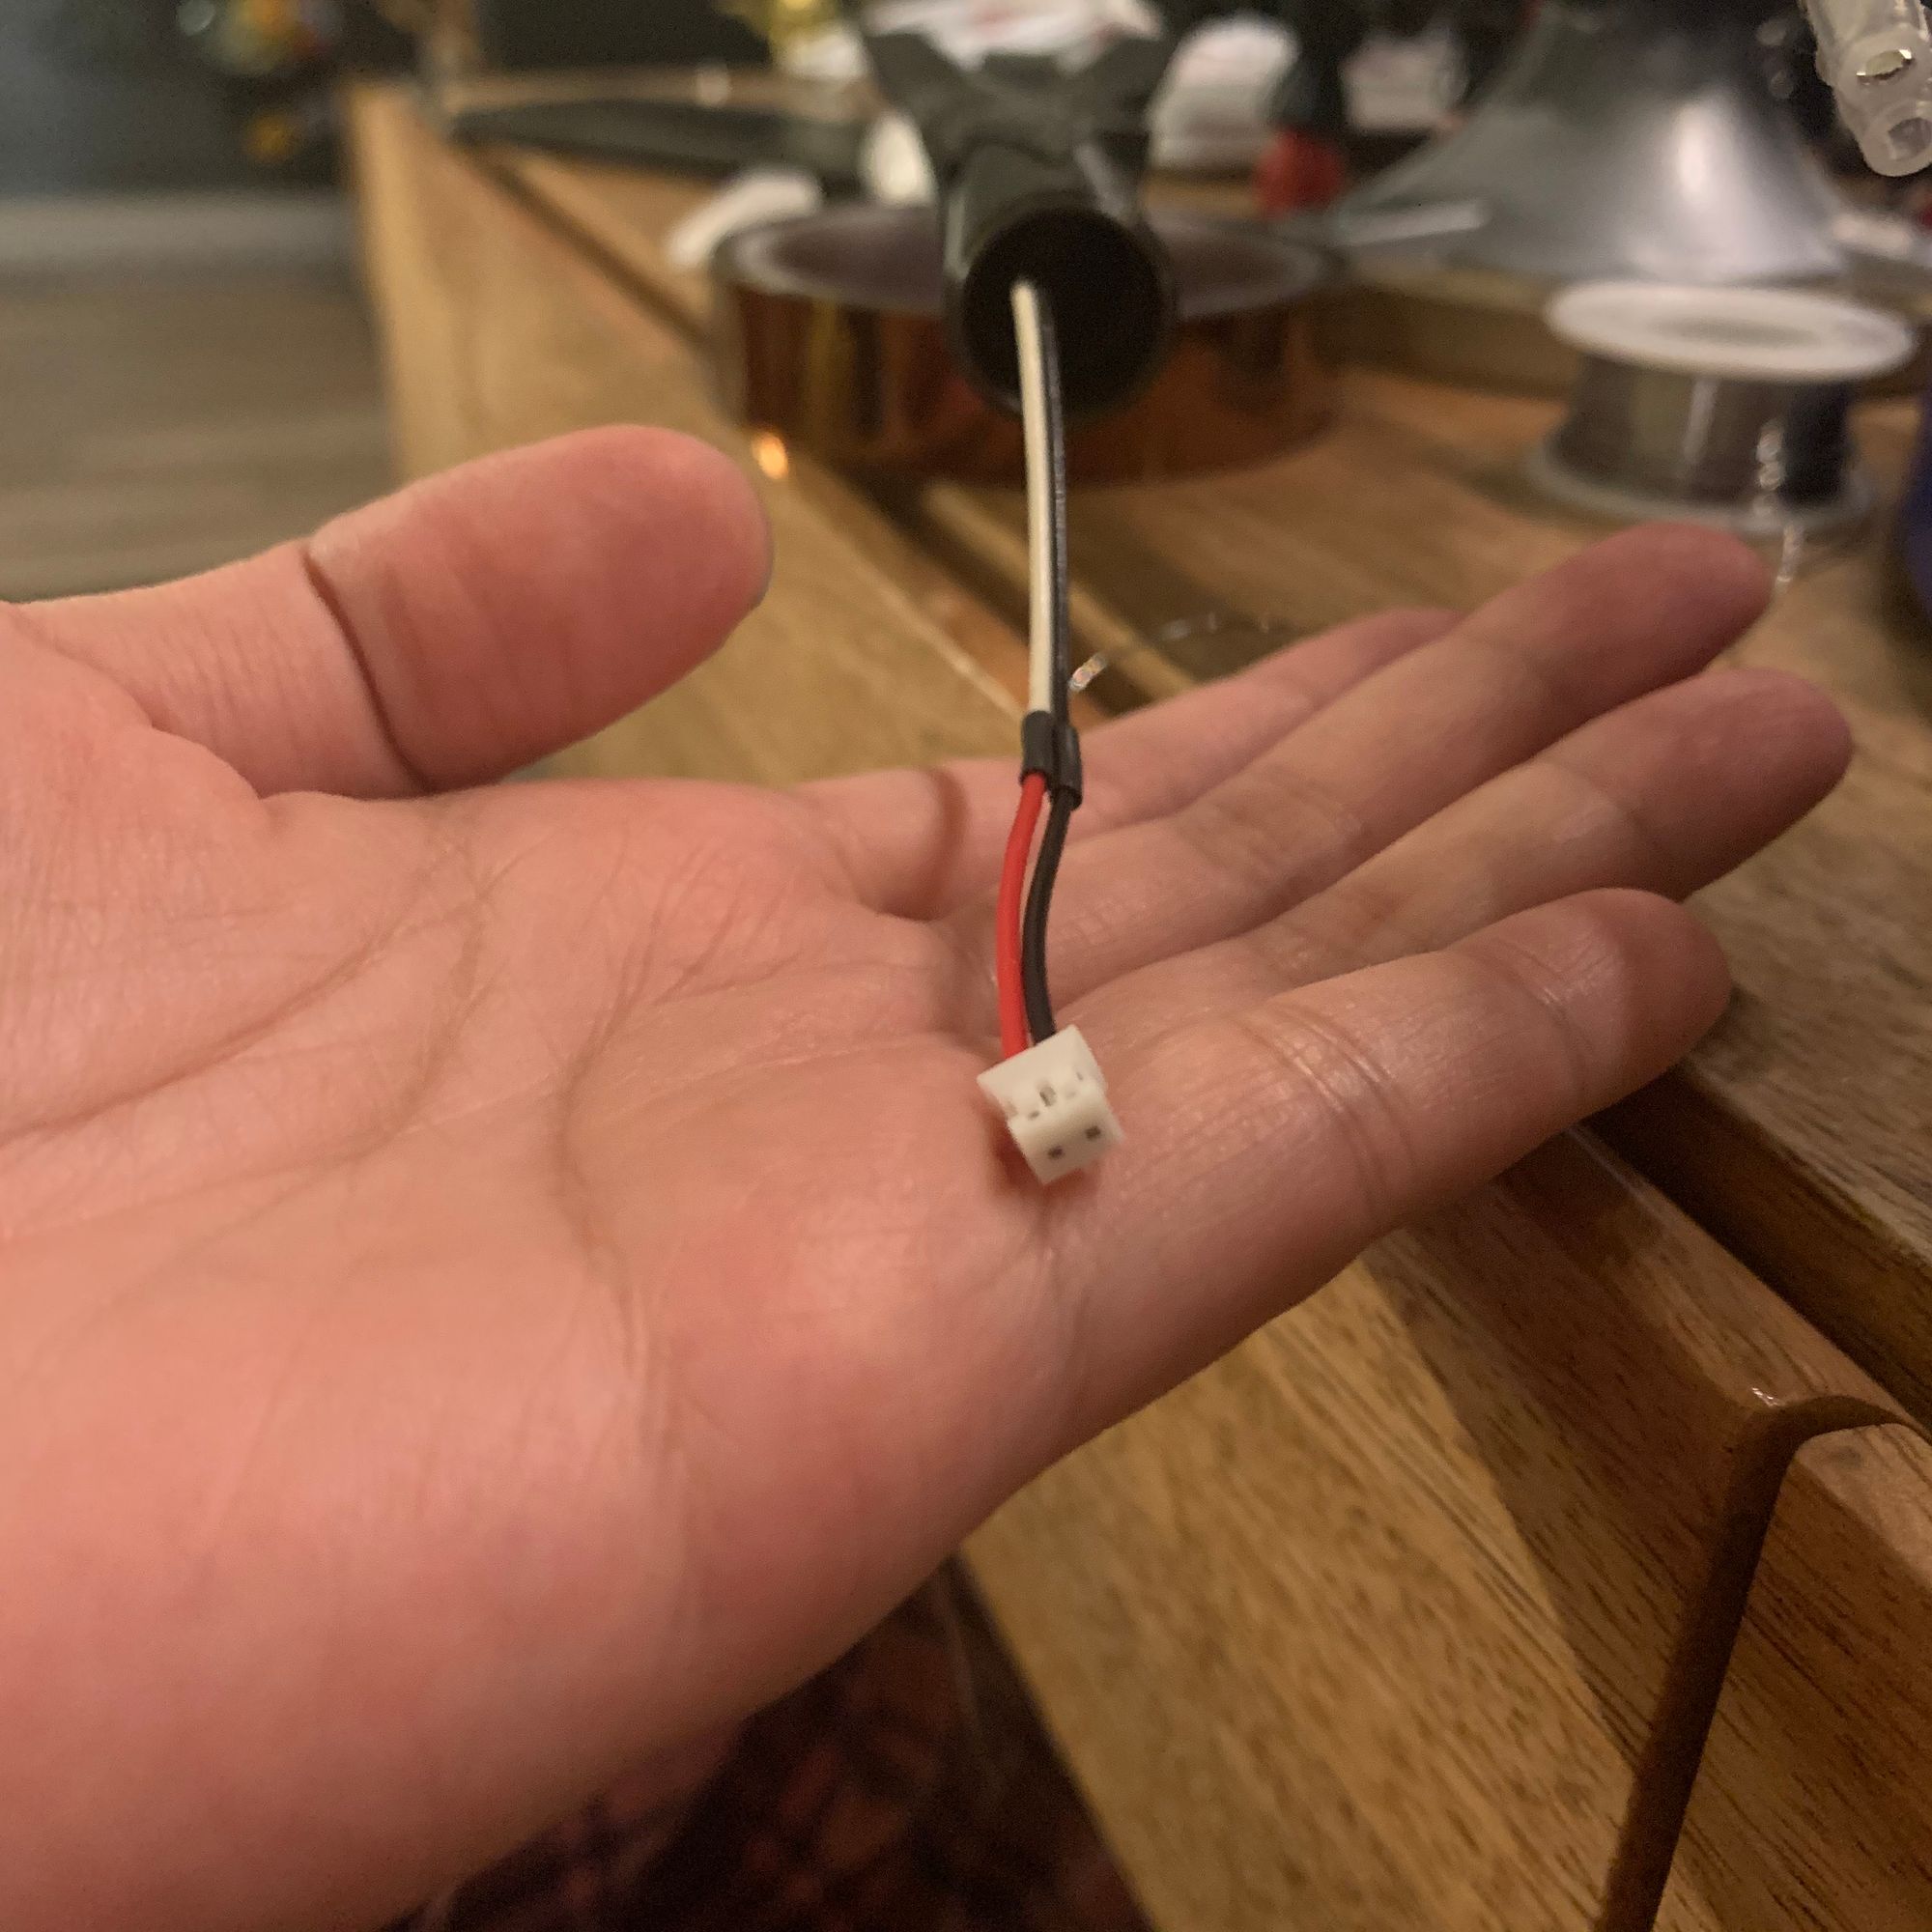
The single color-changing LED was not going to drain the 105mAh battery too fast, especially since I could turn it off, so I didn't really need a convenient way of charging. Whenever I needed to, I could just pull out the JST cable from the staff head and stick it onto the charger! Problem solved ✅
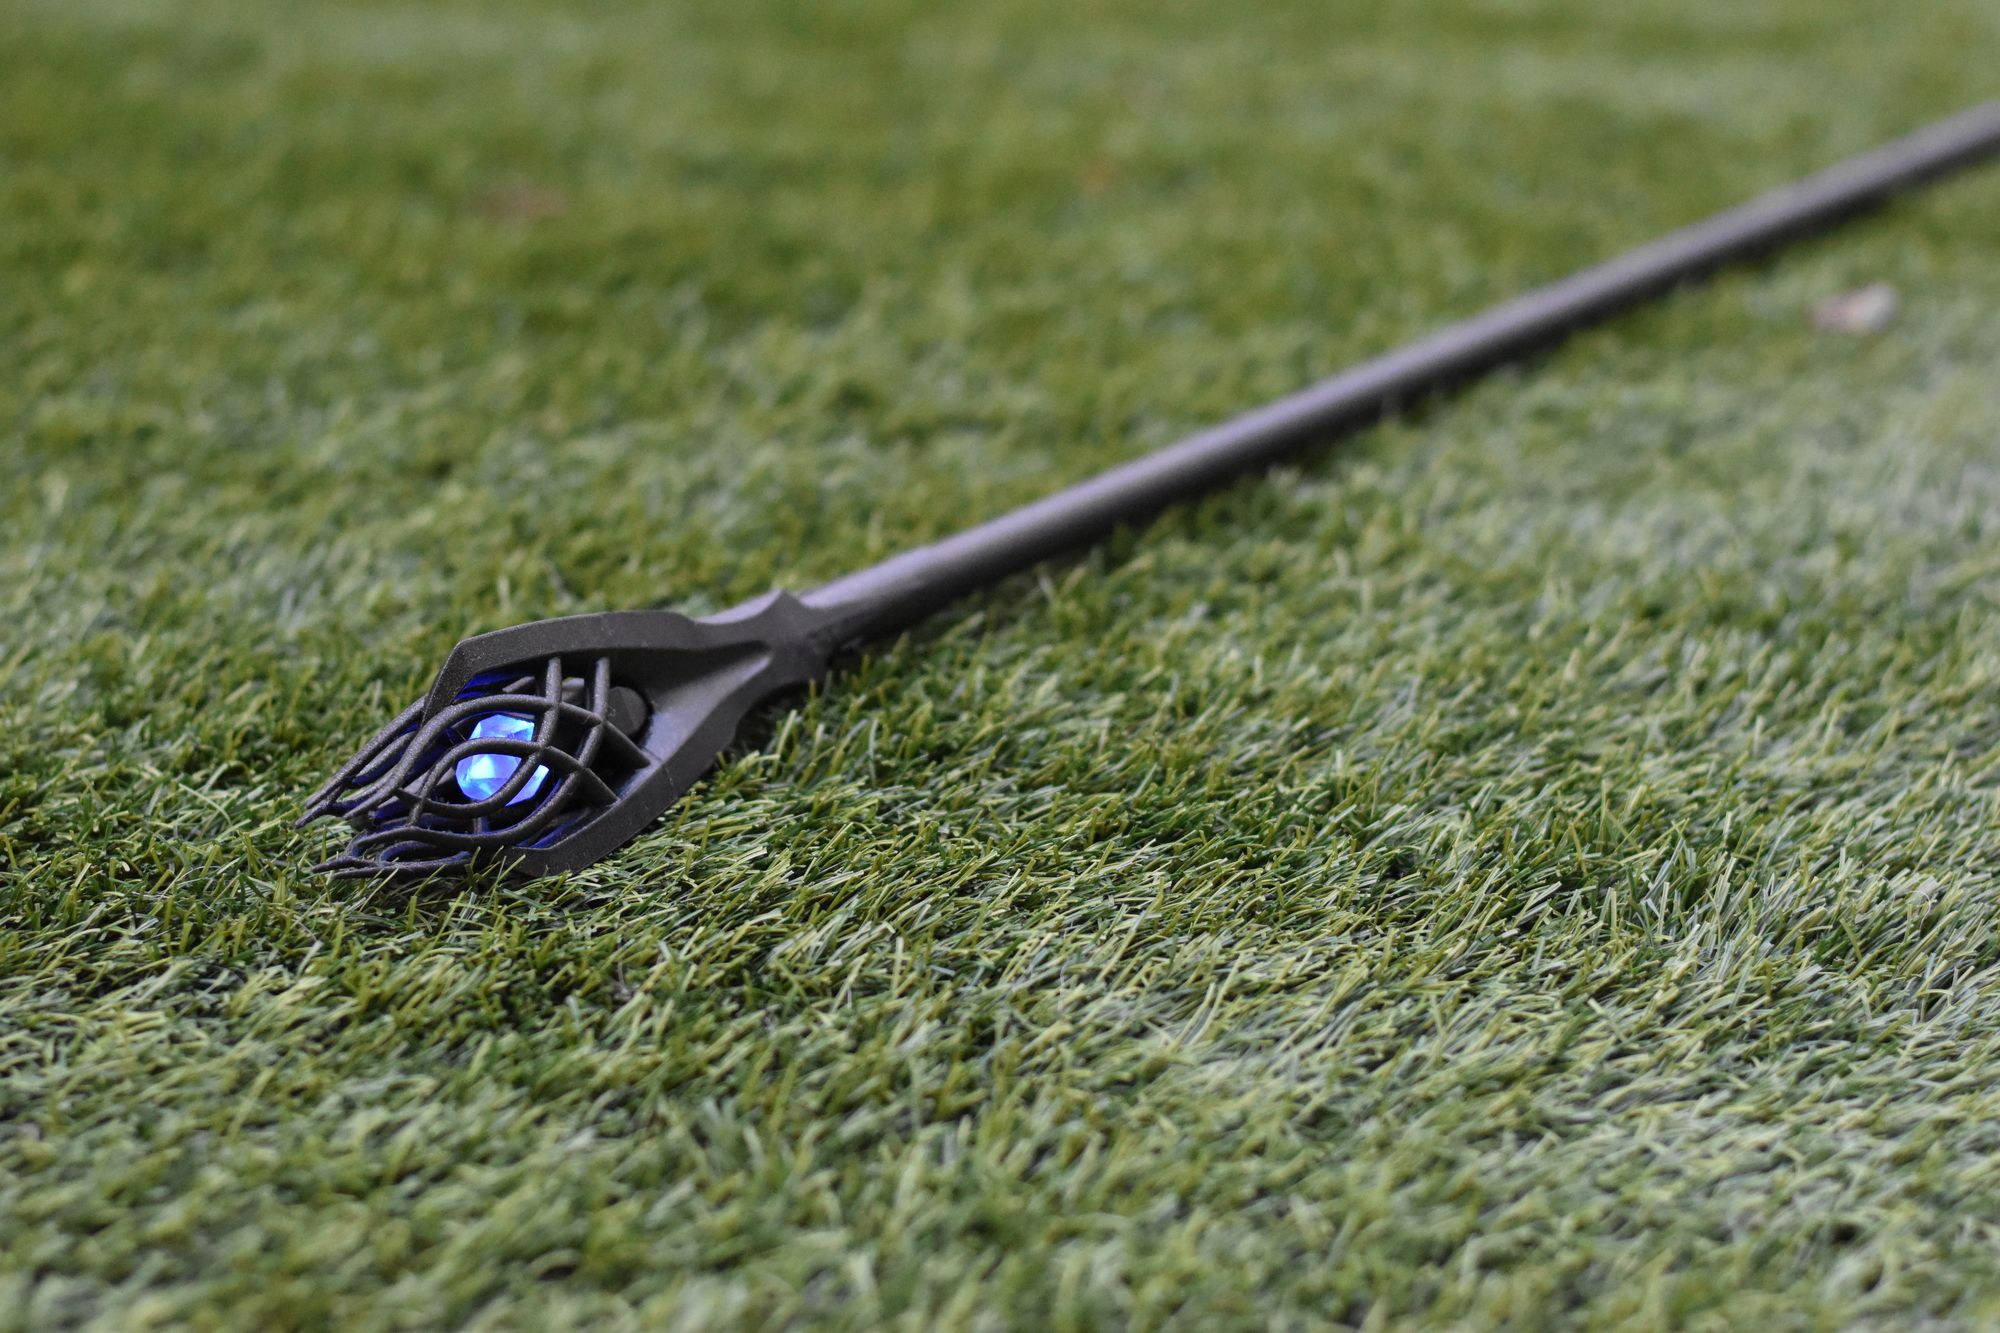
Now that the staff head was working, I could finally put everything together!
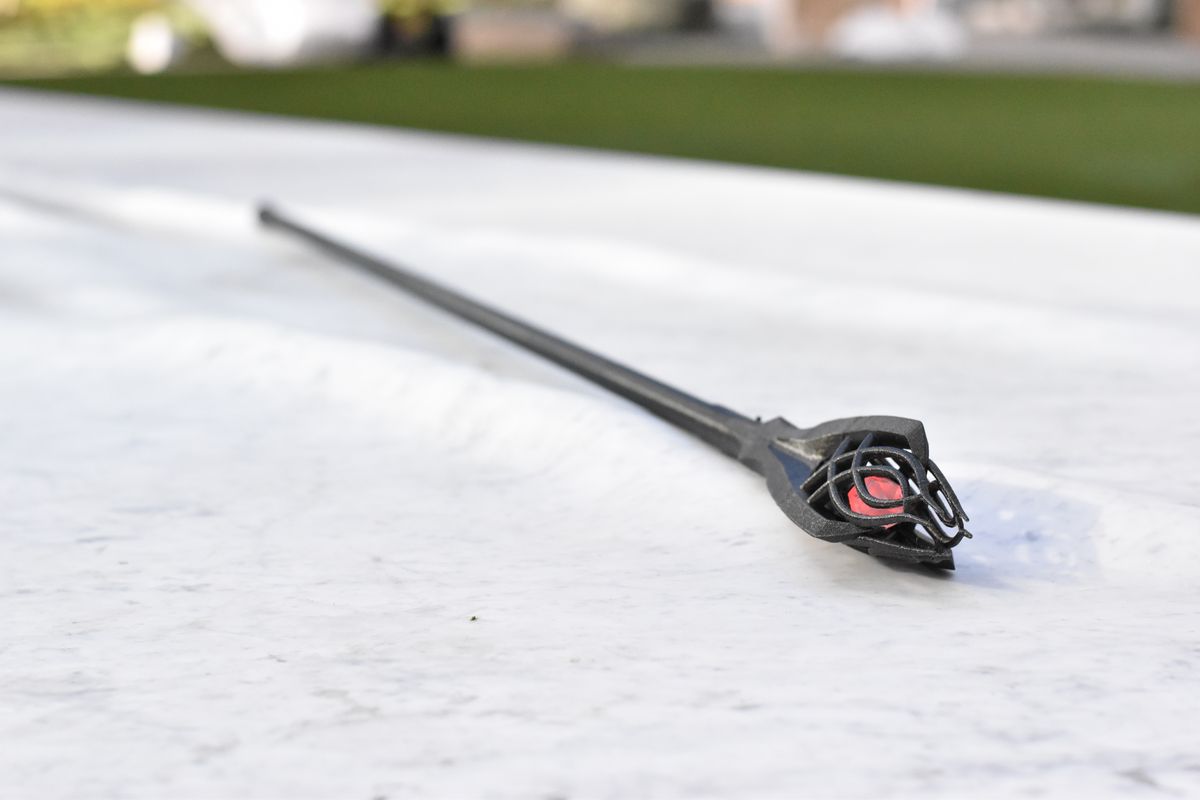
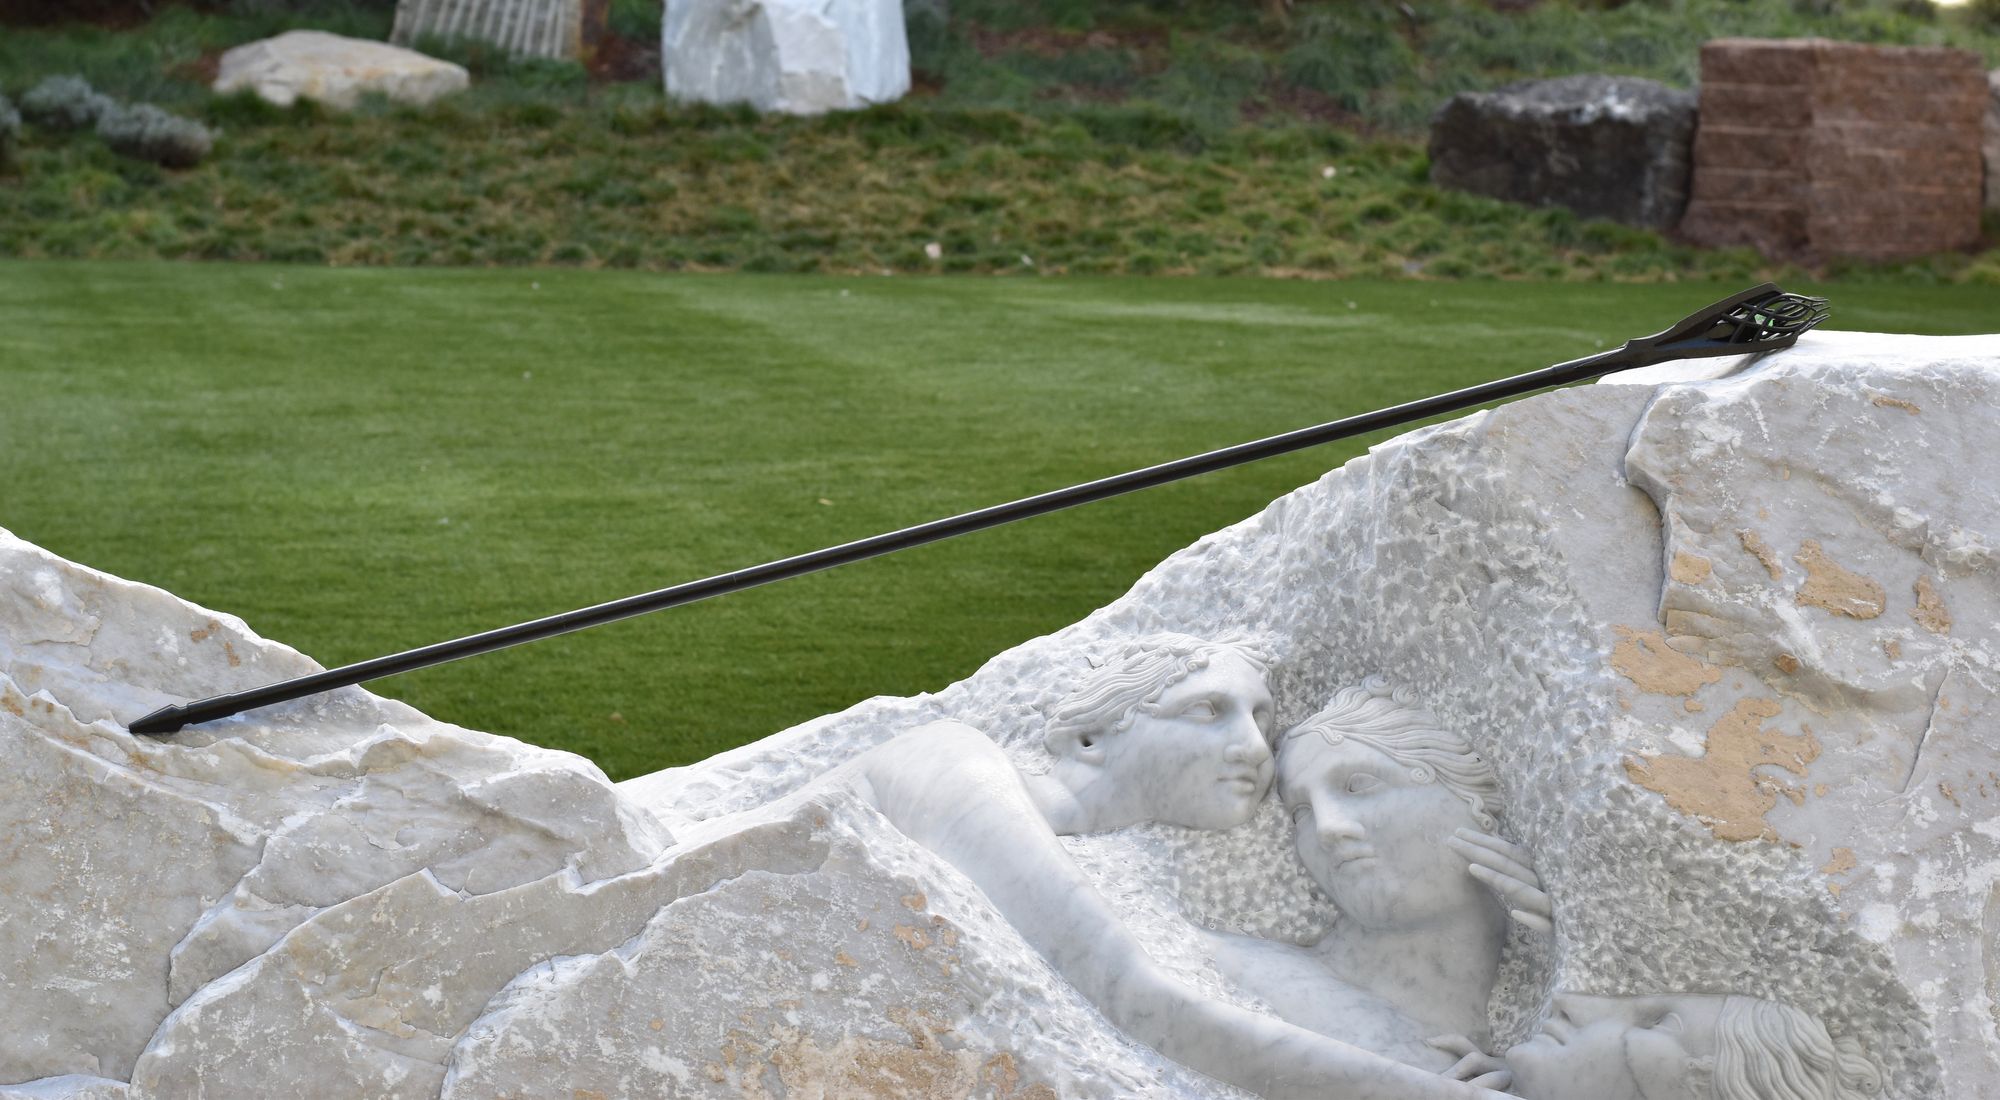
The staff!
I'm quite happy with how this turned out! It ended up being about as tall as me, and now I feel like I need a costume to go with it.
Thanks for reading this far. Honestly, this project took a lot longer than I expected. I had to do a lot of thinking about how the pieces were going to fit together. Hopefully over time, as I practice the craft of making, I'll get better at estimating the amount of effort and time it will take. I hope you enjoyed my journey, and I hope you keep on making too! 🎉
EDIT: It's been awhile since I made this project, but if you're interested in making a version of this staff, I uploaded the 3D model files on Thangs: https://than.gs/m/1417270 🥰