

One of my fave artists, @sailorhg, has recently started a blog about electronics – Electrocuties! I think it's the best name ever. 💖
Inspired by her first post, One Ring To Ride Them All, and generally being a little bit obsessed about rings right now (especially after creating my Sparkle Ring), I created my own version of this NFC transit card ring using laser cut frosted acrylic!
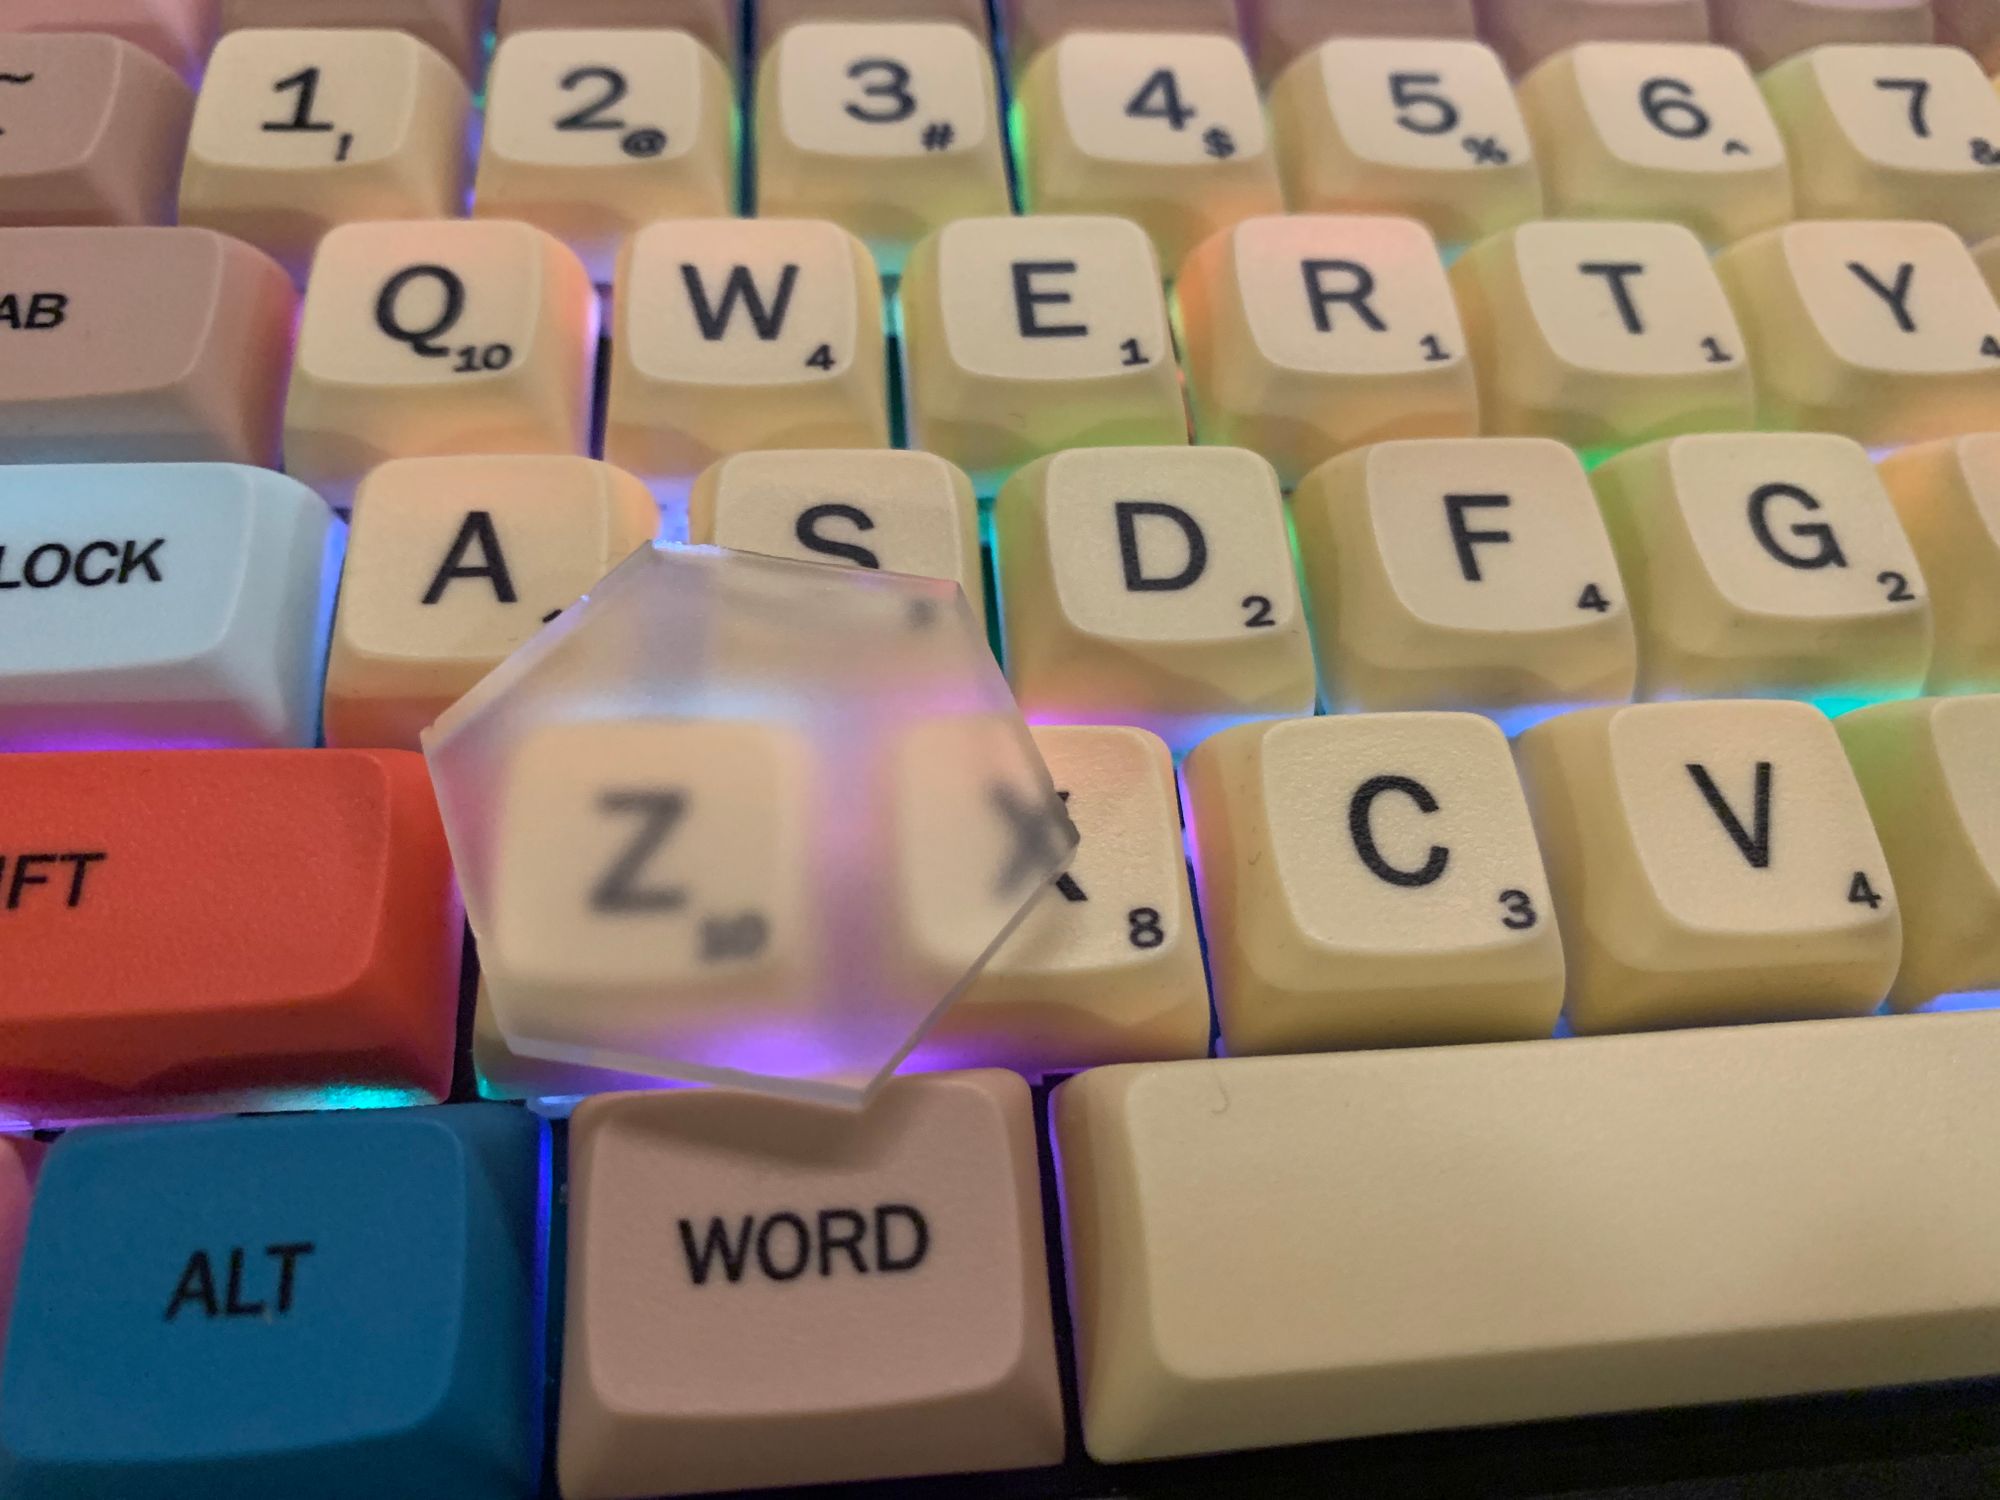
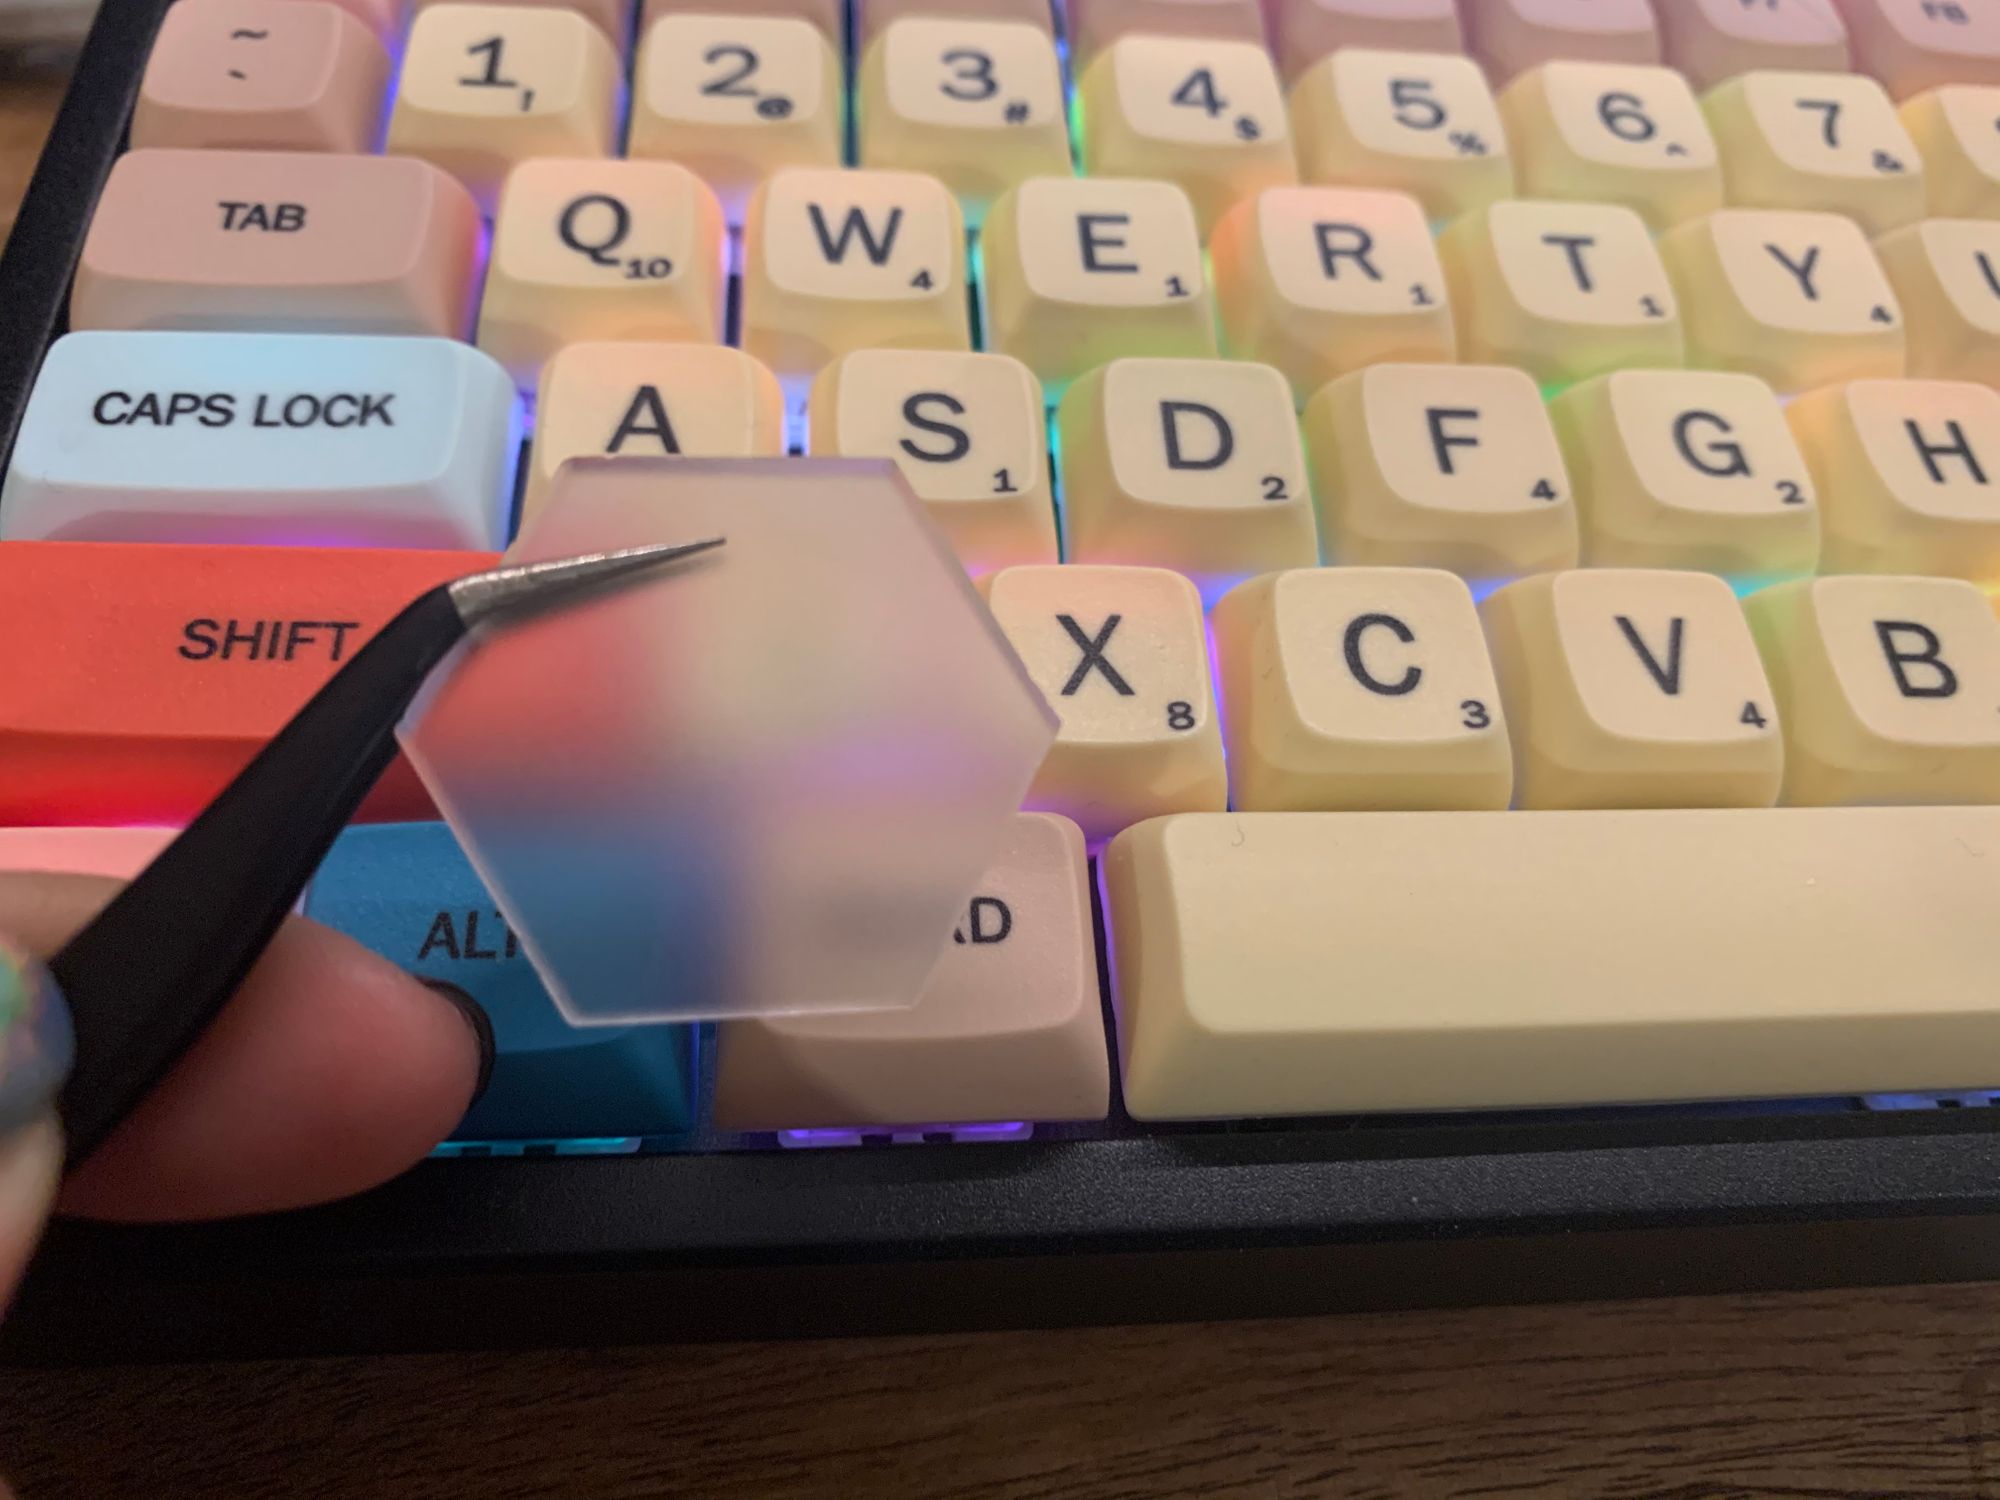
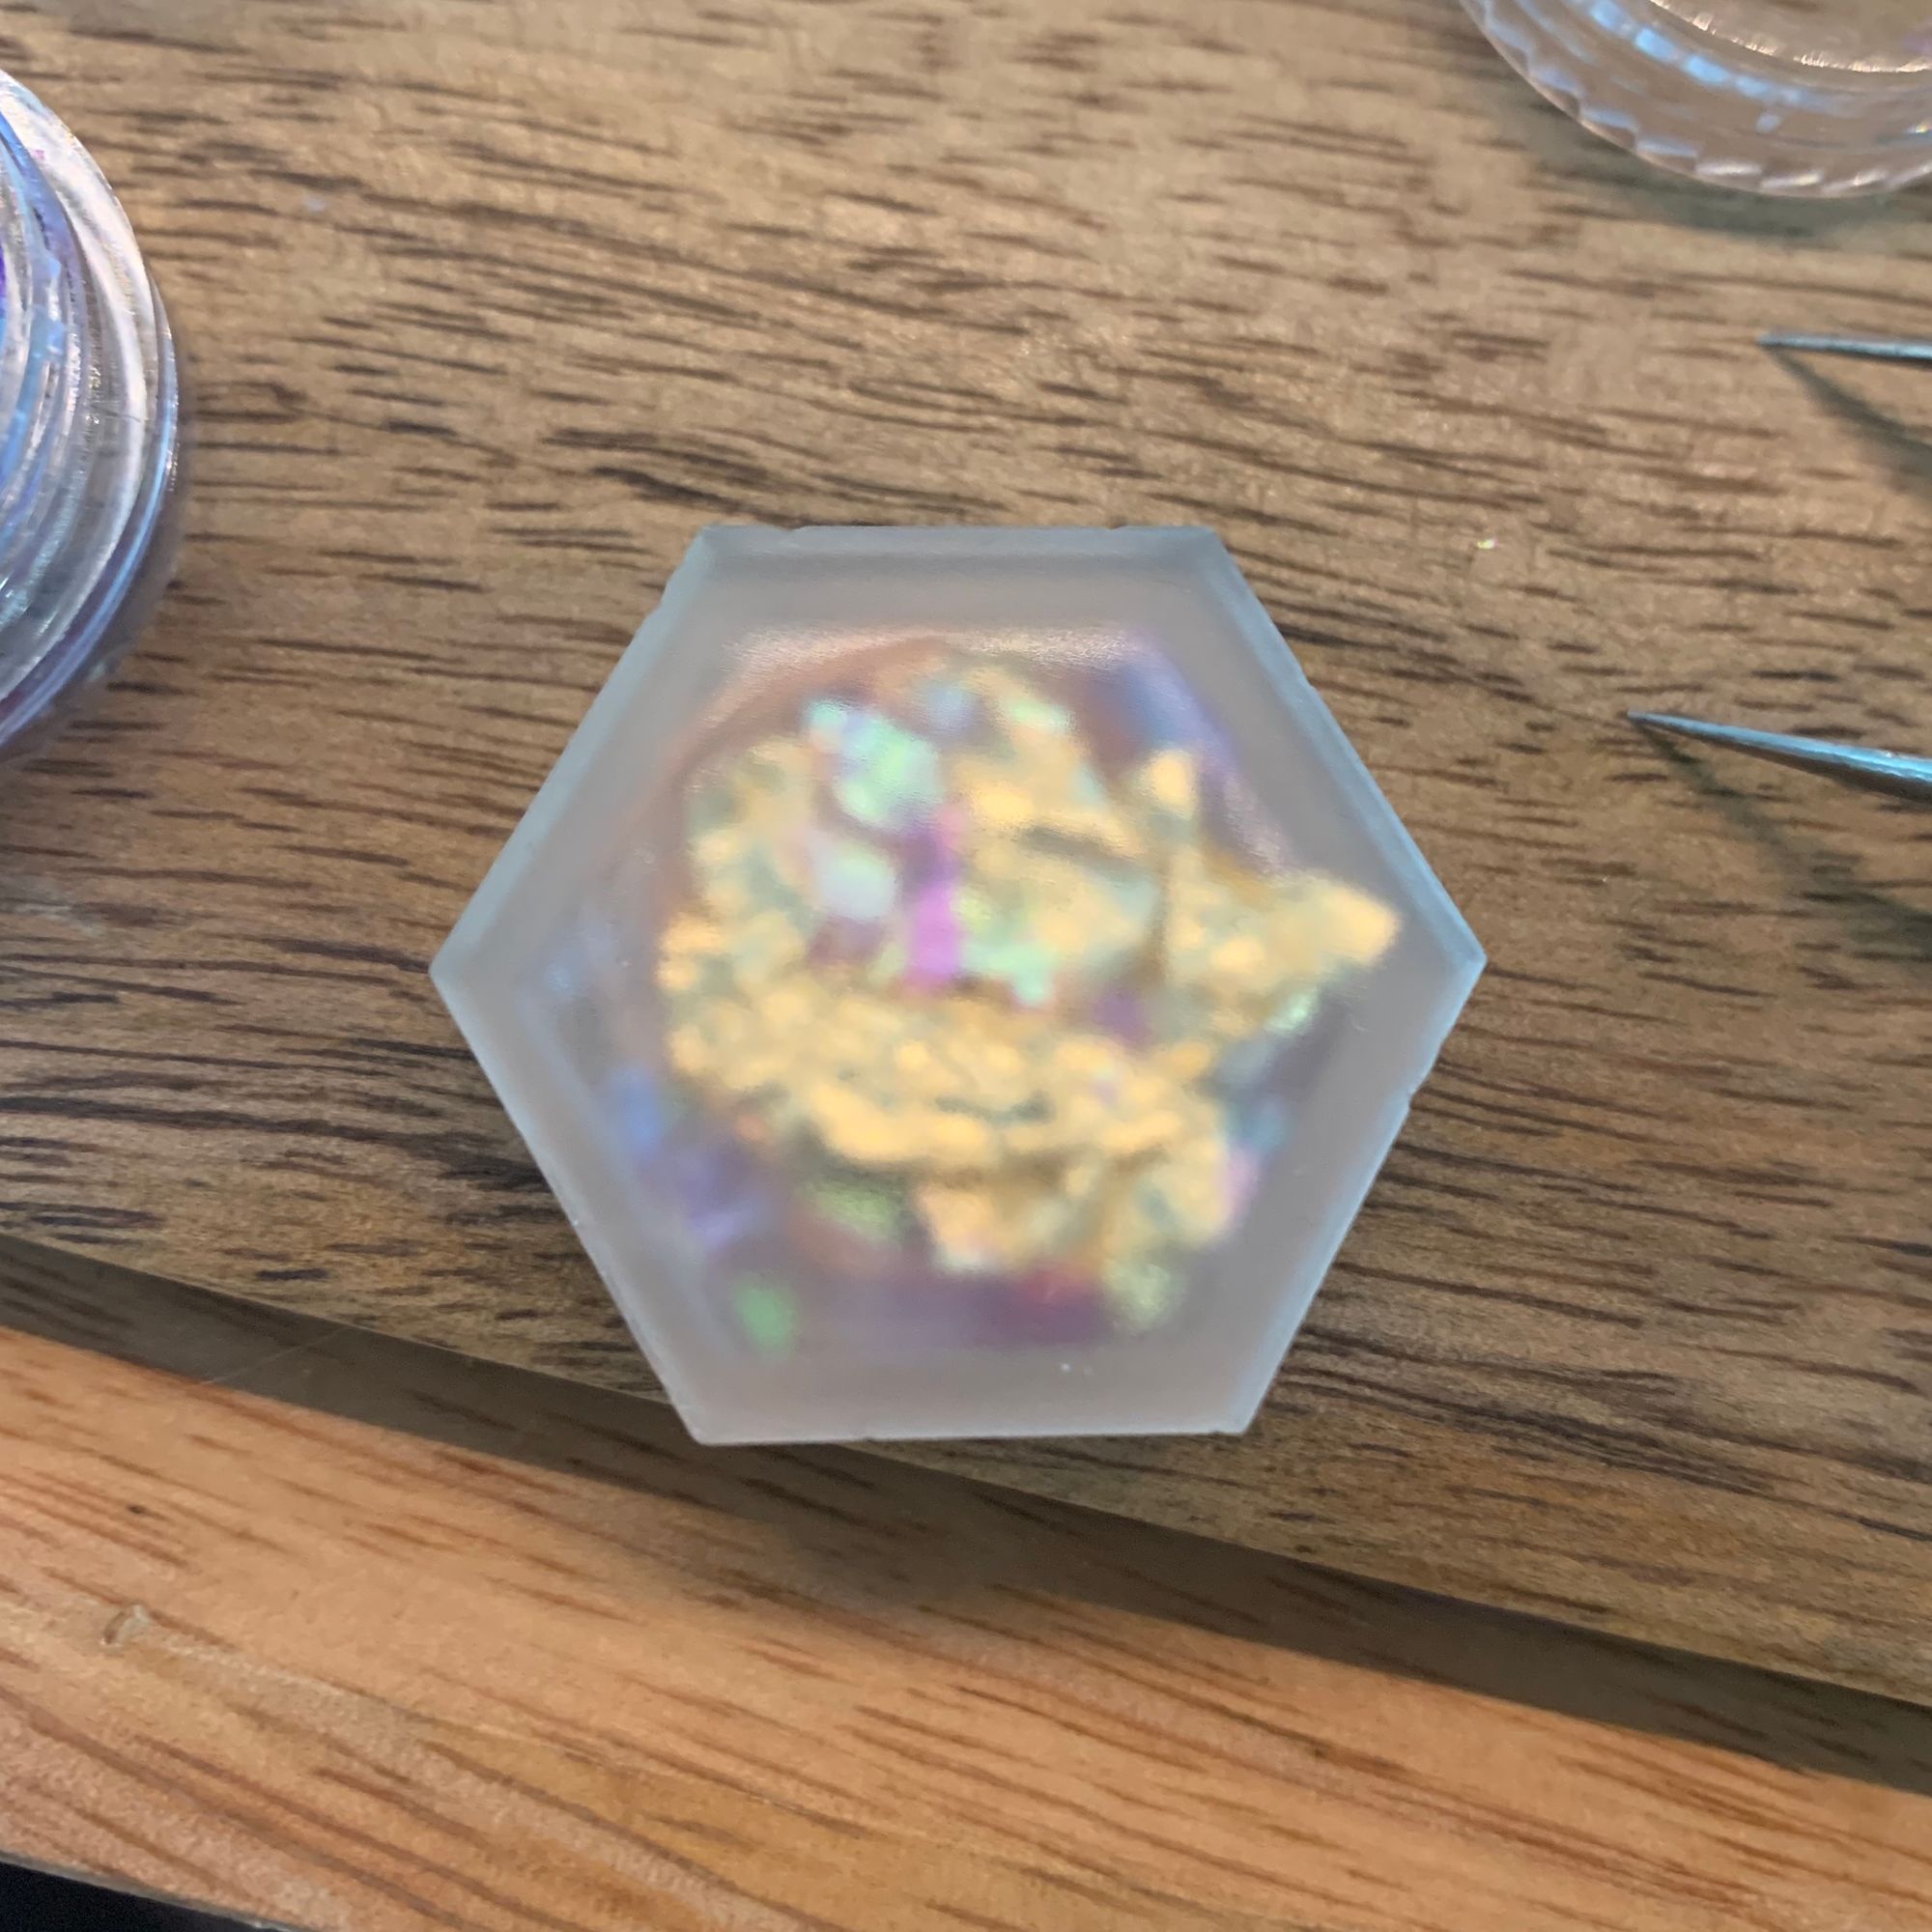
I used this frosted acrylic because I thought it was just a gorgeous material. The effect is blurrier as you put distance between the object and the acrylic!
(I also don't have resin pouring skills yet, but that's on the list since I've been drooling over @sharpstef's beautiful creations.)
If you want to laser cut and make your own, read on for a quick project walkthrough! I'm getting better at this blog post thang.
What you need
- Frosted Acrylic - I used a 2.9mm thick sheet.
- Transit card - My area uses a Clipper card.
- Things you want to put into the ring – I got this set of nail art foil and glitter from Amazon so I could experiment!
- Super glue, or acrylic glue.
- Optional: USB NFC reader, make sure it's compatible with your transit card though! This is useful if you don't have an Android phone.
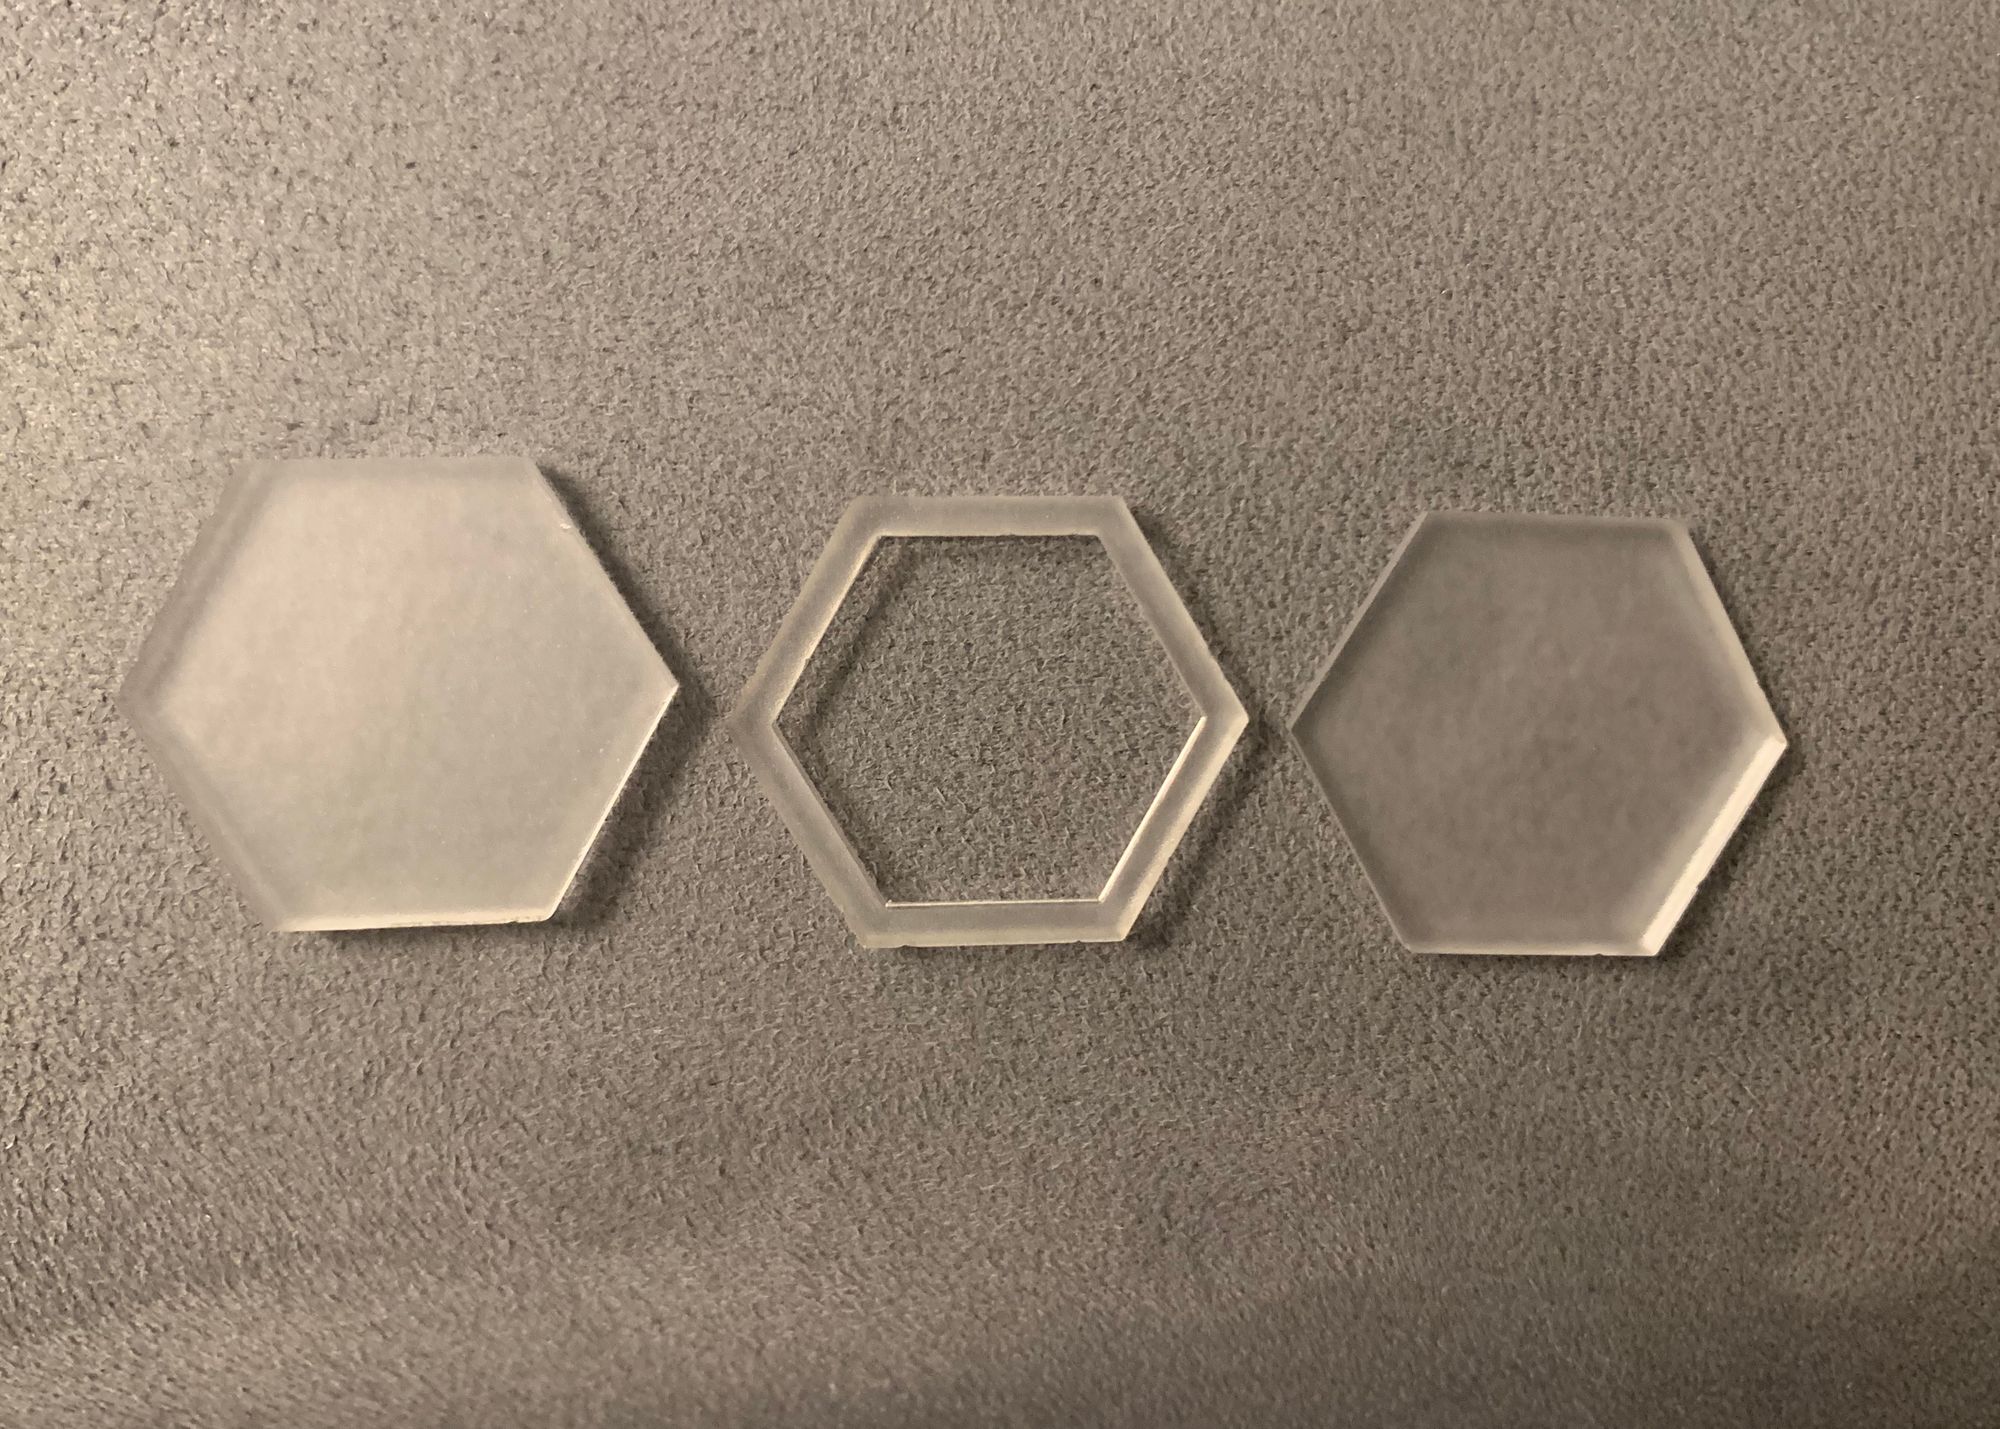
Step 0: Laser cut the ring parts
I used the same ring file for this ring as my Sparkle Ring, but I used the same solid hexagon for the top and bottom pieces.
Step 1: Remove the NFC chip from the card
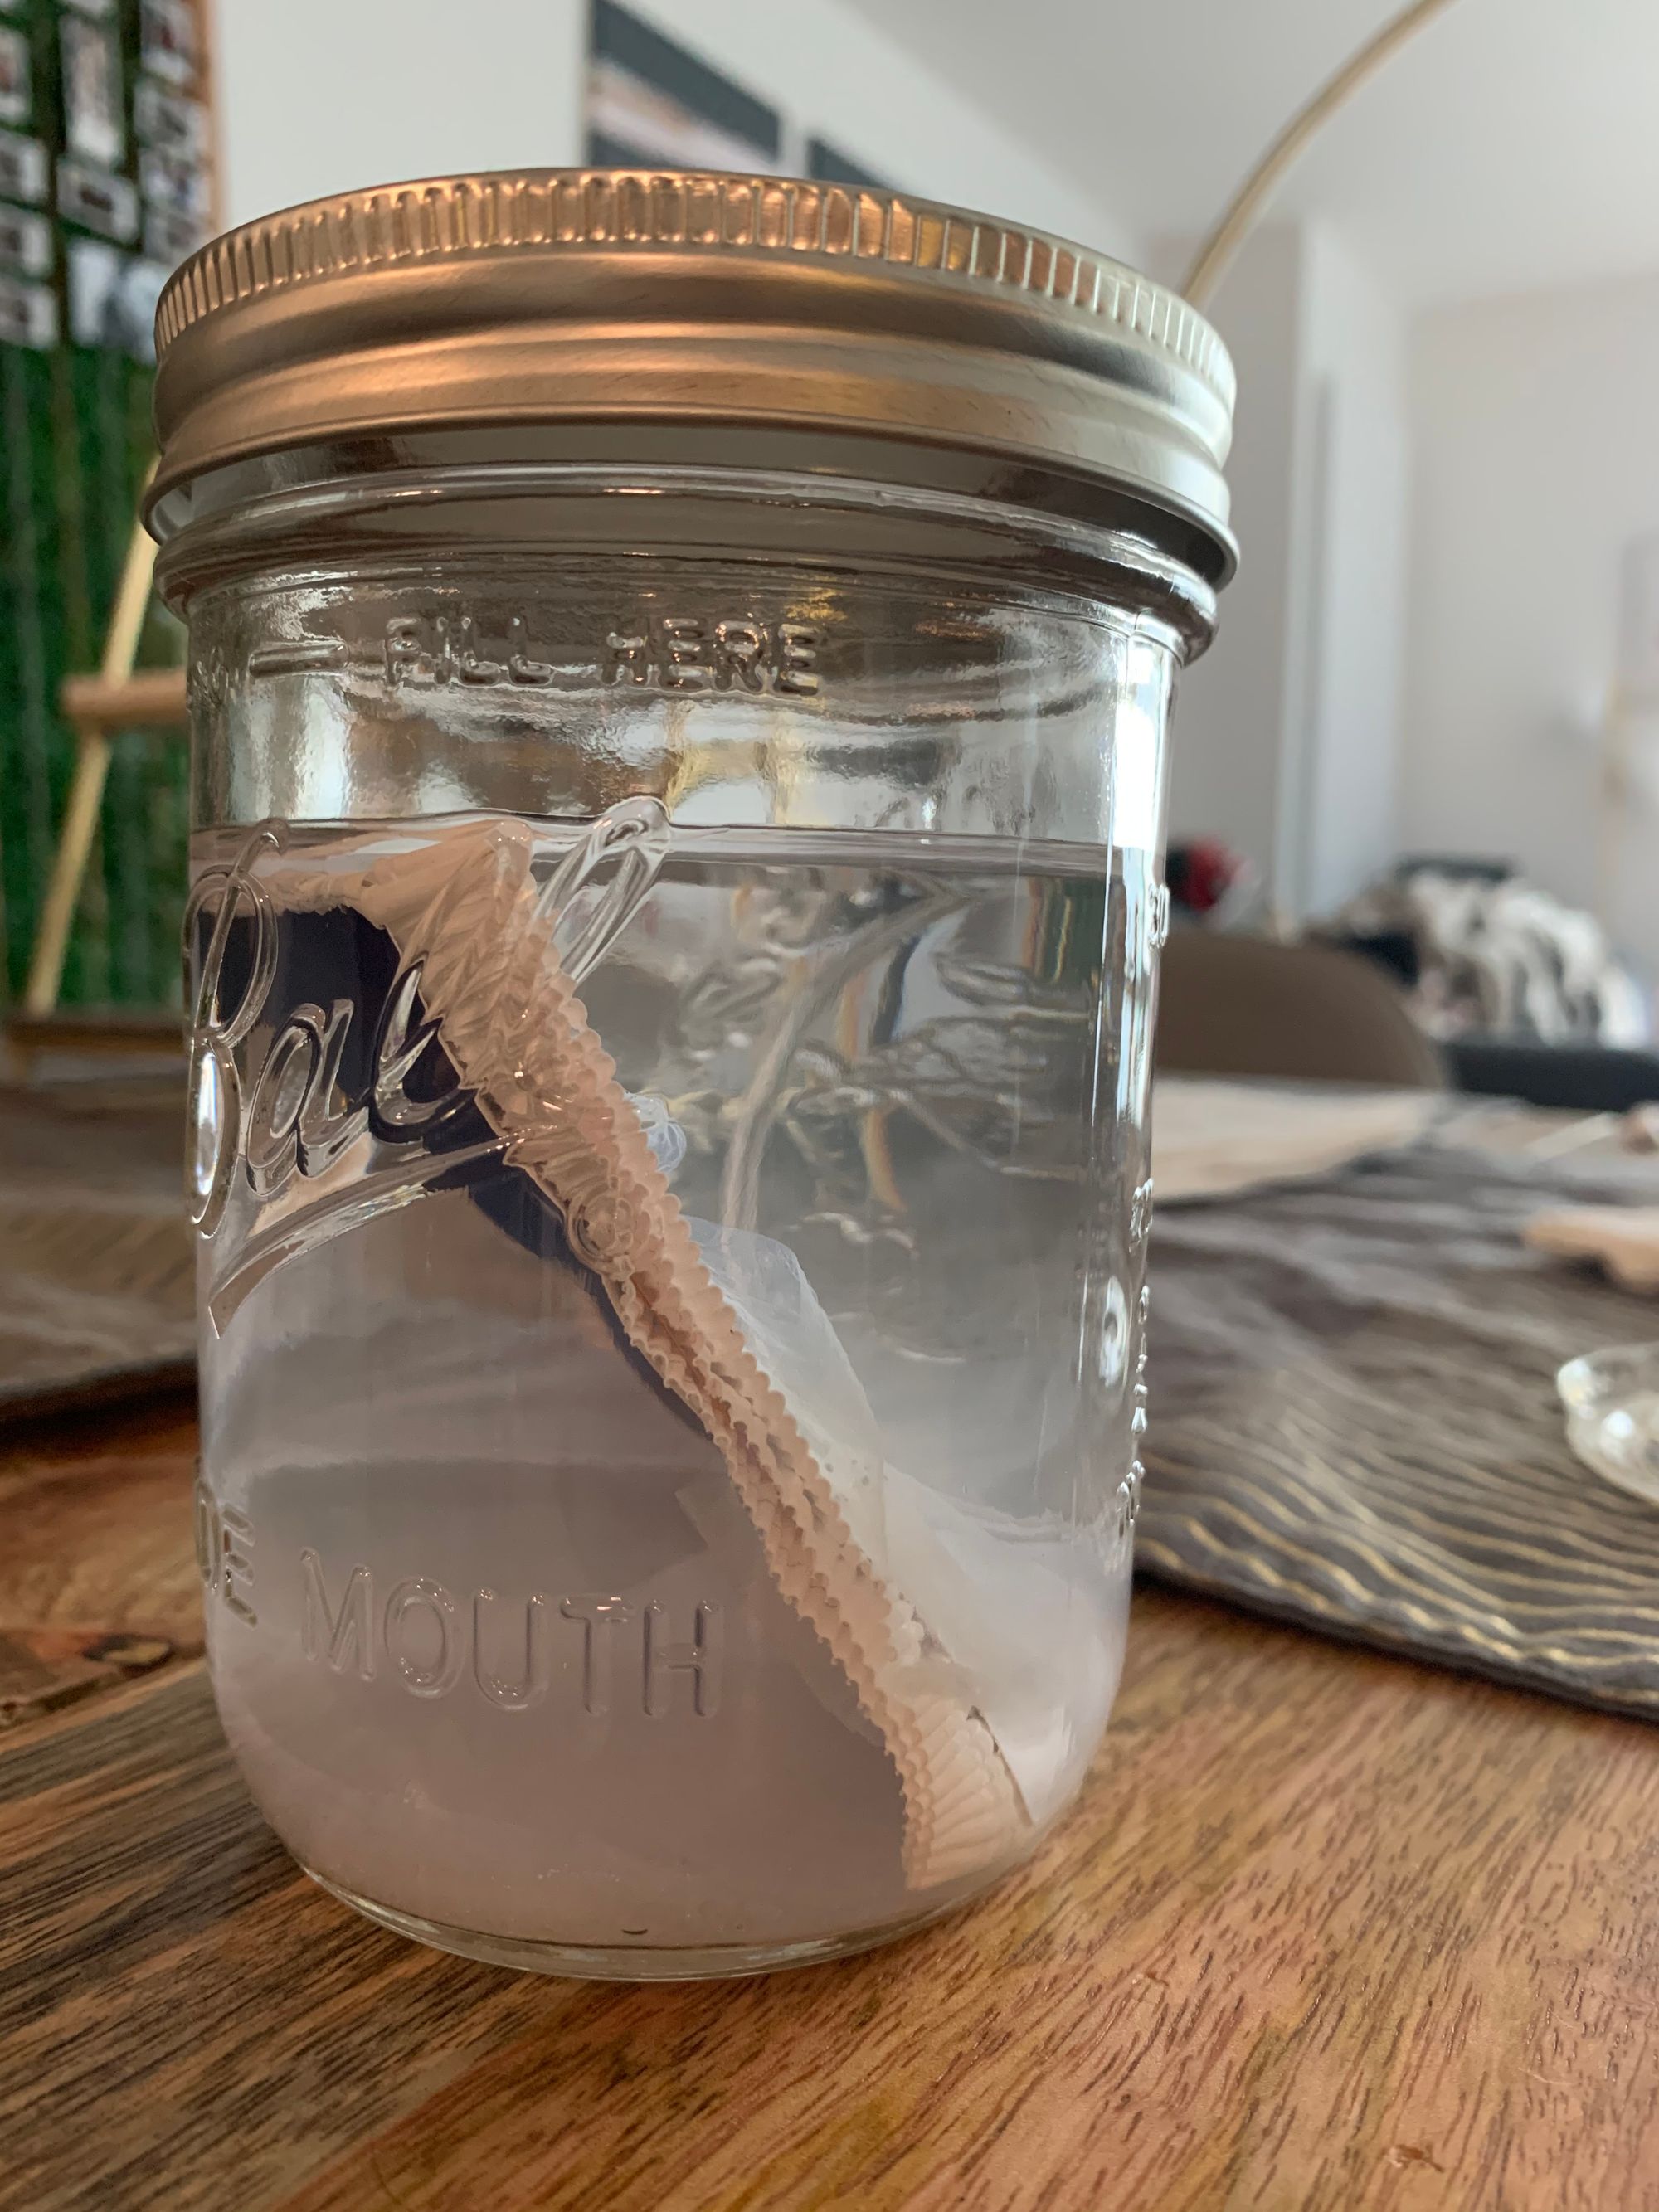
I followed all the instructions on her blog for liberating the NFC chip from its plastic card prison. She had this great tip about using a pickling jar to keep the acetone from evaporating and keeping the vapors away from your lungs. This was the part of the process that took quite a while. I got a couple of clipper cards just in case I messed it up.
The first time I tried to remove the card, the center was still not soft enough, so I left it in there for one more day. I soaked the card for about 3 days total.
Optional: Solder the wires to the chip
After freeing the chip and its antenna, the wires of the antenna kept coming off the chip, so I had to solder the wires to keep the connection strong.
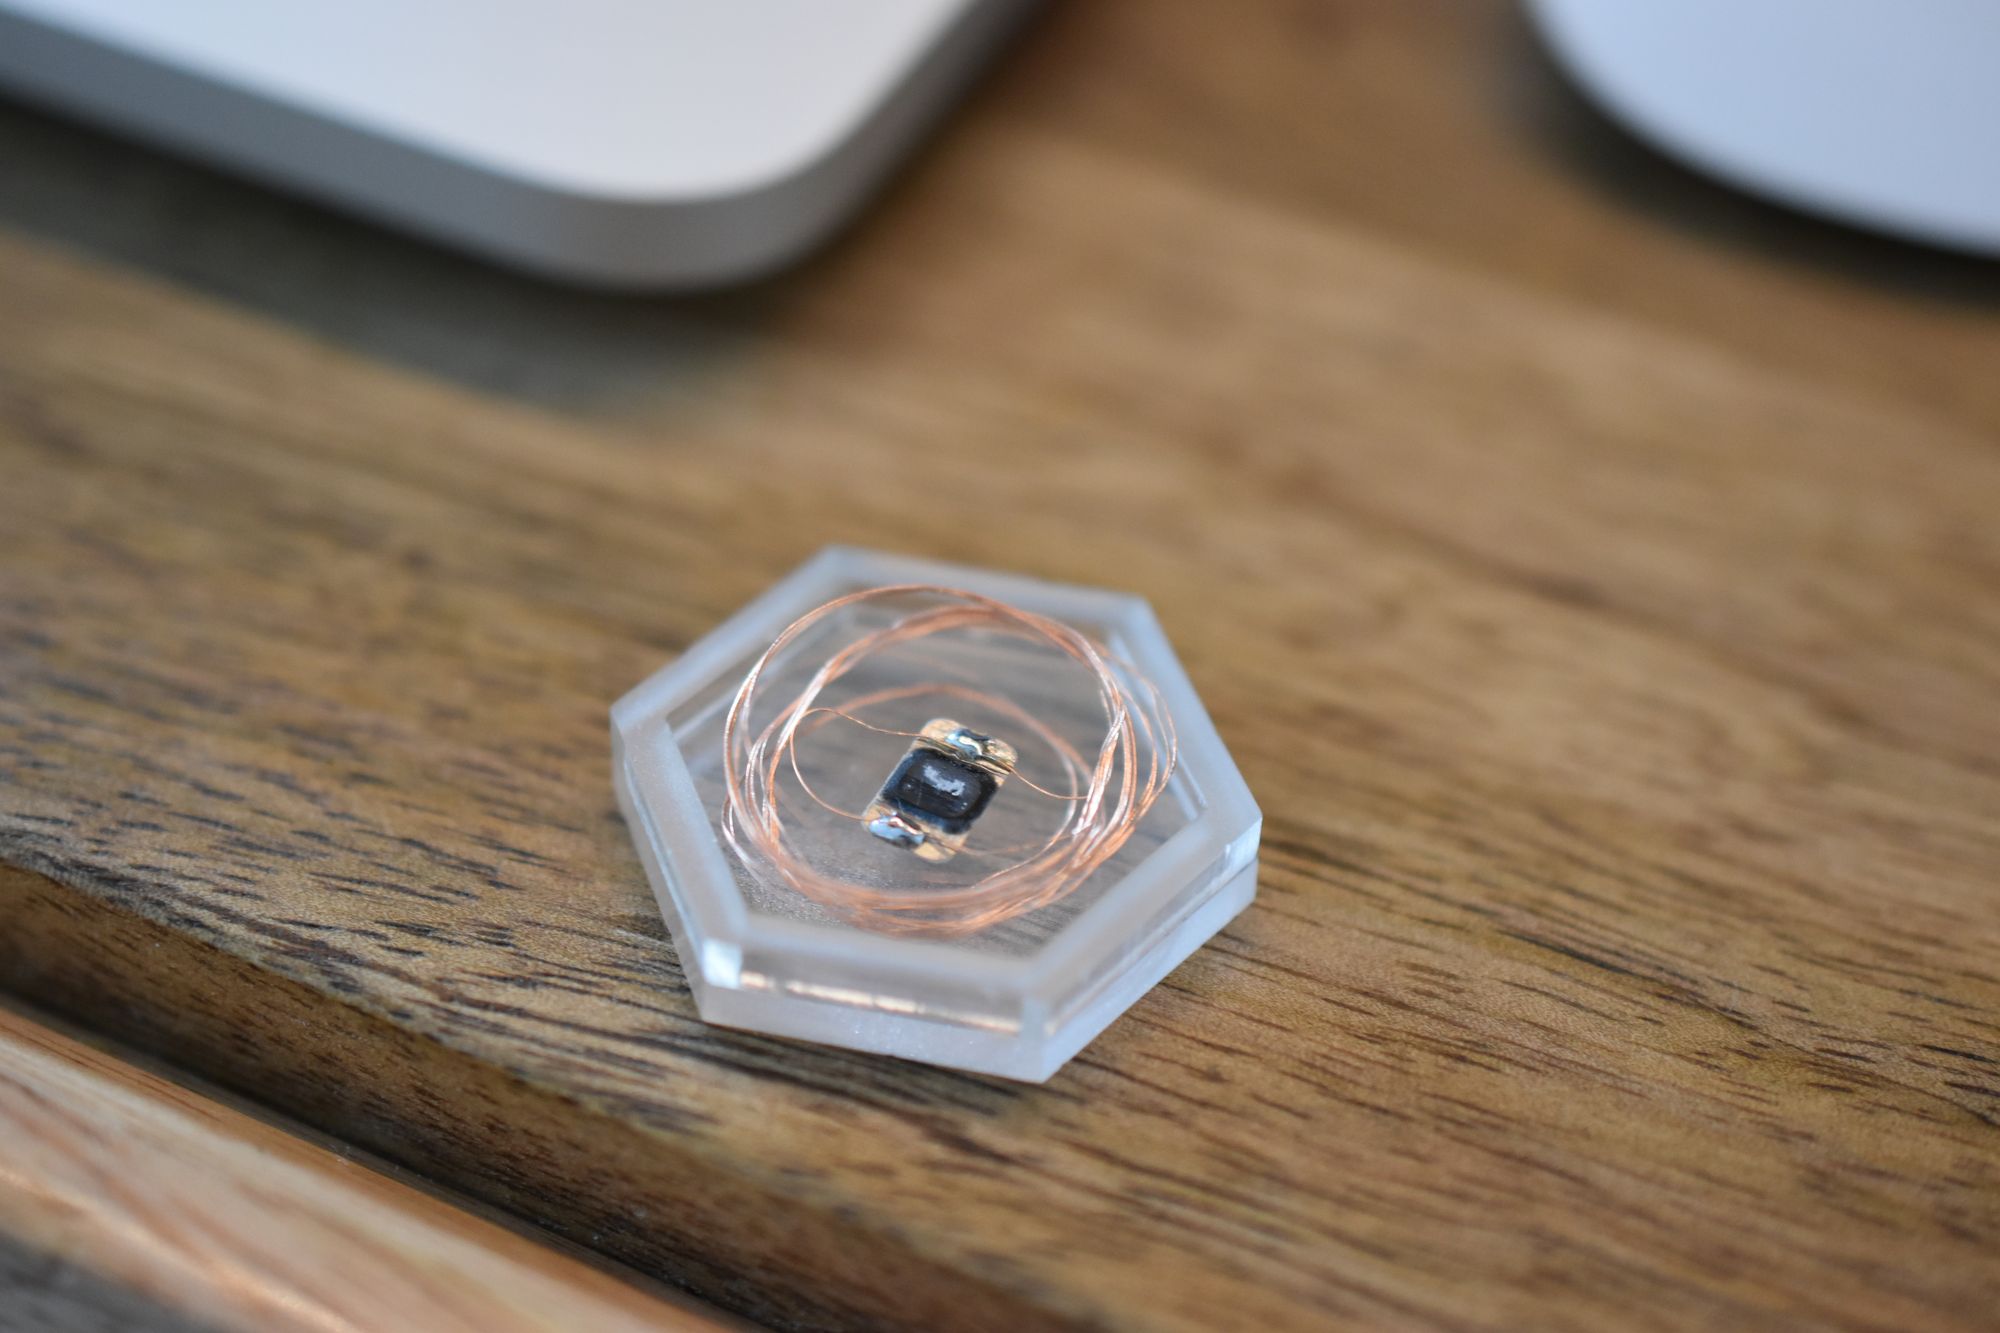
Step 2: Roll up the antenna
Very carefully, I rolled up the antenna so that it would fit in a smaller area, then dry-fit it into the laser cut ring
Important Note: Testing
I borrowed an Android phone to test the NFC chip and antenna anytime I made a change to it (initial extraction, soldering, rolling up, etc), but I actually found that the USB NFC reader was easier to test with since it could more easily read the card even when it was inside the ring already (my borrowed Android phone had a hard time, maybe the NFC chip's range was pretty short?).
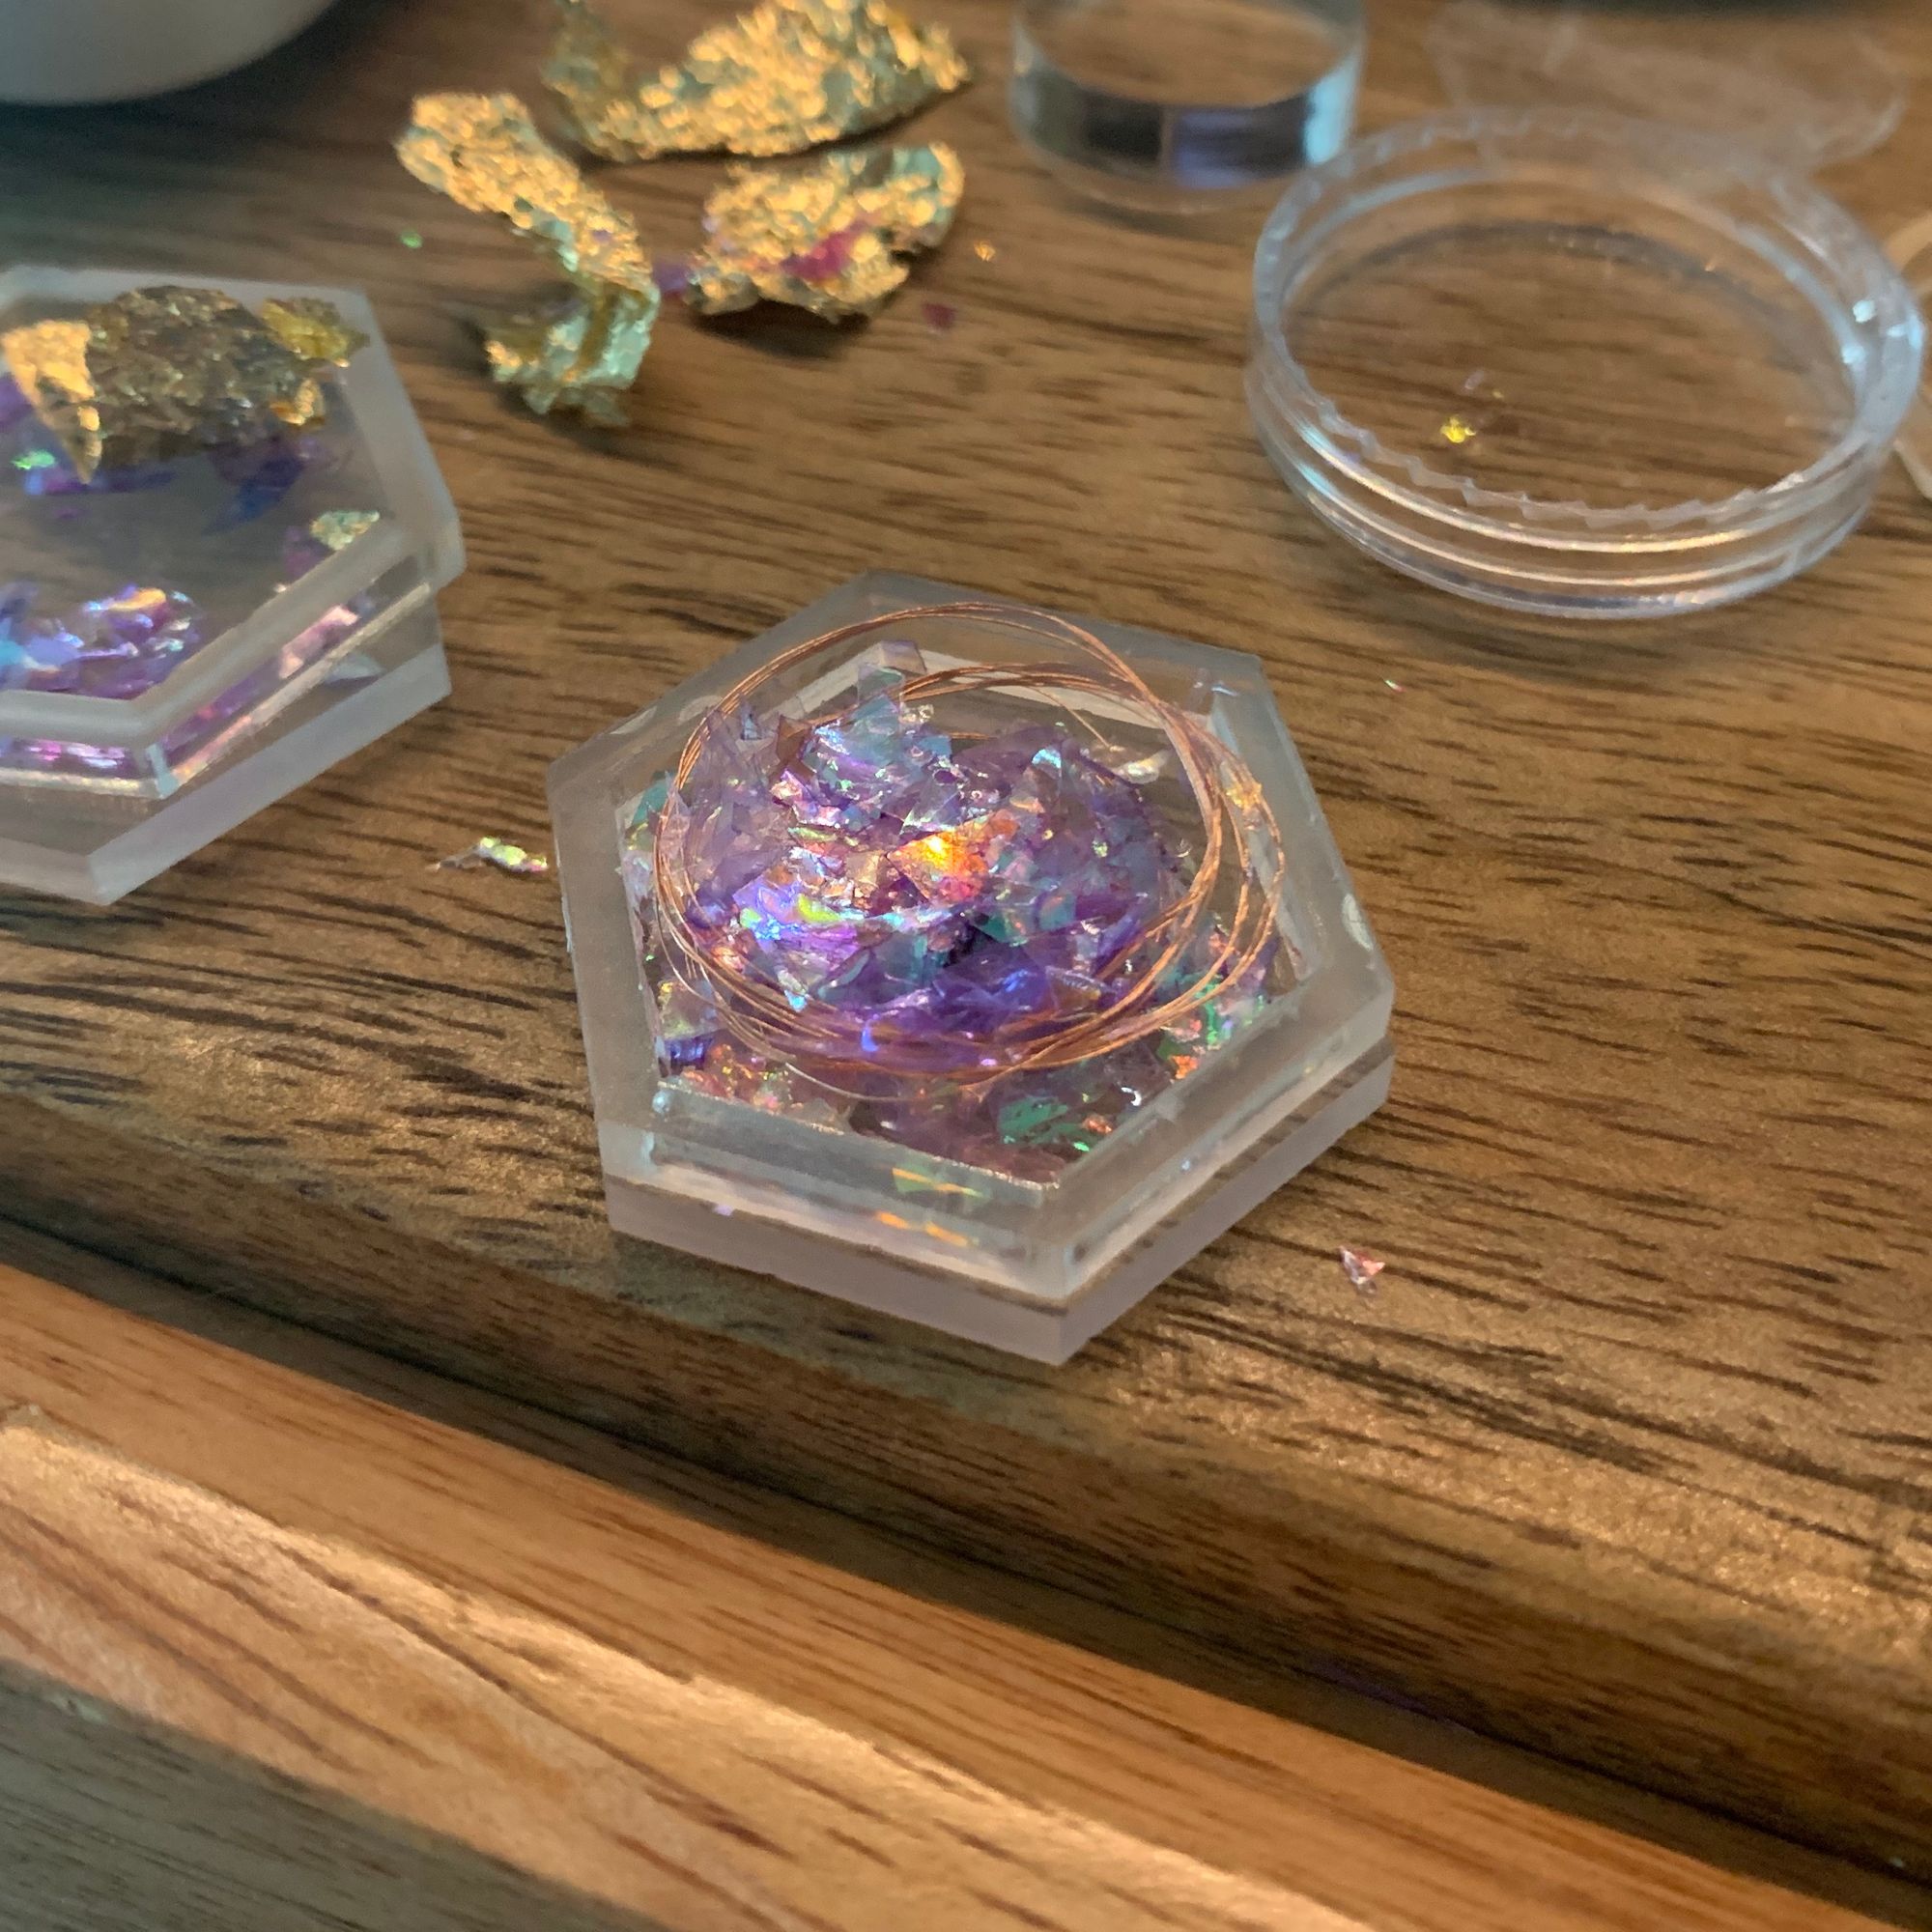
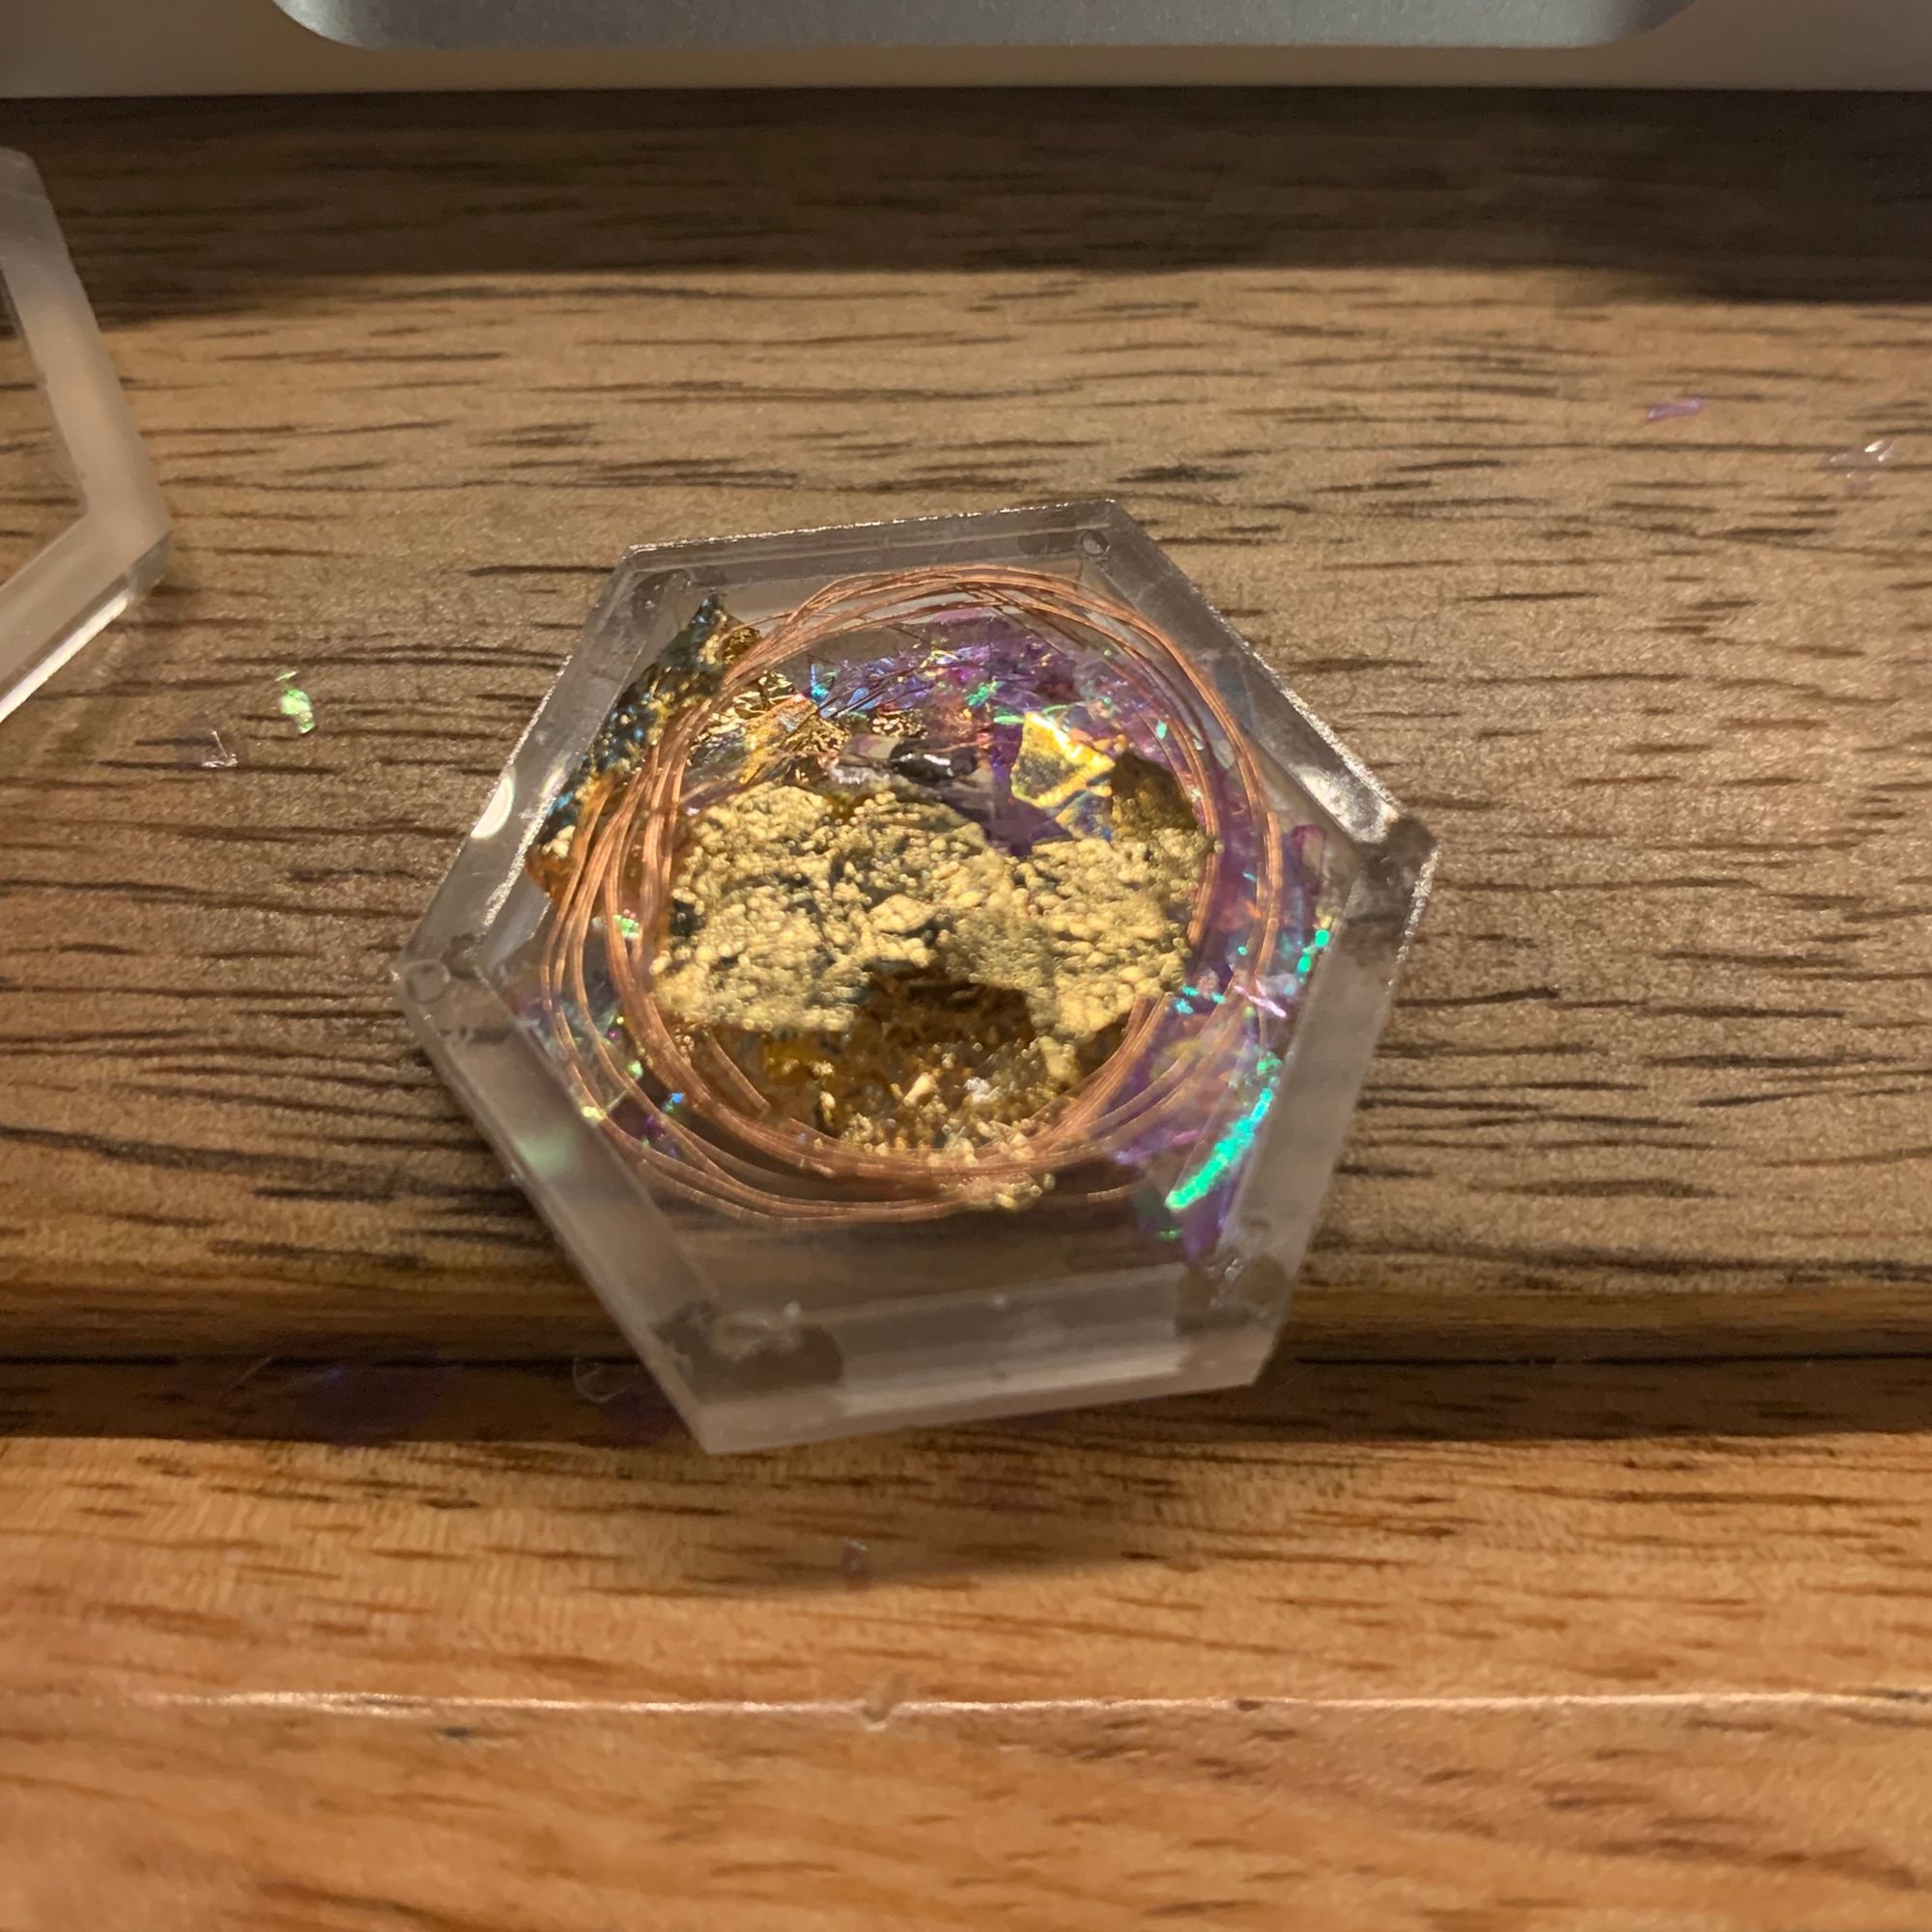
Step 3: Experiment! ✨
At this point I just wanted to figure out what would look good inside this frosted acrylic. So I threw some glitter and foil around until I was happy with the effect.
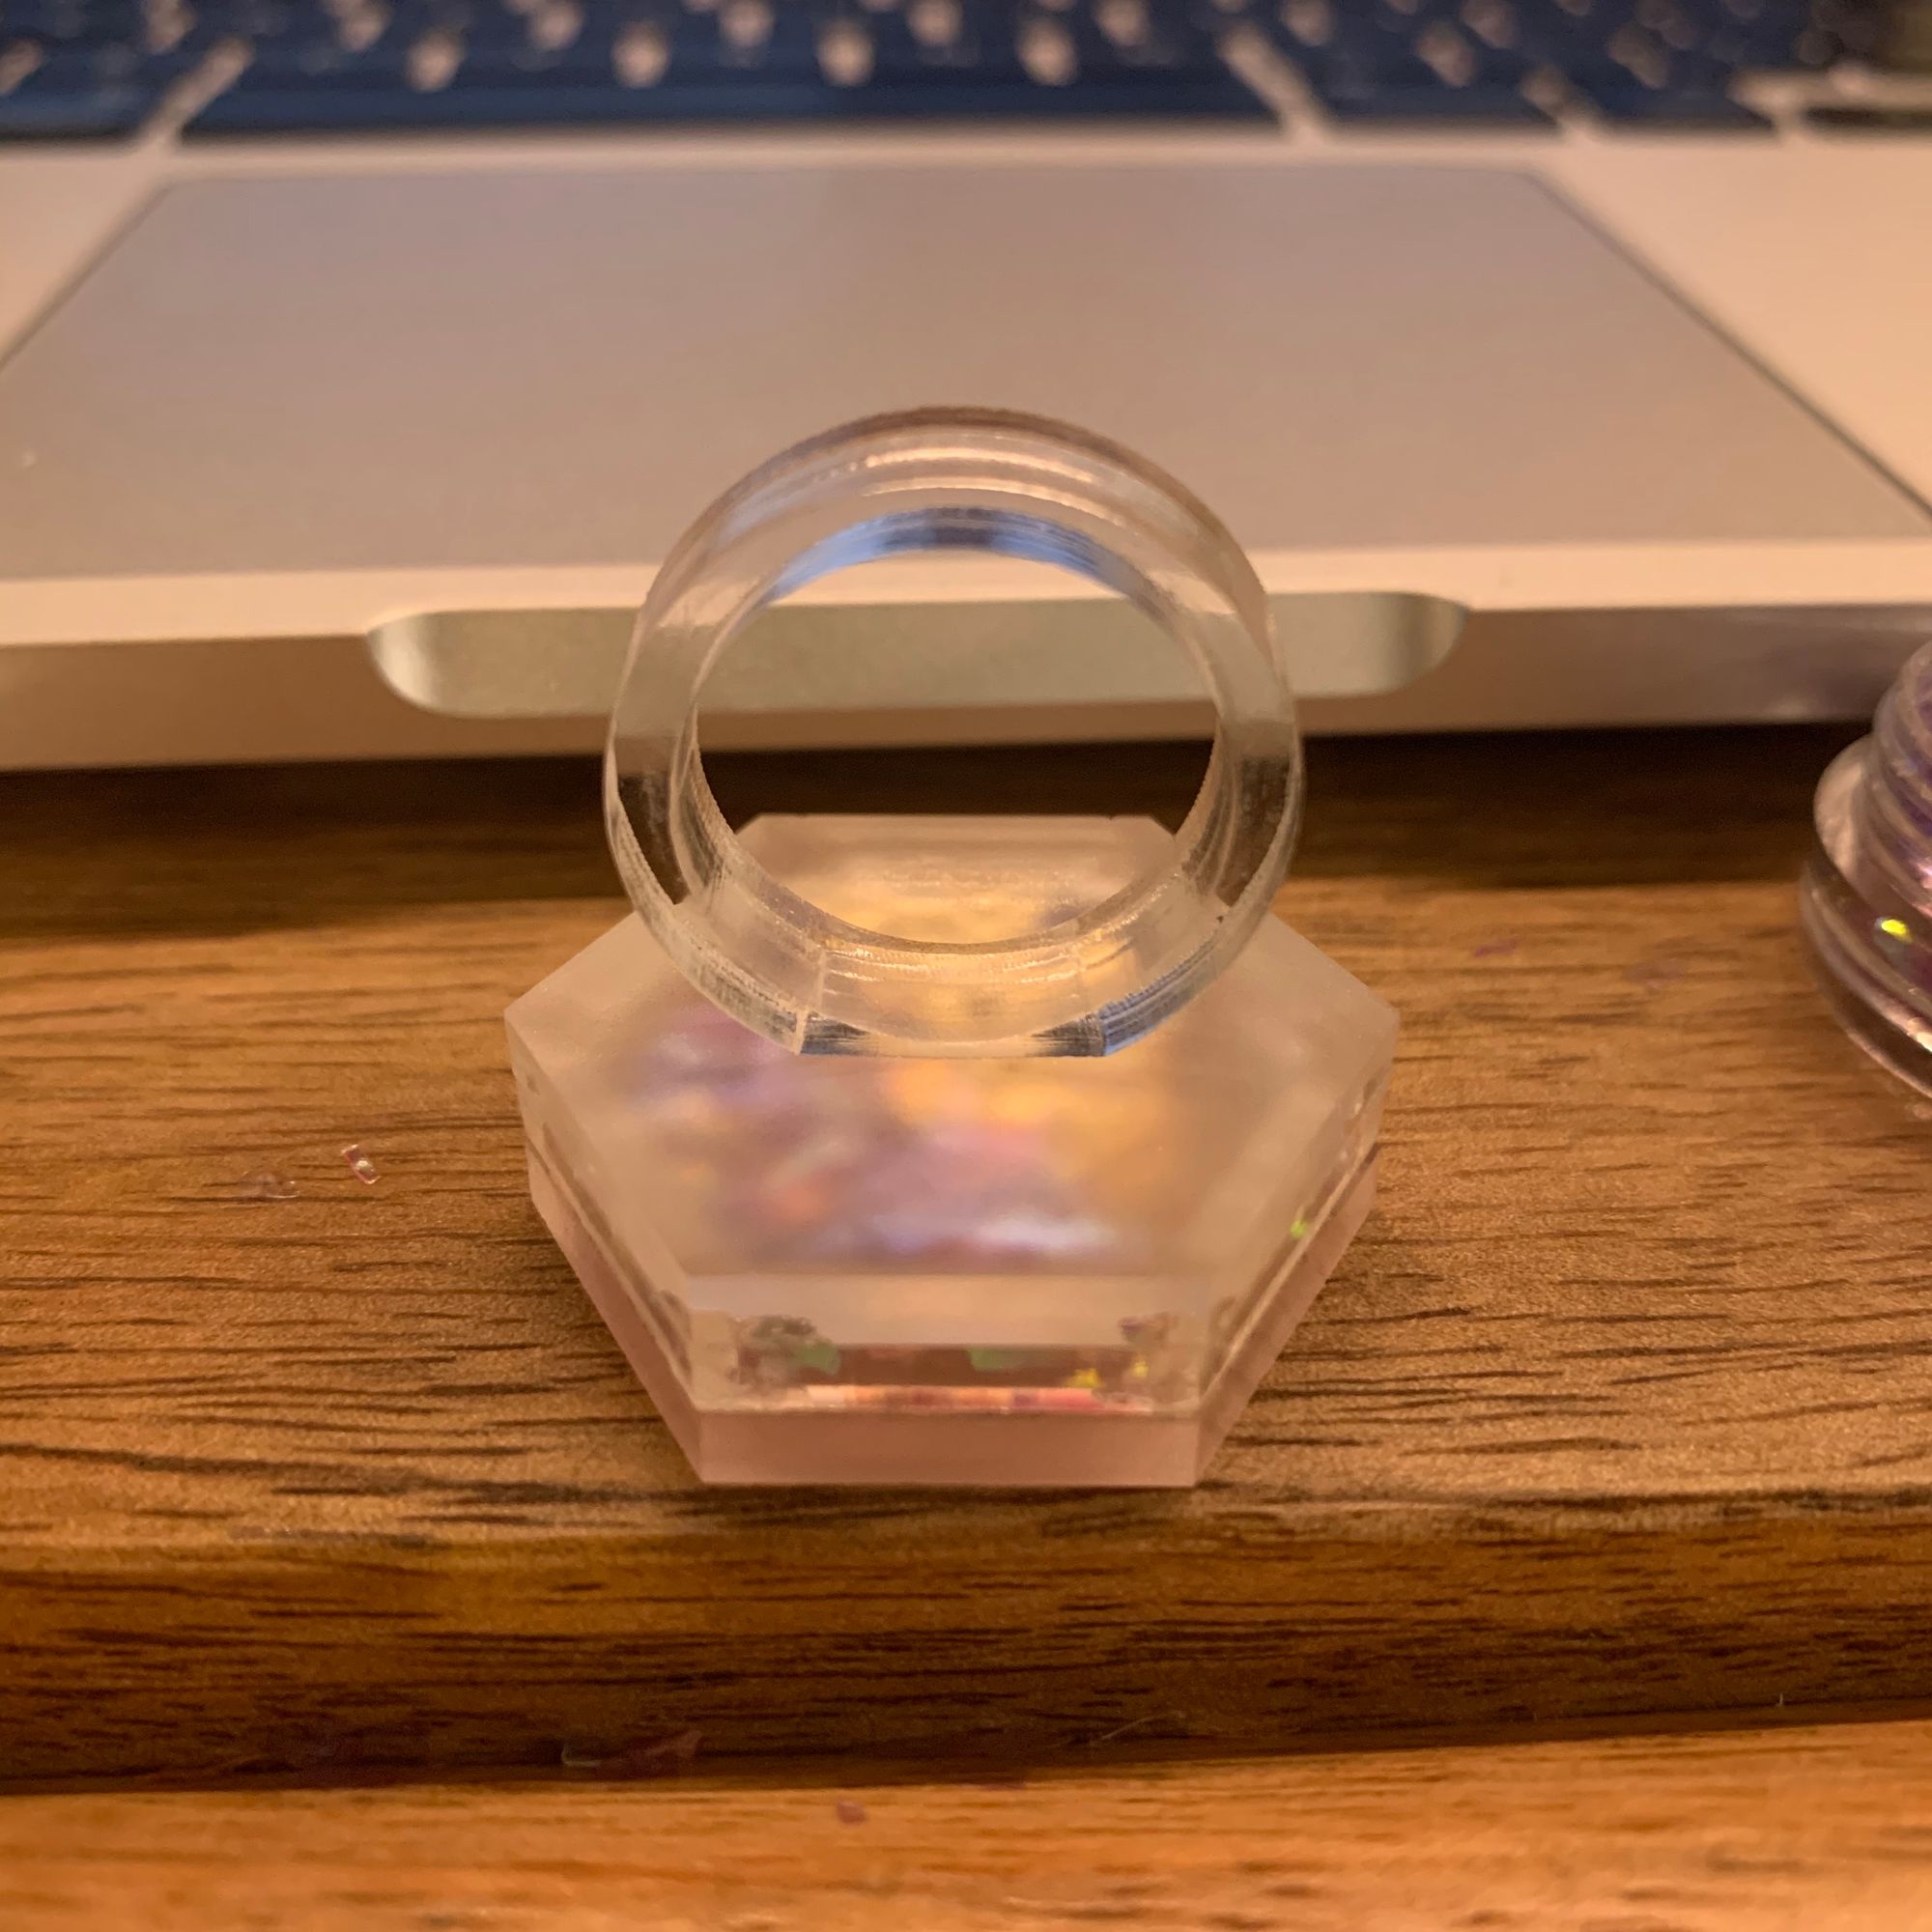
Step 4: Assemble
After I found an effect I was happy with (took a while actually), I just used super glue to stick everything together. I used a bunch of super glue to attach the ring itself to the "jewel".
Here's a demo of the ring being readable by that NFC chip reader I mentioned:
Step 5: Enjoy!
That's it! Now I'll have 10x more fun riding the subway 🎉
