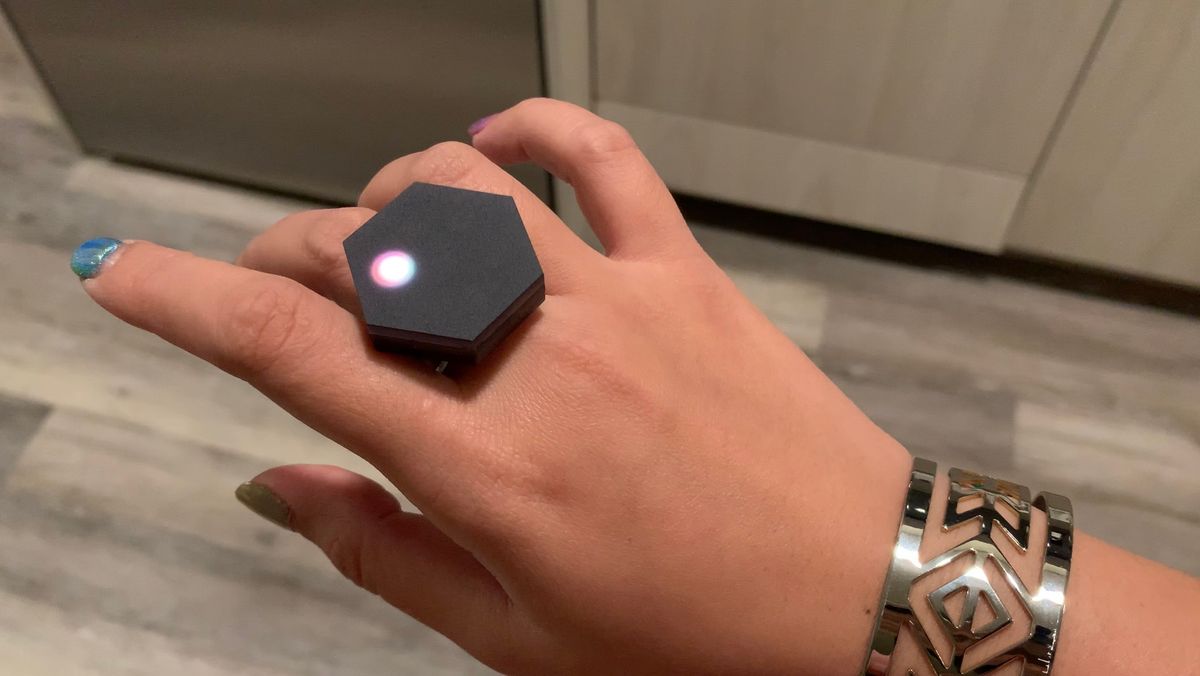

I made a ring! It's using this special material that looks opaque but it actually lets light shine through beautifully. This was a pretty simple project, and you can do it too!
I made a ring! It lights up! Also it’s a prototype! 🎉
— ✨ charlyn ✨ (@chardane) January 6, 2020
This special type of acrylic looks opaque, but it lets light through beautifully ✨💖 quite fun to play with, gonna see what else I can do with it 💡 #ledtwitter 😄 pic.twitter.com/KbhX8beiQW
The material I used is called Chemcast Black LED Acrylic from TAP Plastics, and you may be able to find this elsewhere – check your friendly local plastic store!
This Sparkle Ring project uses an Adafruit Gemma M0 with CircuitPython to control a Neopixel Jewel inside a laser cut ring enclosure I designed. It requires some soldering, so it's great to practice if you're just starting to learn.
This project was an exercise in getting to the finish line, instead of my usual technique of trying to get the coolest possible thing done even if it takes months. There's a time and place for perfection, and I decided that I didn't have to be perfect this time.
Let's take a look at how to build this quick project!
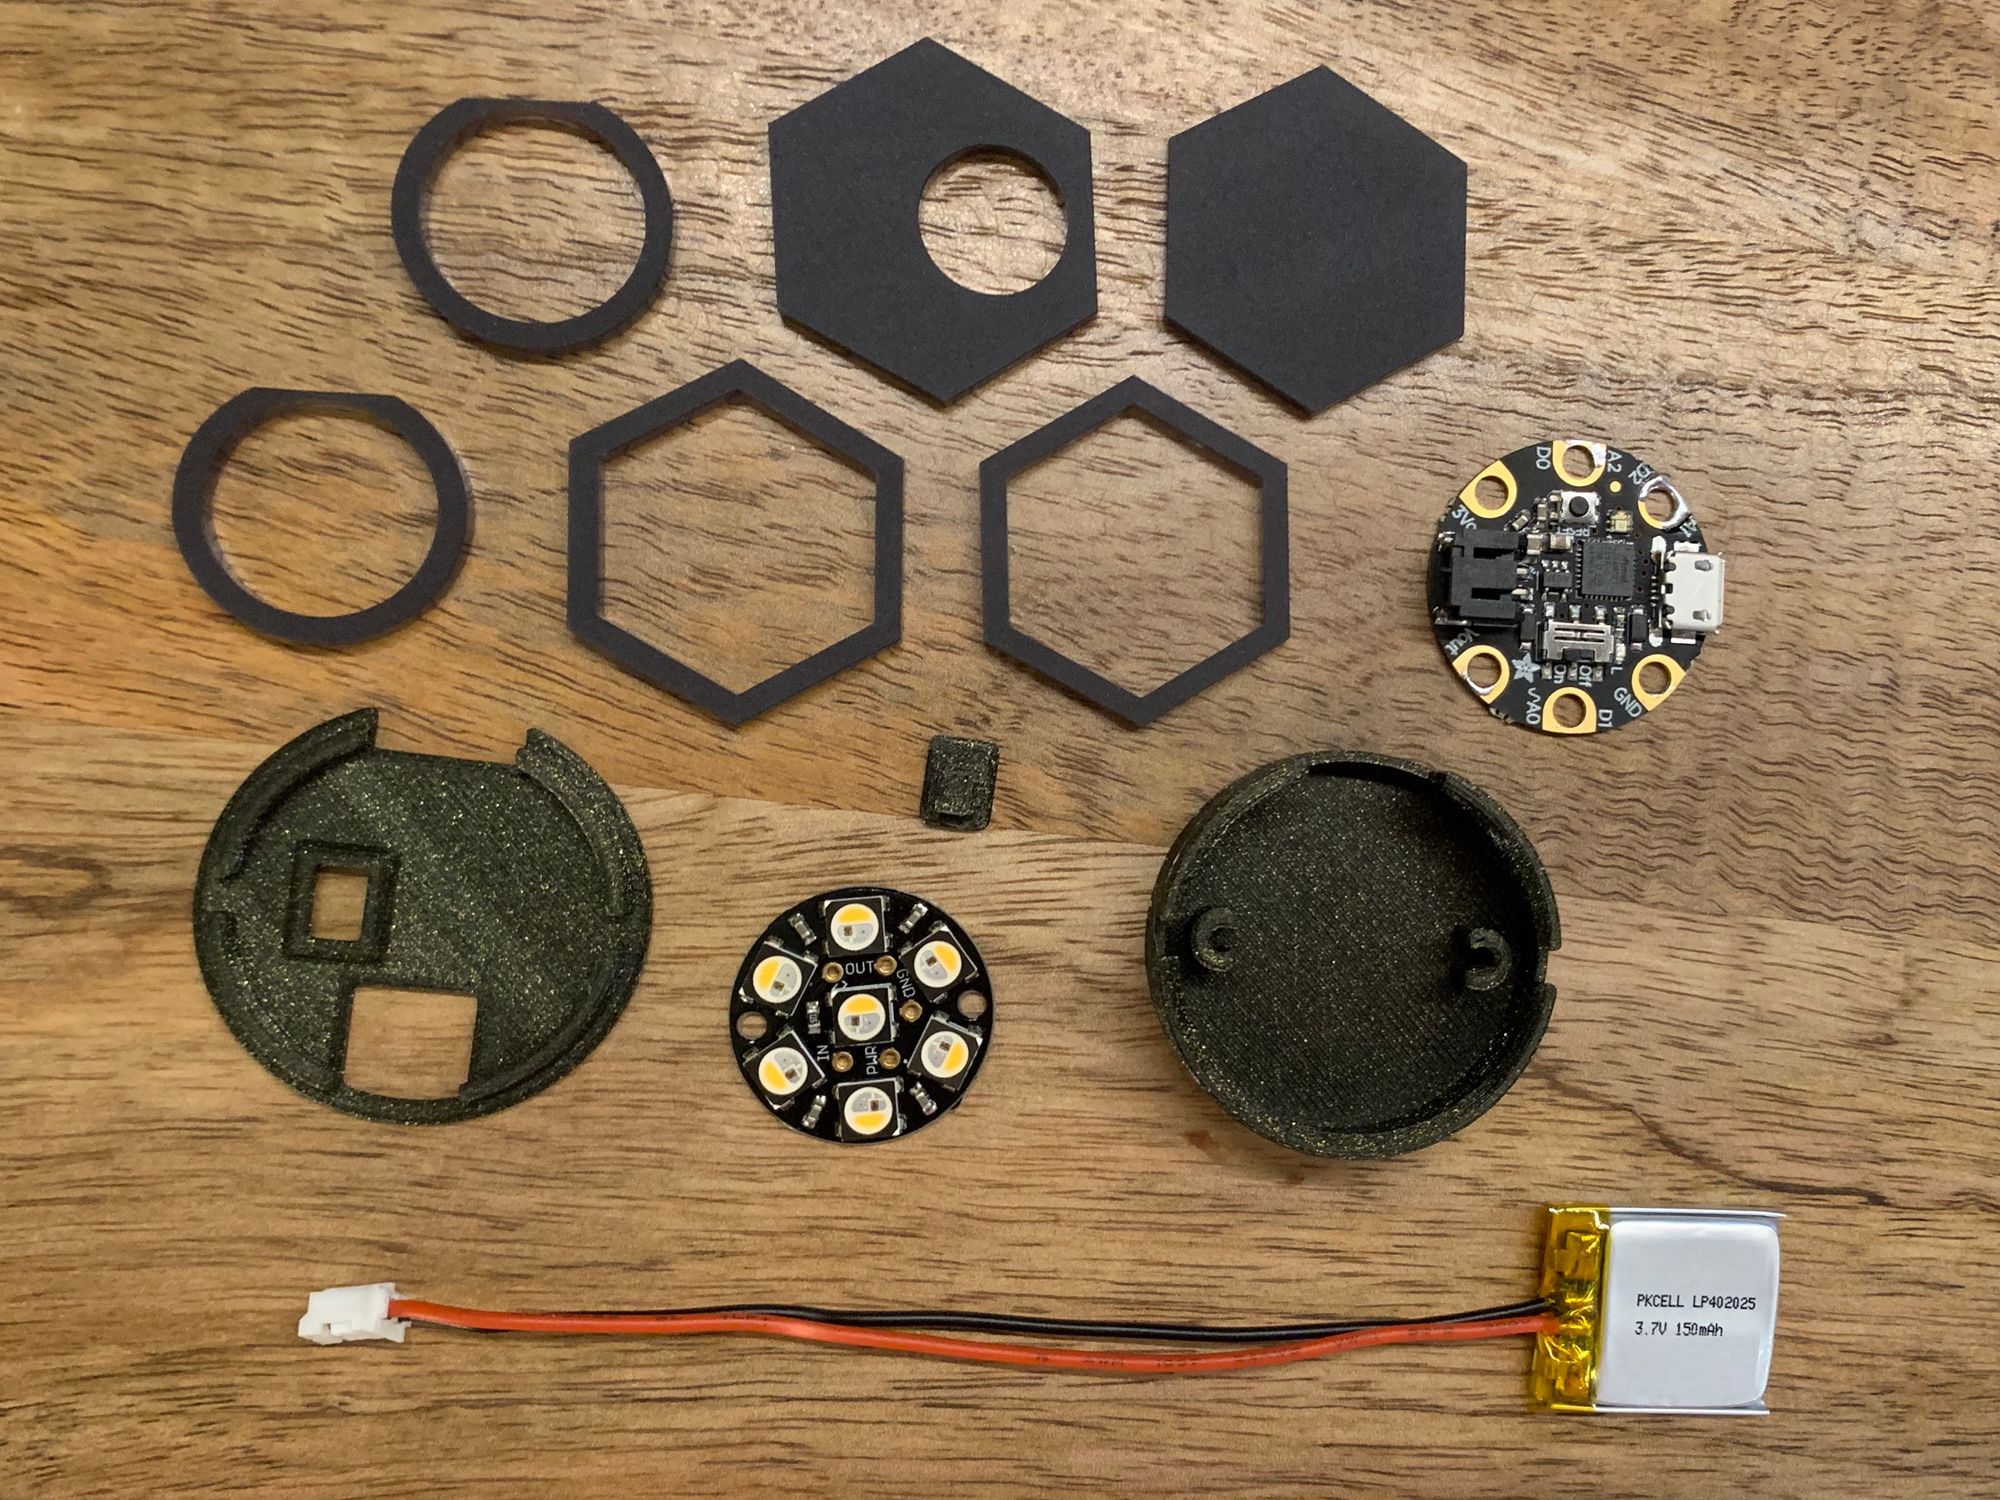
What you need
- Adafruit Gemma M0
- Neopixel Jewel
- 150mAh LiPo battery
- 30 AWG wires
- 3D printed Gemma M0 case - optional, you can find another way to mount the microcontroller and battery on your wrist if you don't have a 3D printer
- Chemcast Black LED Acrylic for the laser cut ring enclosure - I designed this and it worked out quite well! Here's the Chemcast manufacturer webpage if you want more info.
- Adafruit Micro Lipo battery charger - The Gemma M0 doesn't have built in battery charging, so pick up one of these if you don't have one yet to top up your battery and keep the sparkles going ✨
Tools
- Wire stripper
- Soldering iron and solder
- Super glue, or acrylic glue
Step 1: Size the ring + laser cut!
The vector file can be found in Thingiverse. In that vector file, you can see two rings that have flattened tops. These rings are sized 7.5, but you should adjust the size of the inner circle if your ring size is different.
If you have access to a laser cutter, take the file from Thingiverse and laser cut it!
Step 2: Prep the wires
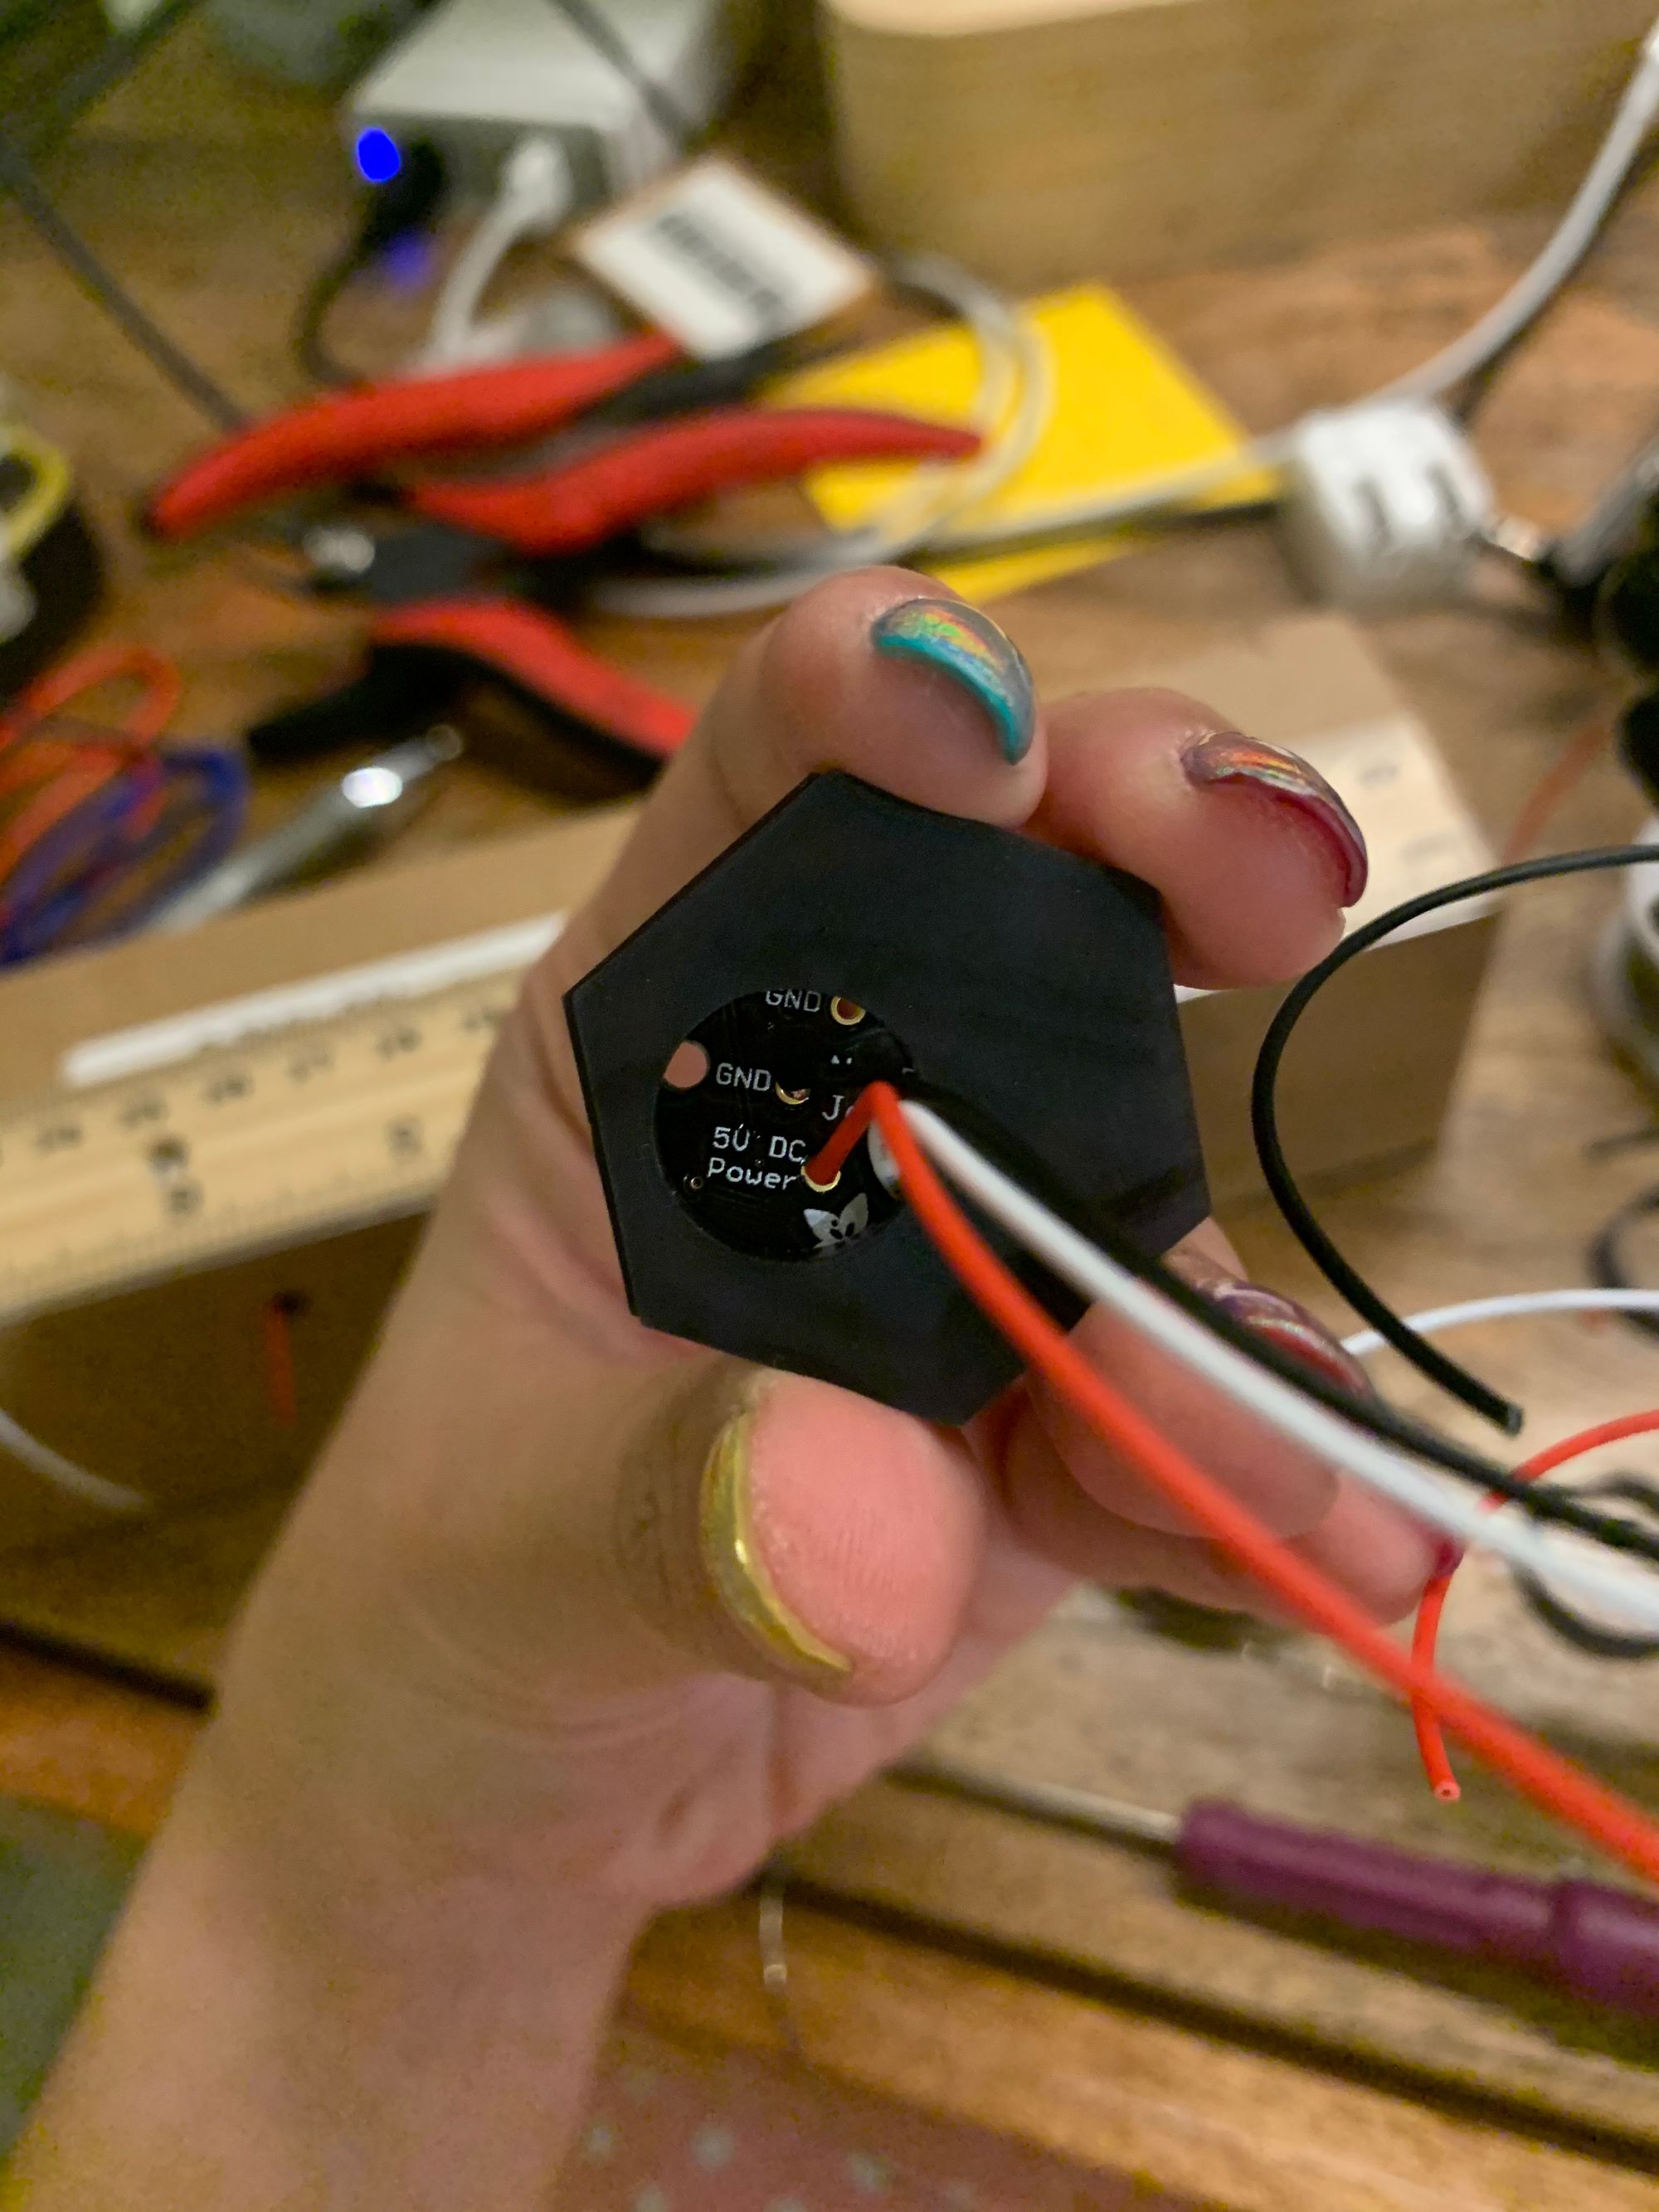
First, solder some wires to the GND, 5v DC and Data IN through-hole connections on the Neopixel. I try to always follow the convention of using black for ground, red for power and white or yellow for data, but use whatever wires you got! ✨
Optional: I decided to braid my wires together for a bit more structural stability and so that the wires stay together – makes it a little cleaner.
Step 3: Assemble
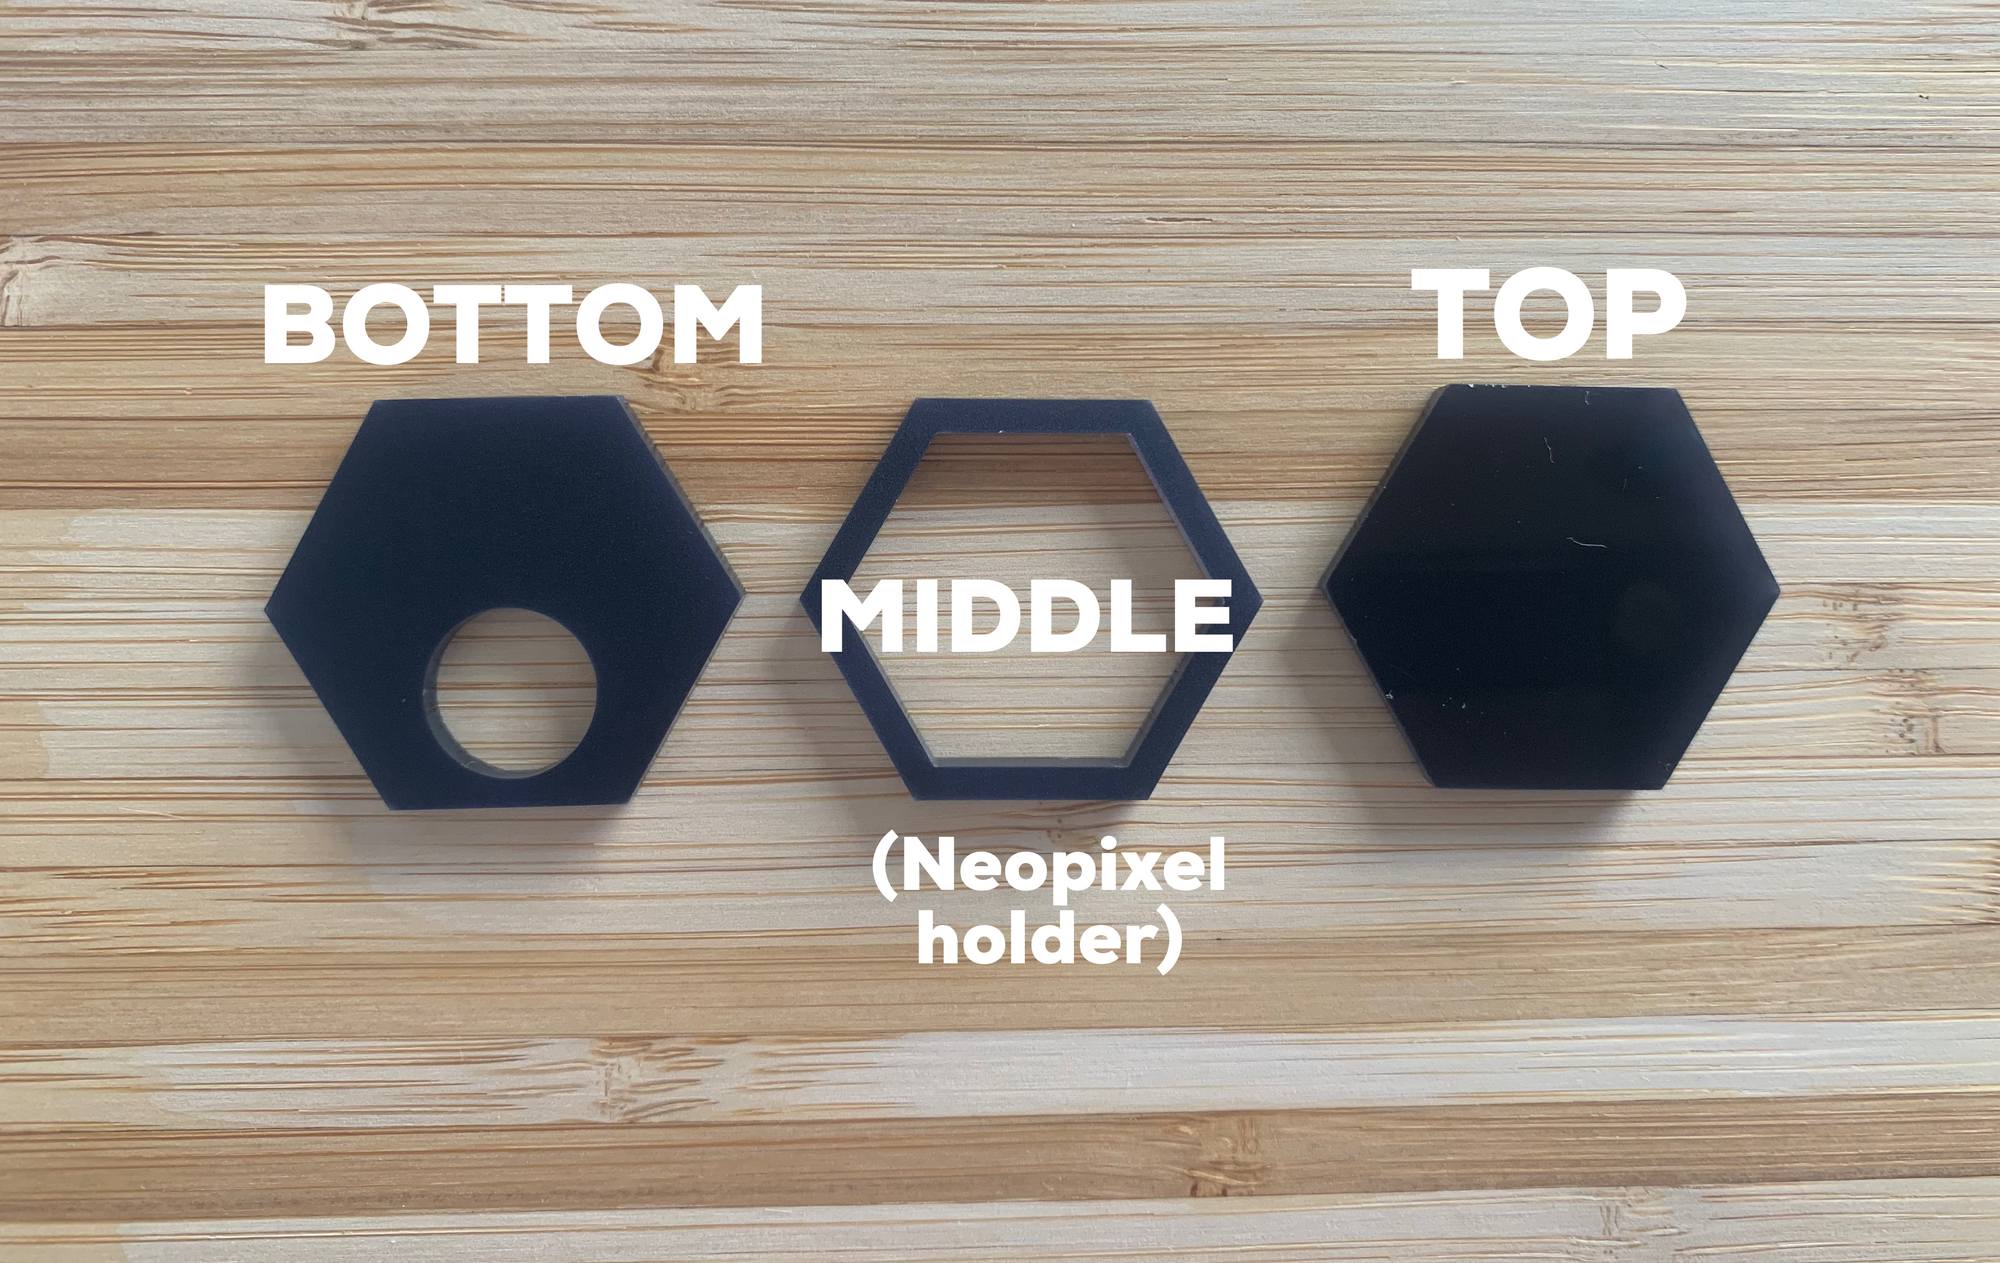
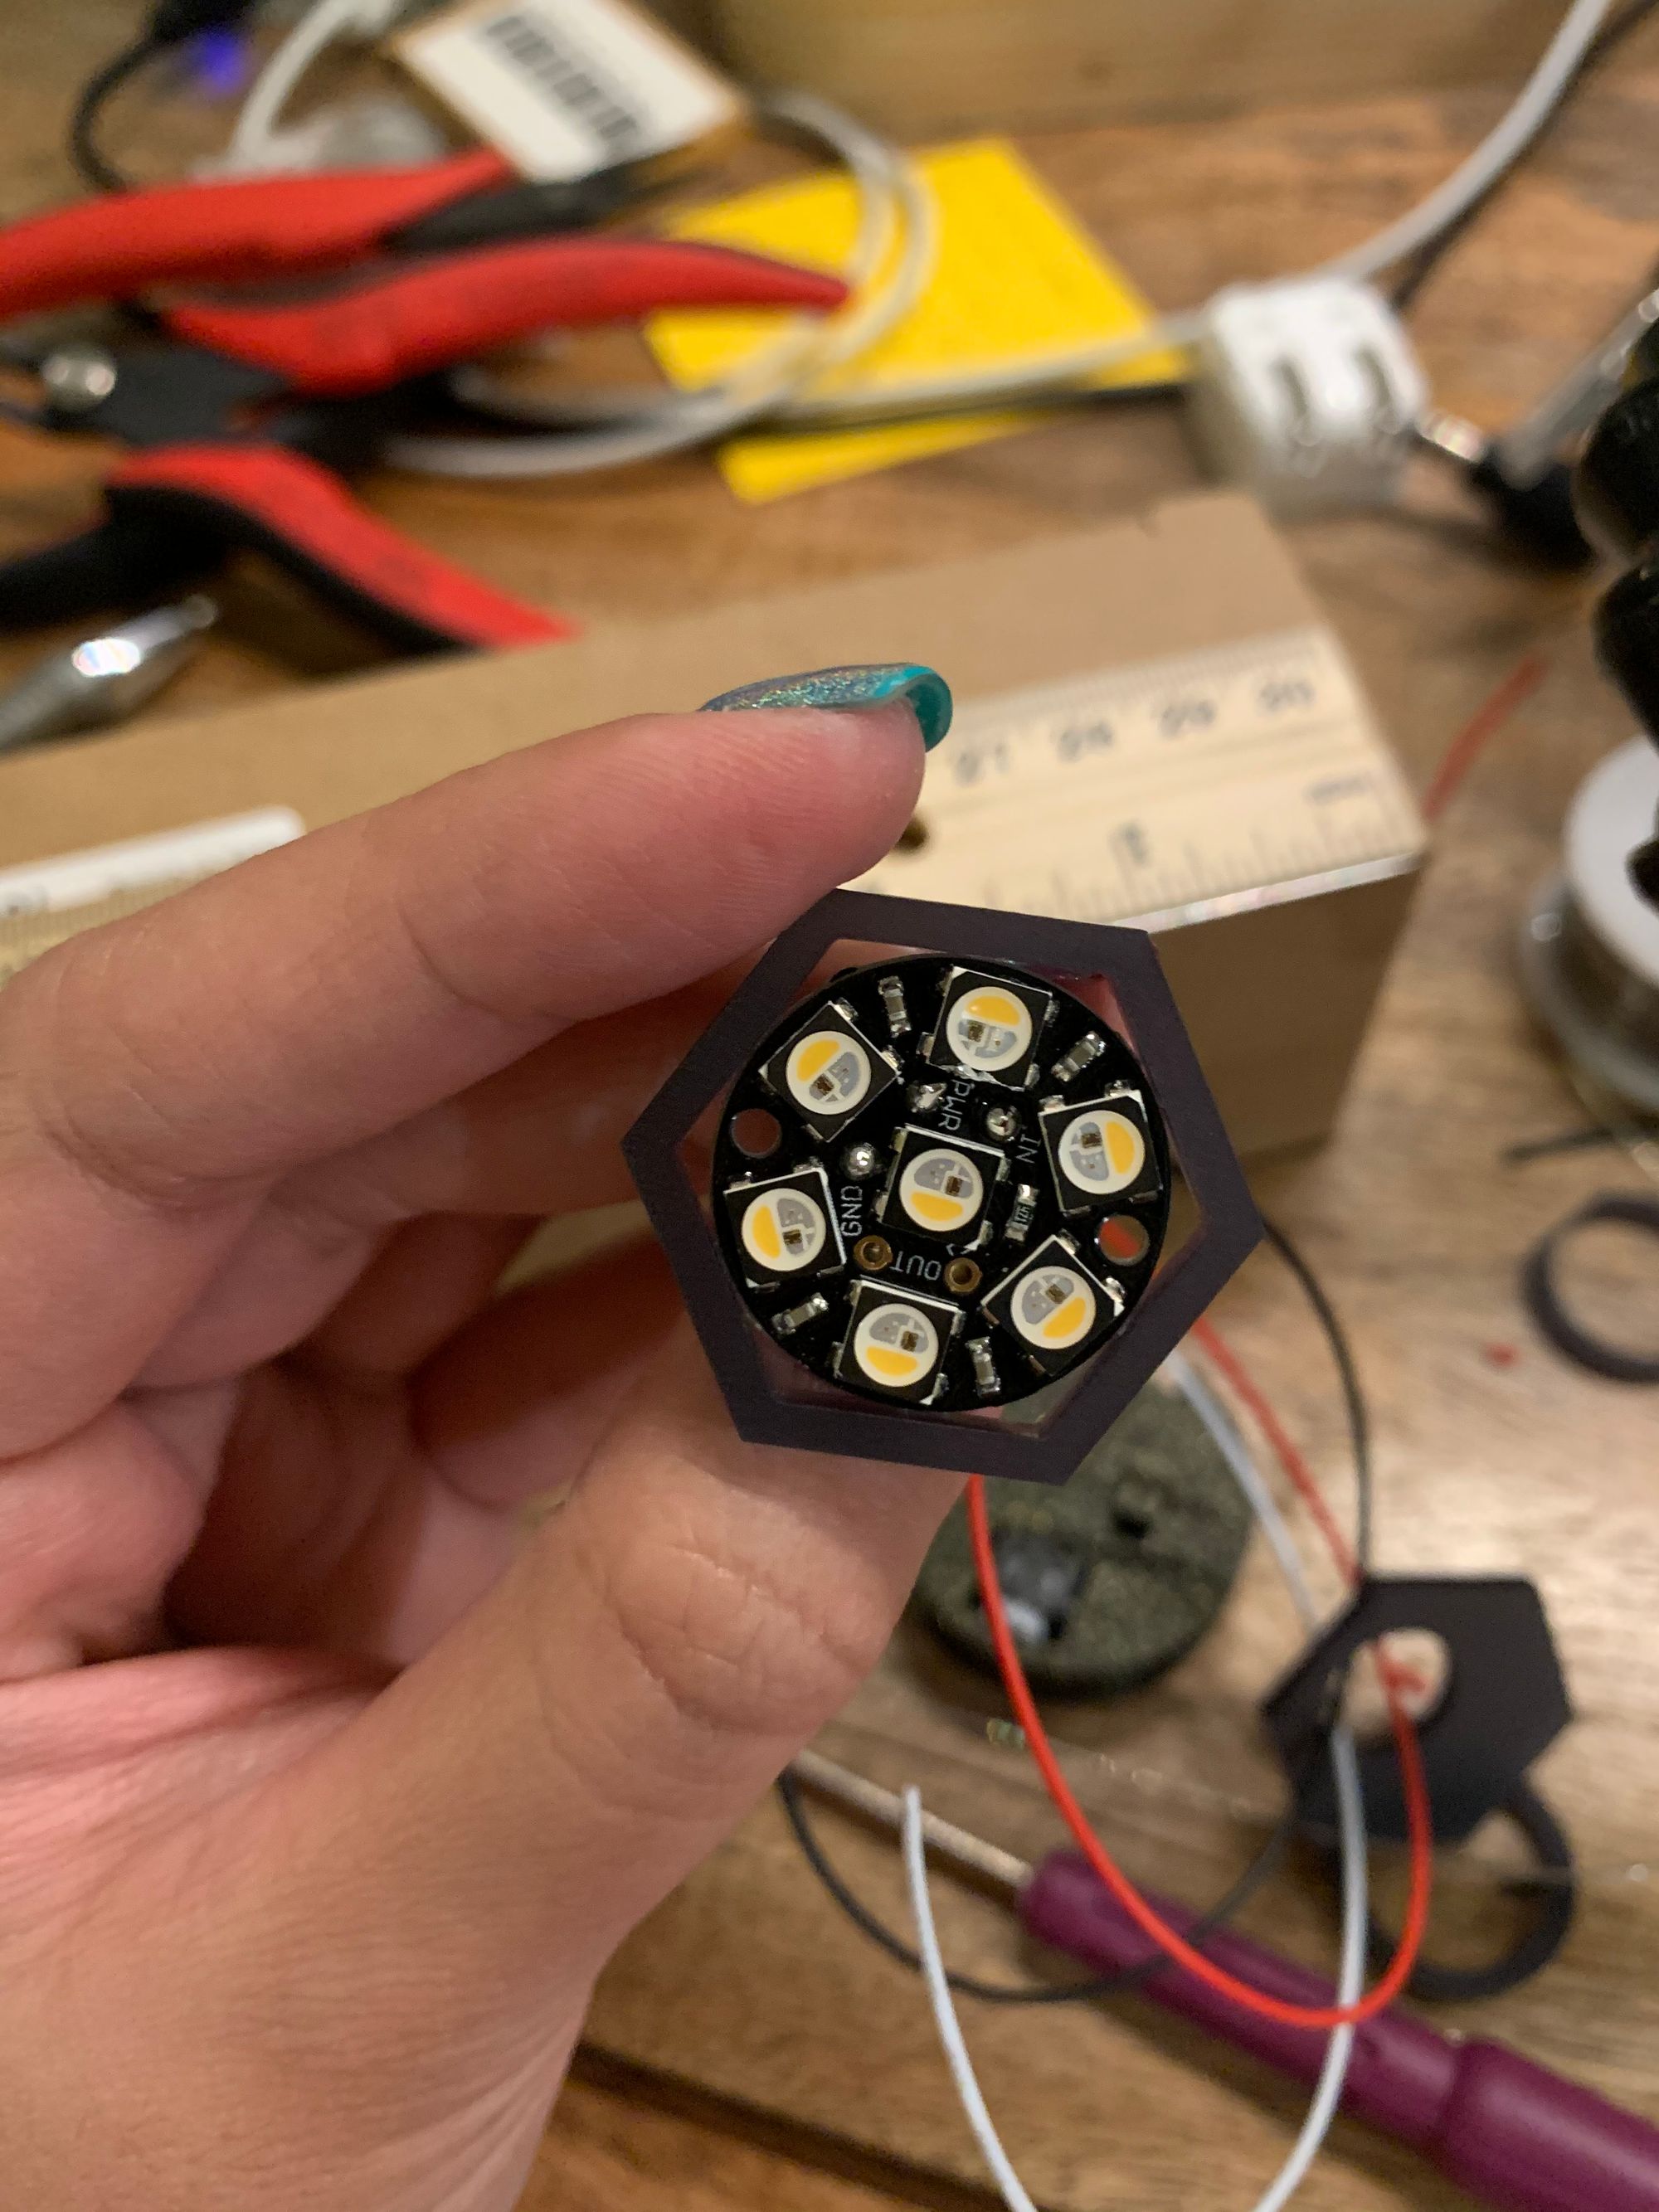
Take the Neopixel Jewel and verify that it fits snugly into one of the hexagons. At this point, identify the bottom hexagon and the top hexagon, route the wire through the bottom piece, and glue everything together.
Notes for success:
- Make sure that you have the matte side facing out from the Neopixel for the top and bottom piece
- Use the tiniest dabs of glue you can if using super glue – i found that using a paperclip dipped into super glue works to achieve this
- Orient the bottom piece such that the wires are not smooshed and the hexagon is still aligned
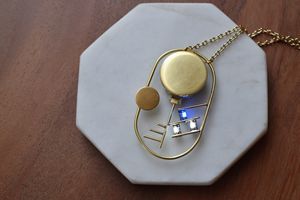
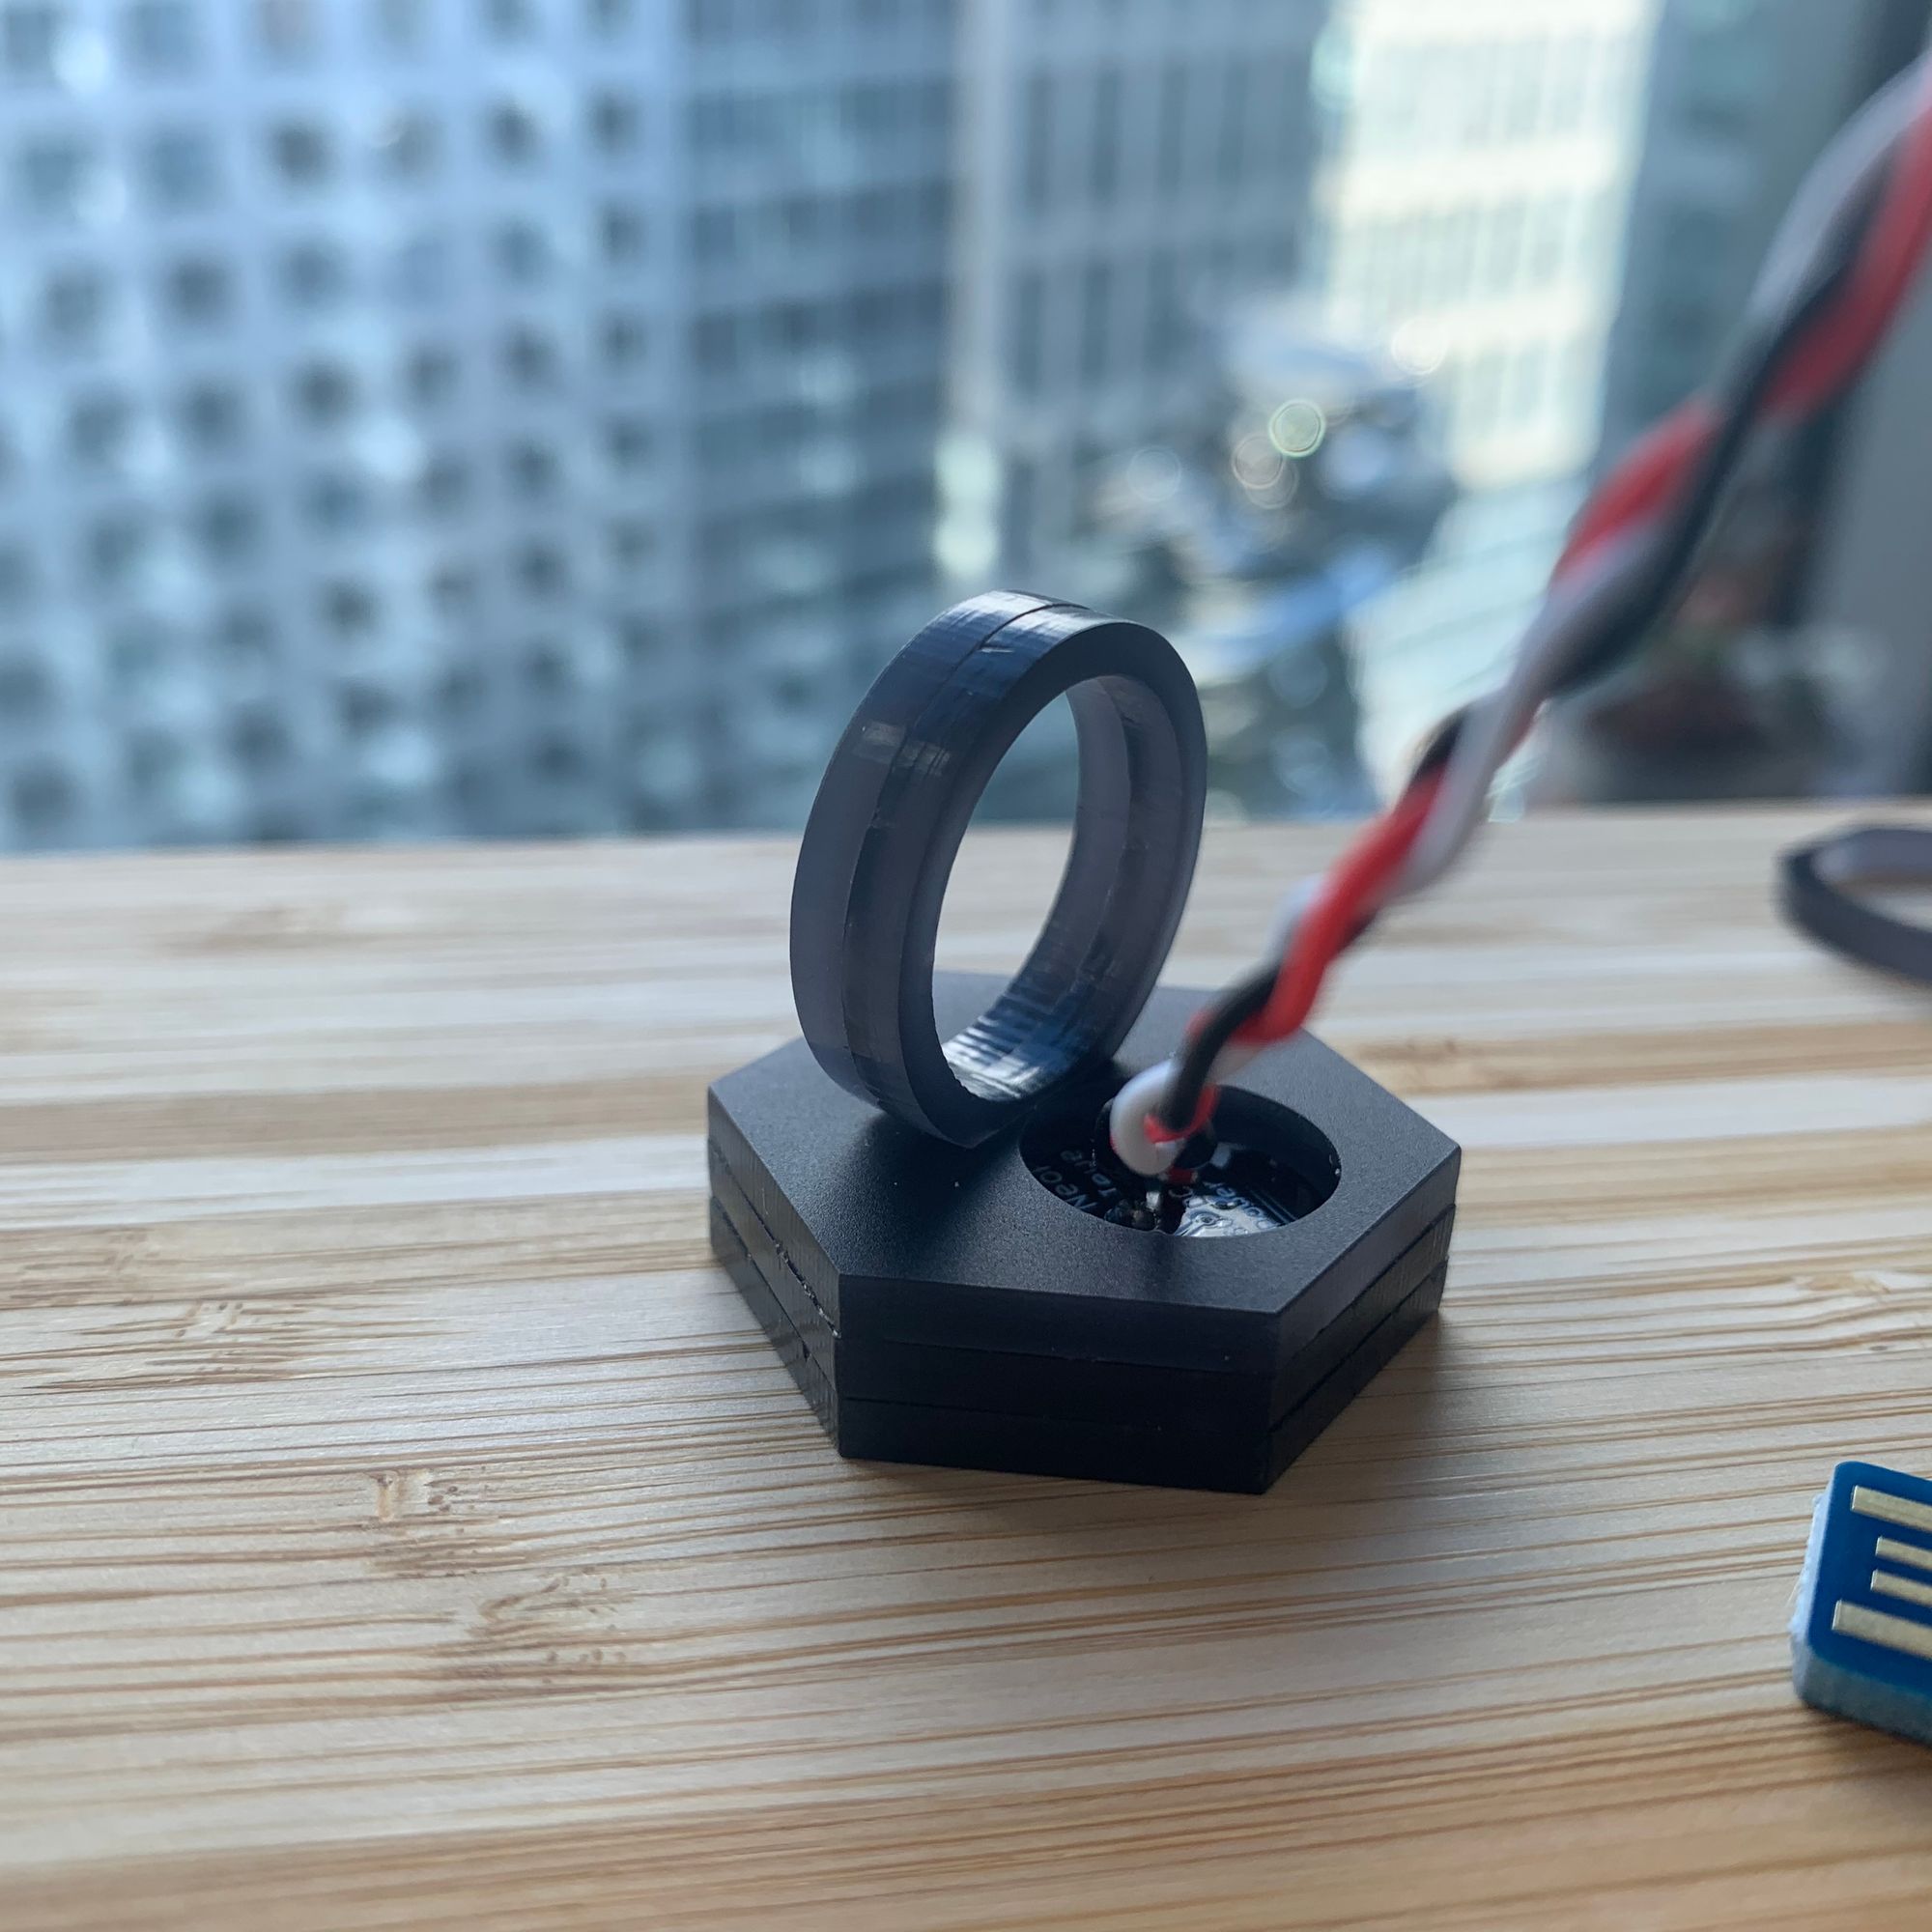
Once you glue the top, middle and bottom hexagons, the "jewel" of your ring is ready to mount onto the ring itself. First, glue the two rings together, making sure that the flat parts are aligned. Then, glue the ring just above the hole where the wires are sticking out.
I know, I'm excited for you too, but remember to let the glue dry before you put it on! 😍
Step 4: Wires to Gemma M0
Now that the ring is fully assembled, it's time to connect it to the microcontroller!
Solder the wires as follows:
- Neopixel GND to Gemma GND
- Neopixel 5vDC to Gemma Vout
- Neopixel Data IN to Gemma D1
If you're using the case, follow the instructions at Adafruit to 3D print and assemble the Gemma M0 into the case itself! This is what it should look like eventually:
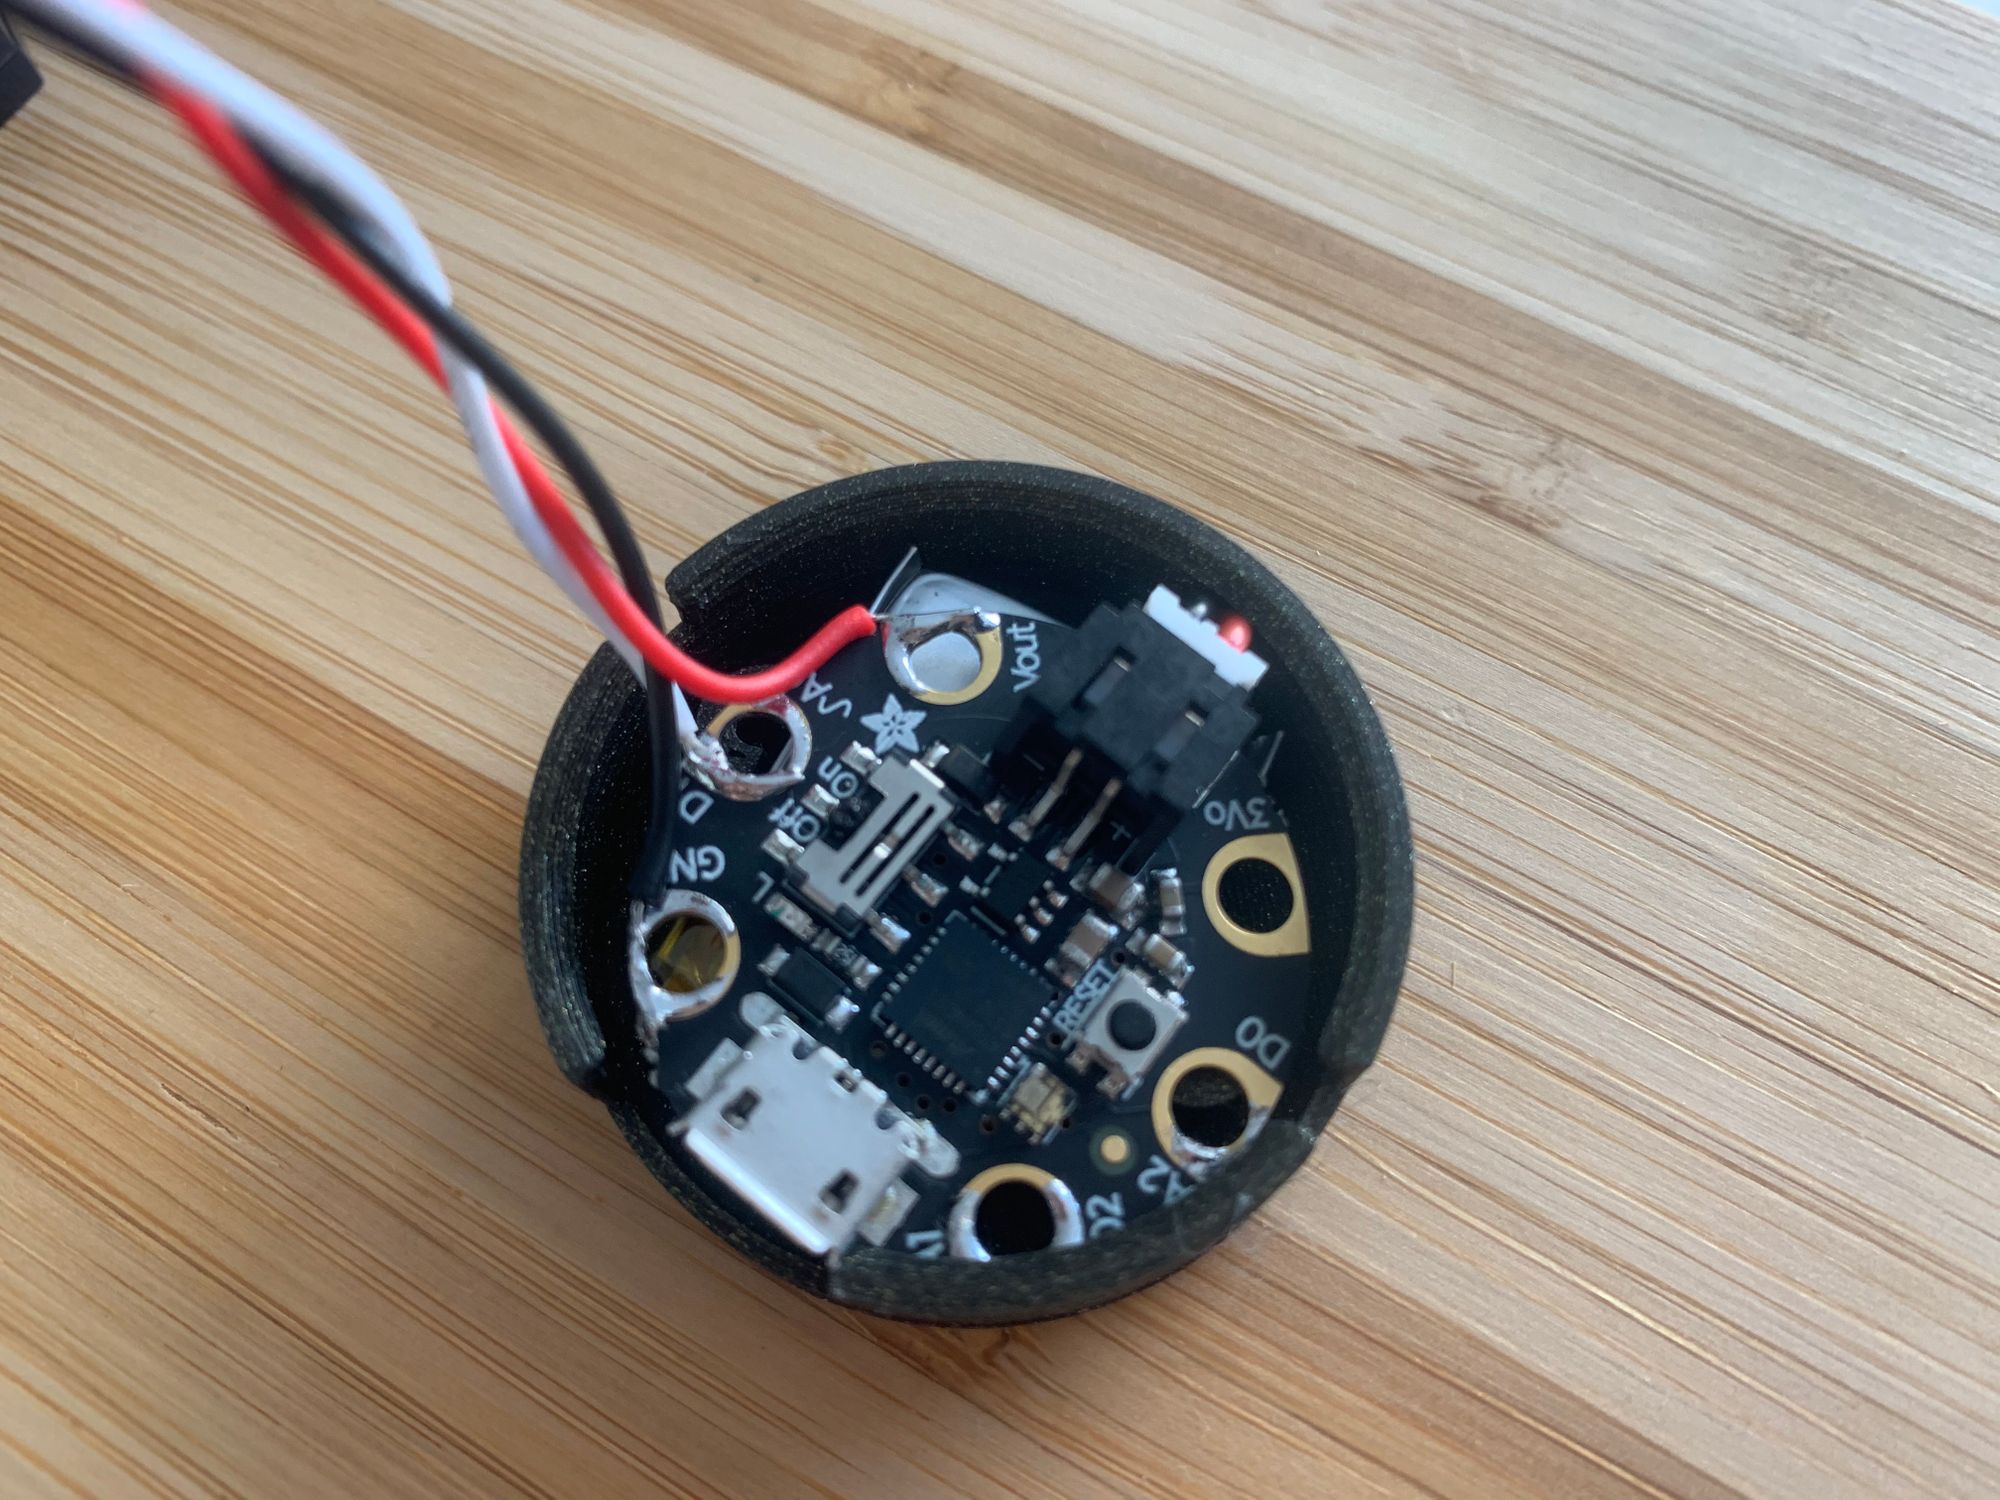
I opted to not secure the Gemma M0 with screws since it works well enough without, but you can certainly be more thorough than me :)
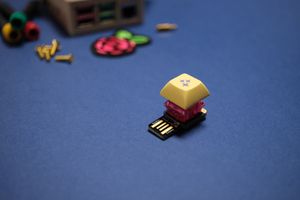
Step 4: Code!
This project uses CircuitPython, so all you have to do is plug the Gemma to your computer via USB, and edit the code.py file on the USB drive that appears! Below is the simple code I used – it picks a random LED and a random color from a list every second. You can decrease the animation_wait if you want the lights to go faster.
Experiment with this code and see what you can come up with!
Step 5: Wear!
Now you can wear the ring around and let people wonder where the heck those lights came from. 😮✨
More experienced makers can find lots of ways to upgrade this project: a better wrist attachment option, more sensors, or maybe even putting the microcontroller + LEDs + power supply all in the same custom designed PCB inside the ring! Make your own and share it with the world (and with me too please!) ✨
Thanks for reading! If you're interested in learning more about my projects, or getting notified for pre-orders for this ring, follow me on Twitter and Instagram, or sign up to my Curious Makes newsletter to hydrate your inbox with cool makes from awesome makers!