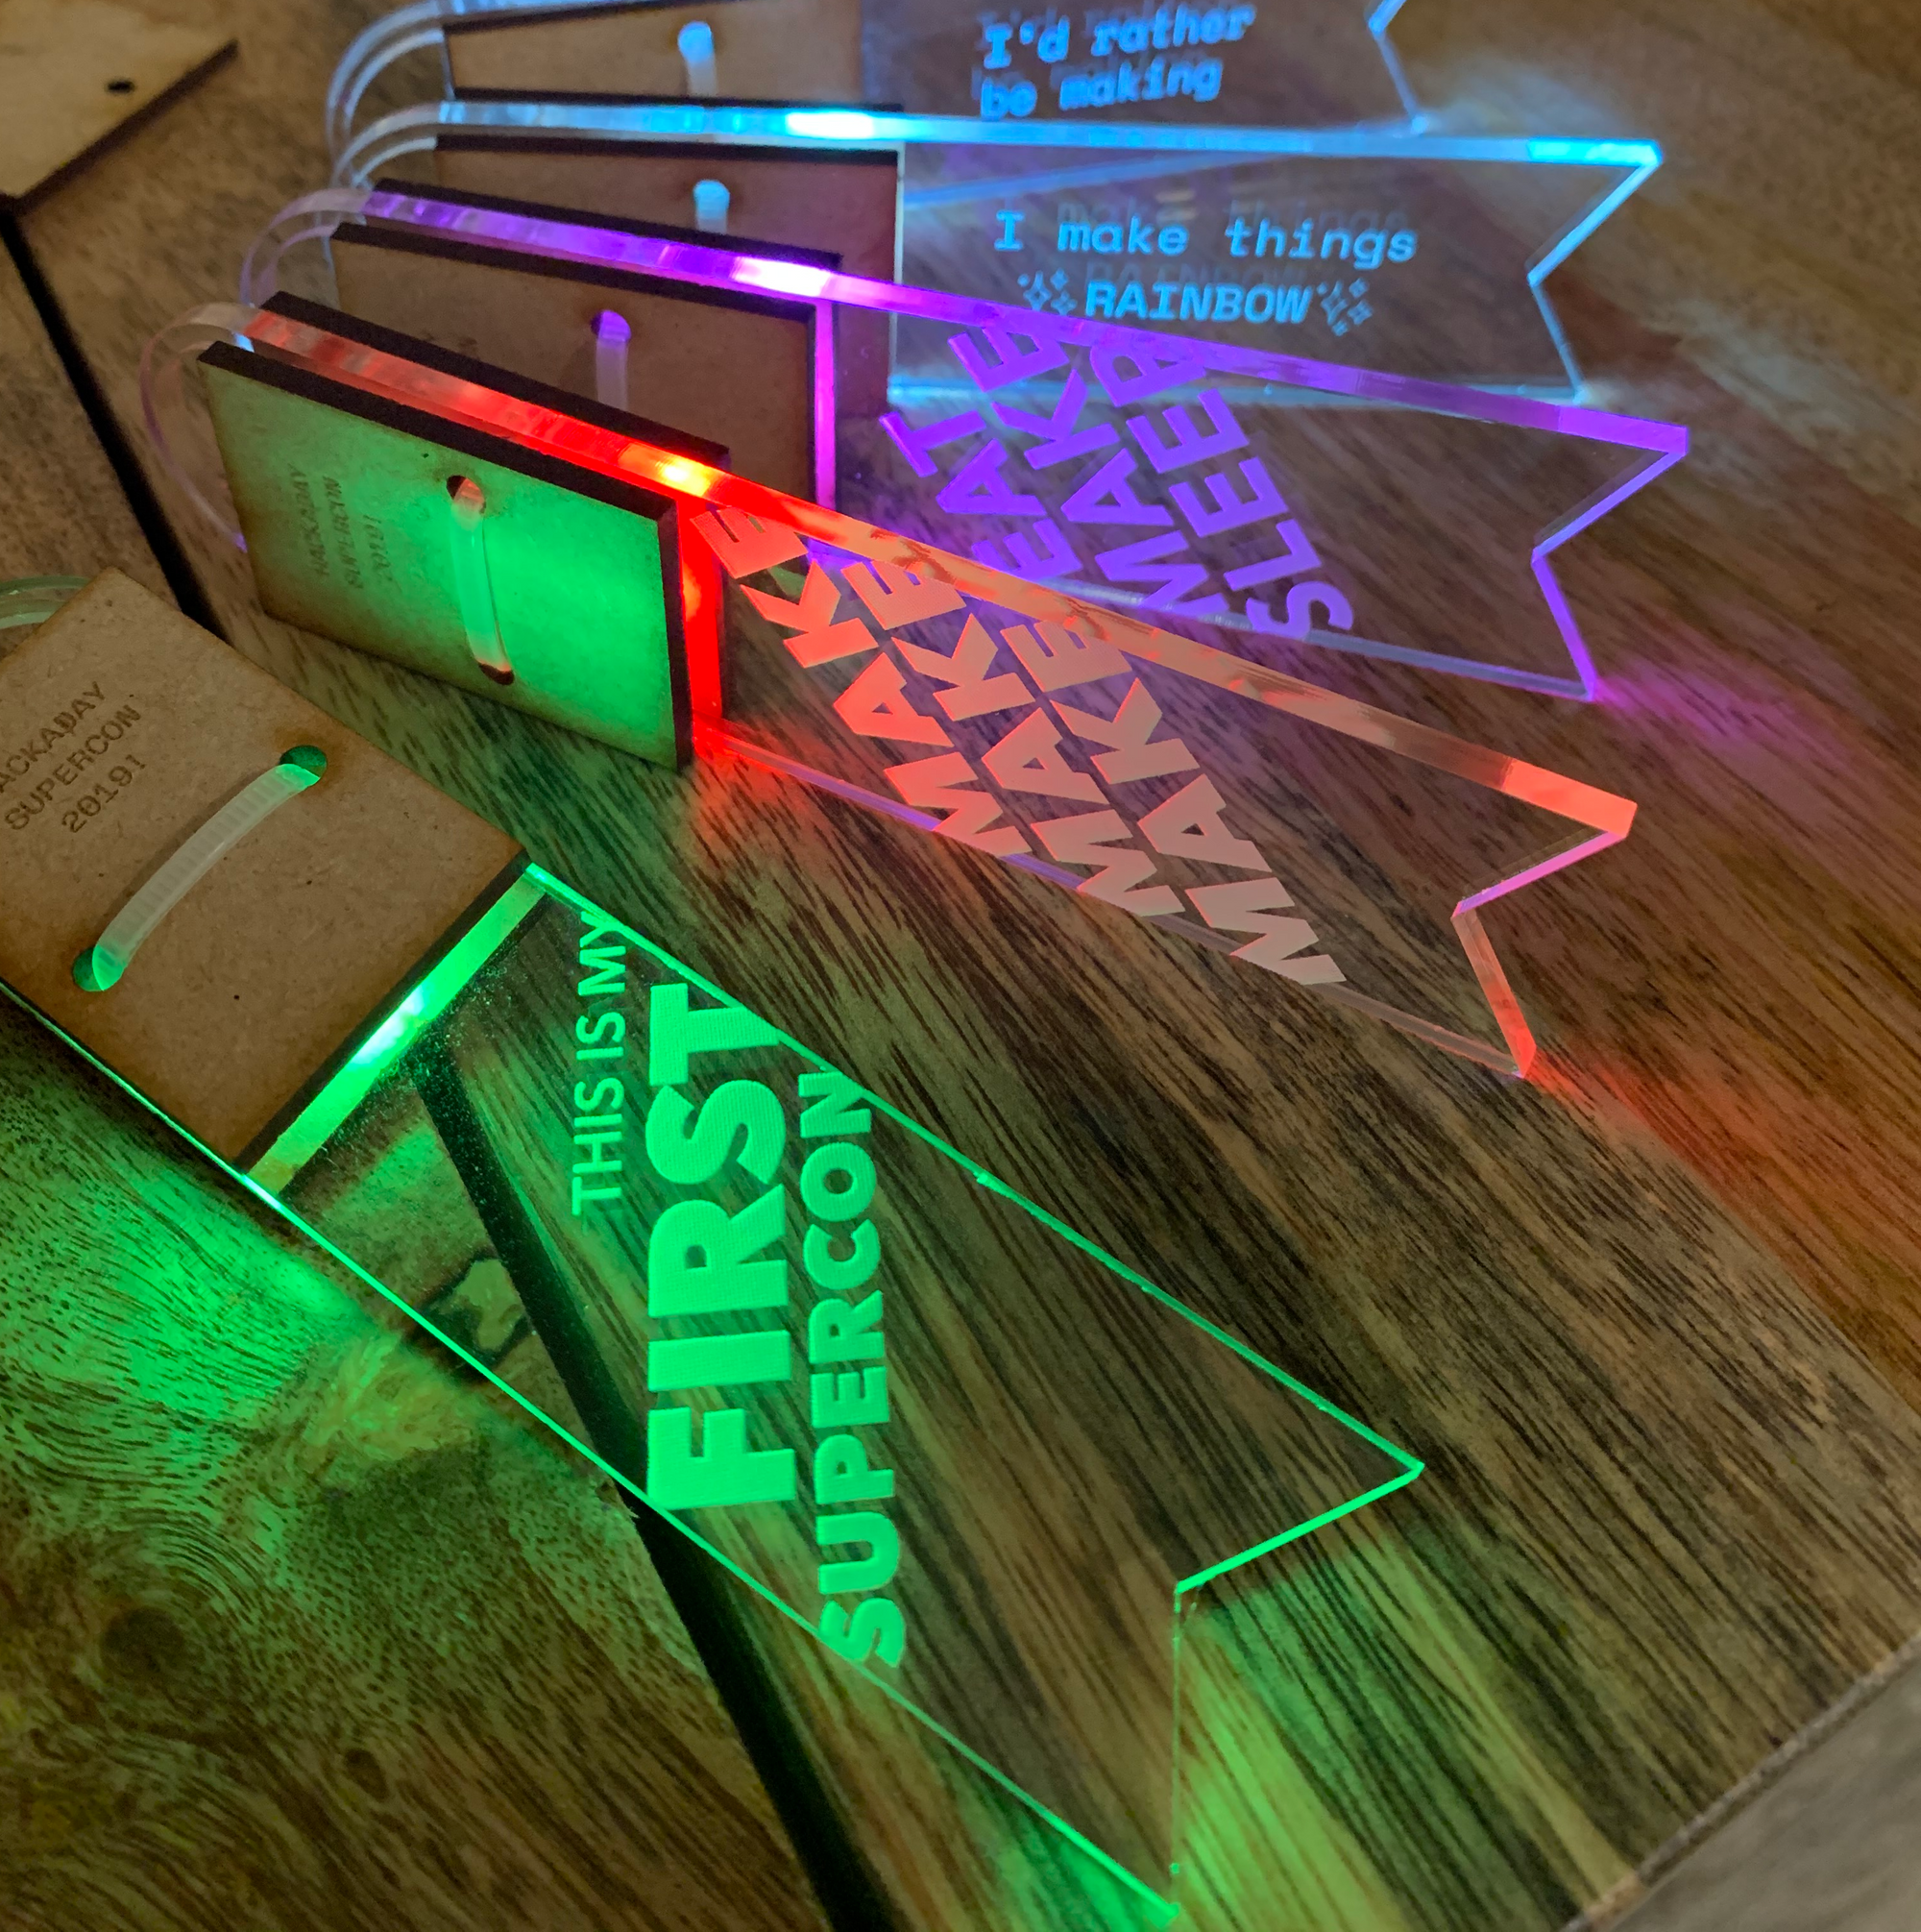
I attended Hackaday Supercon this past weekend, and I have so many thoughts and feels, but before I procrastinate I'd like to show how I built these little badgey things I gifted new #supercon friends! I'm calling them badgey thingies but let me know if you have any suggestions 😅
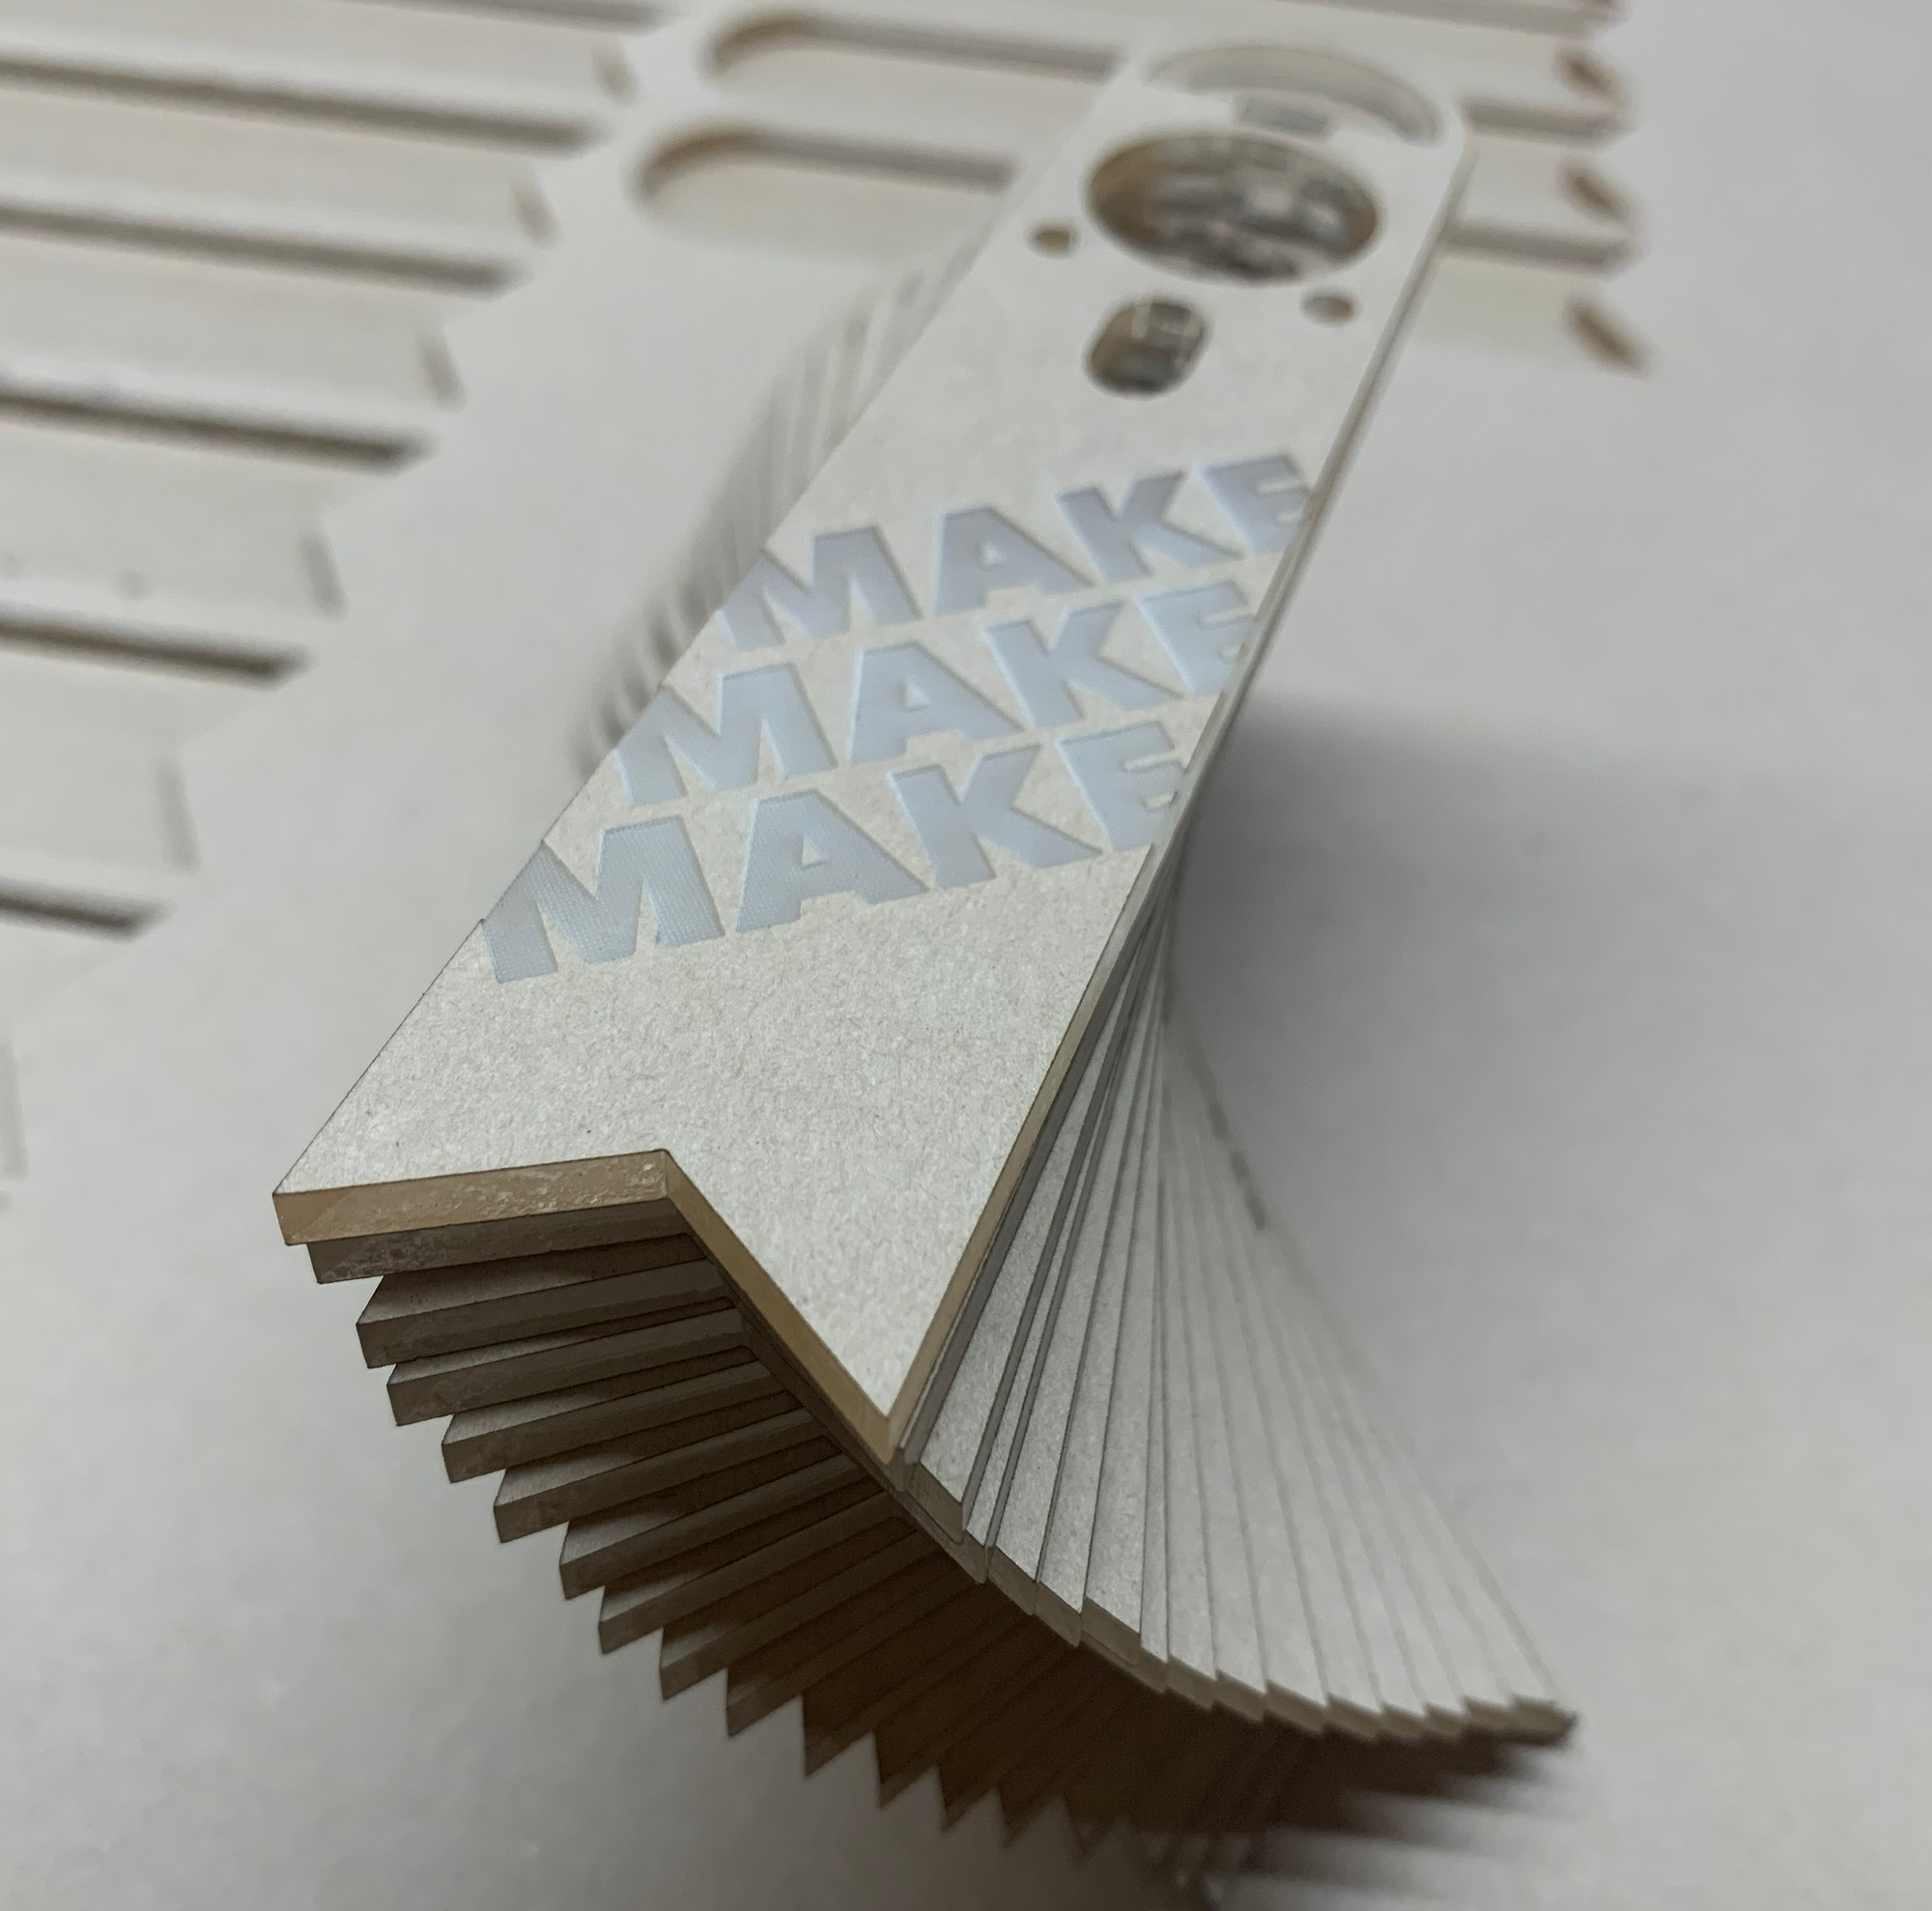
I designed these in illustrator, and optimized for simplicity of build since I decided to do it two nights before my flight 😅 Then, lasers!
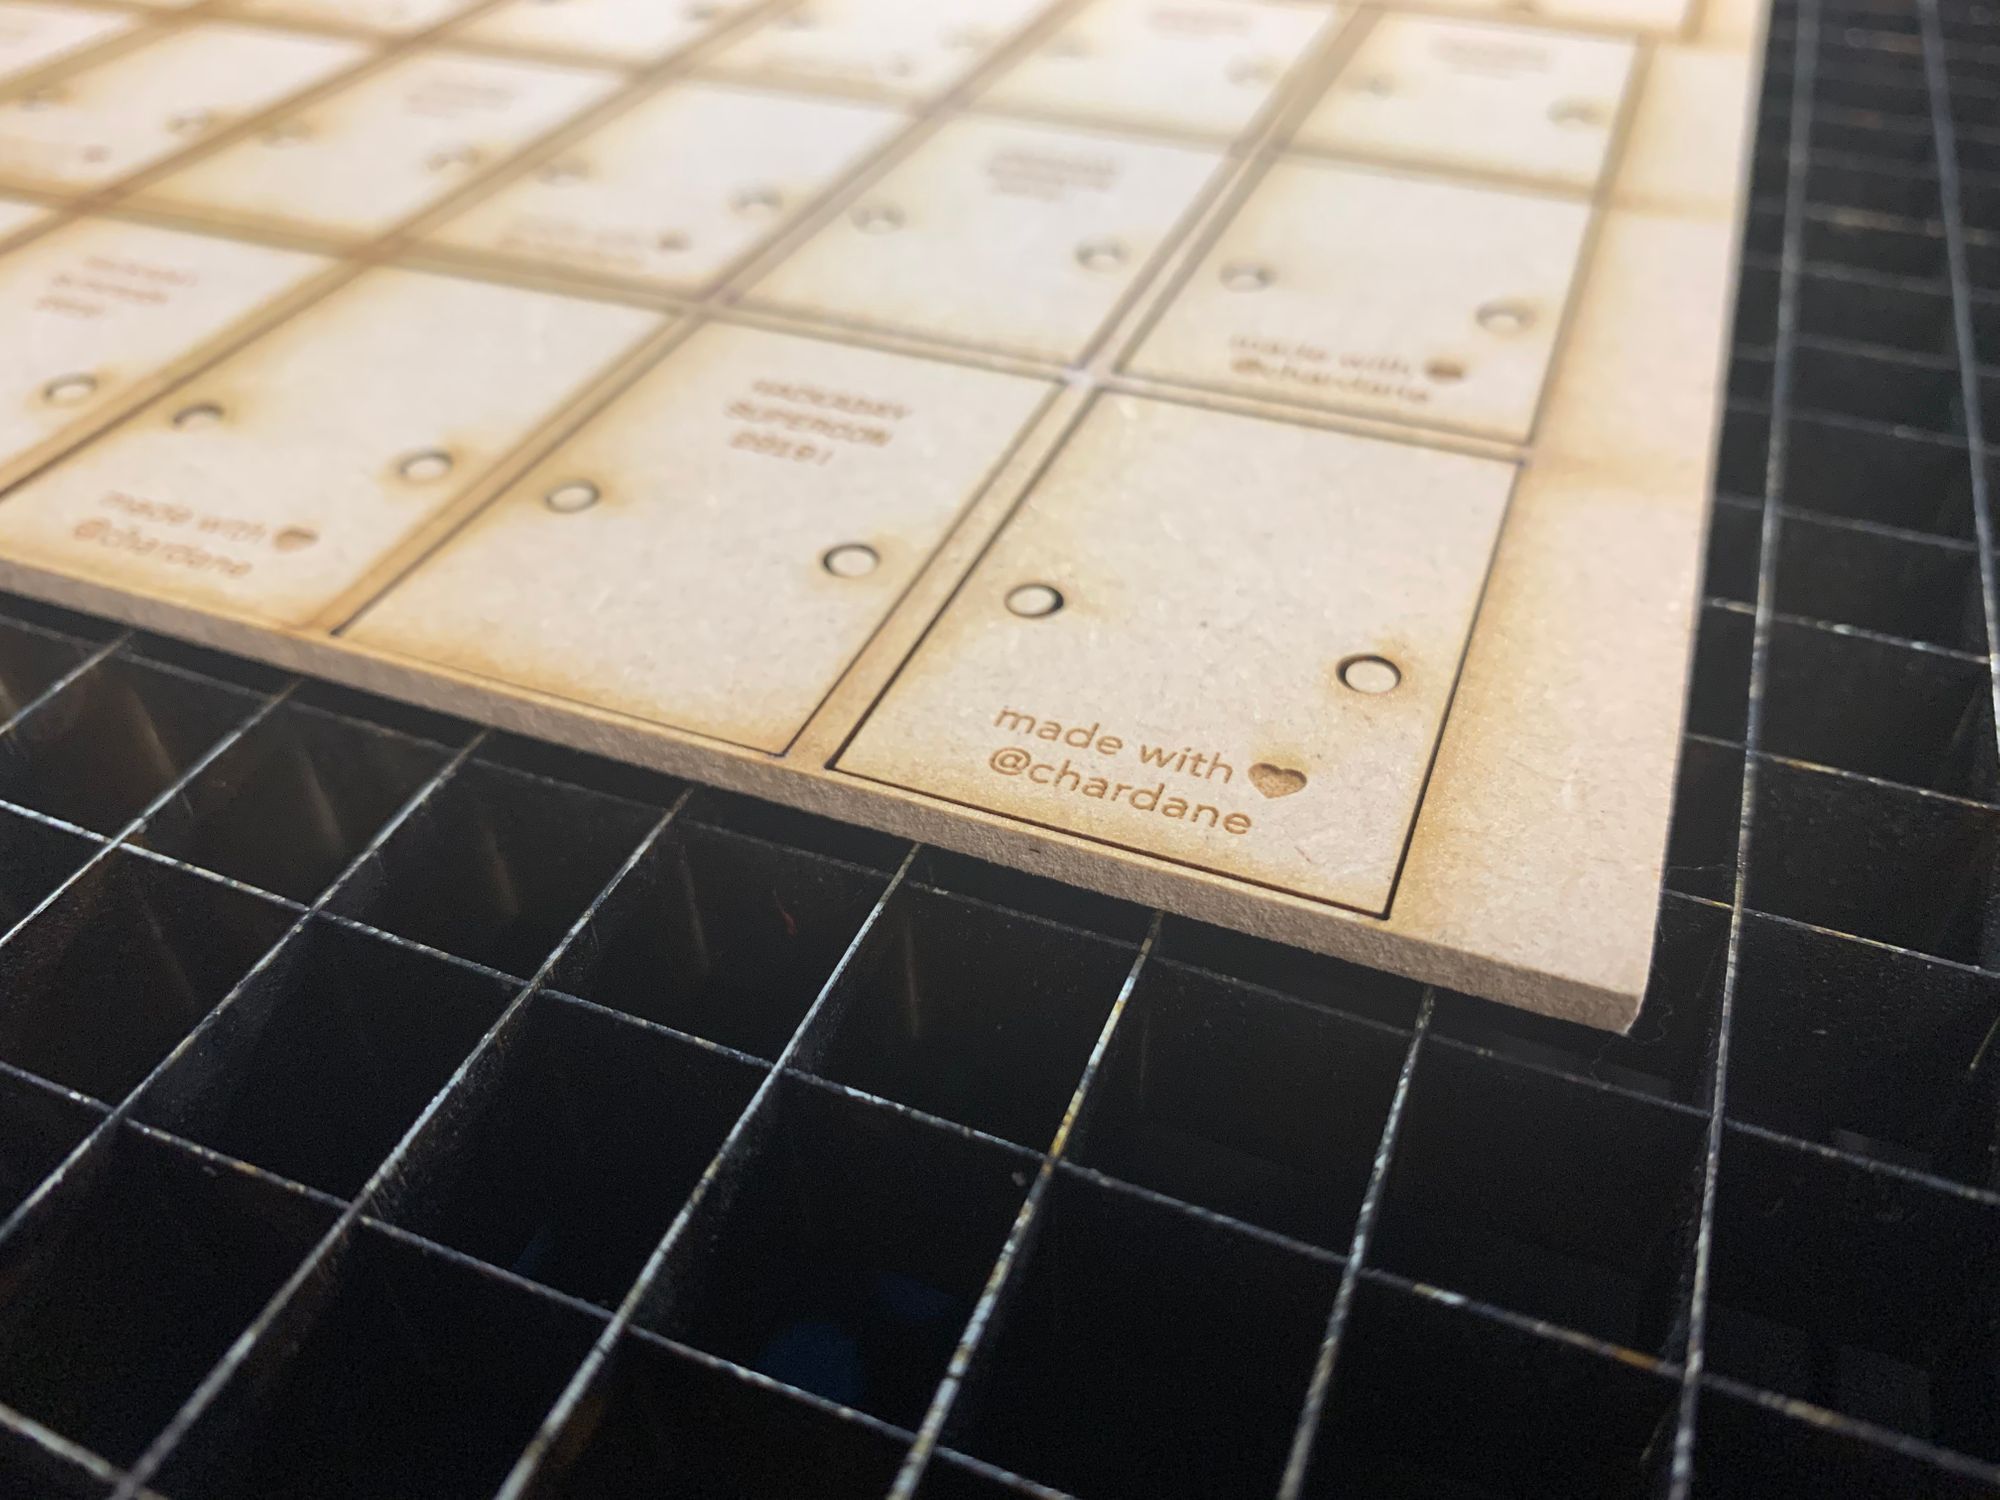
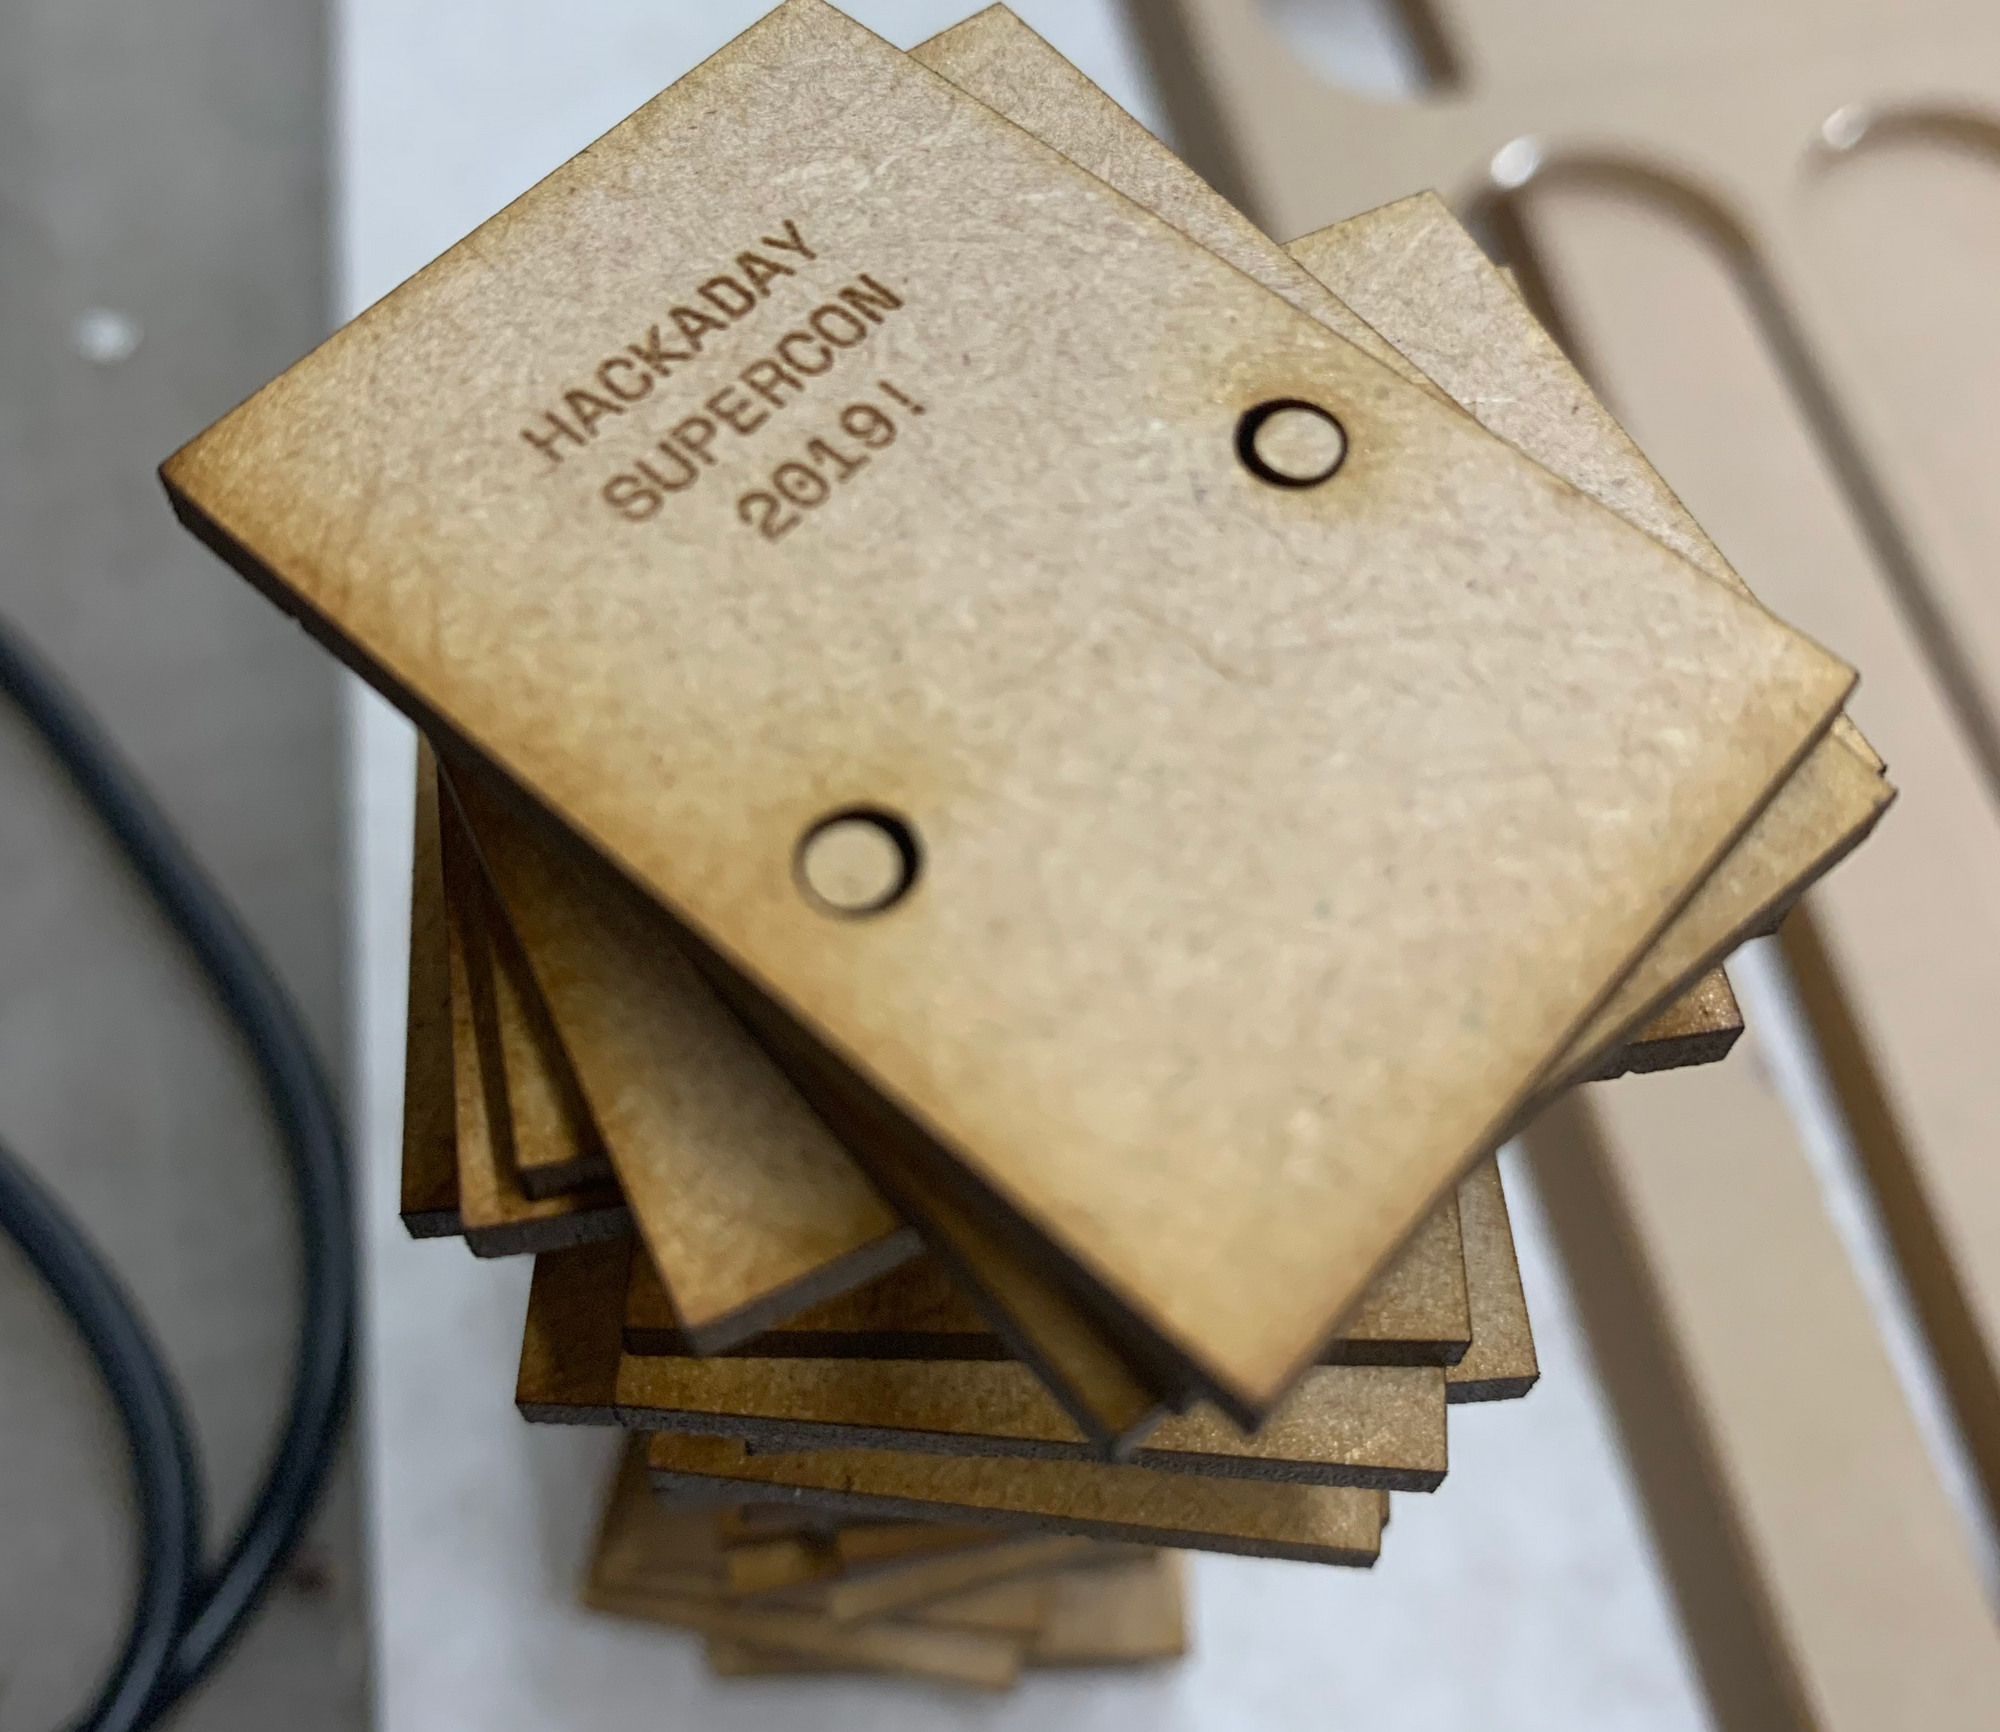
I made a lot because #goals, but ended up making half of this stack shown below. Did a couple of test cuts first to test the top cutout for the switch and the spacing of all the holes.
I might have YOLO’d the final laser alignment there in the first image but I just baaarely made it within the material ✨
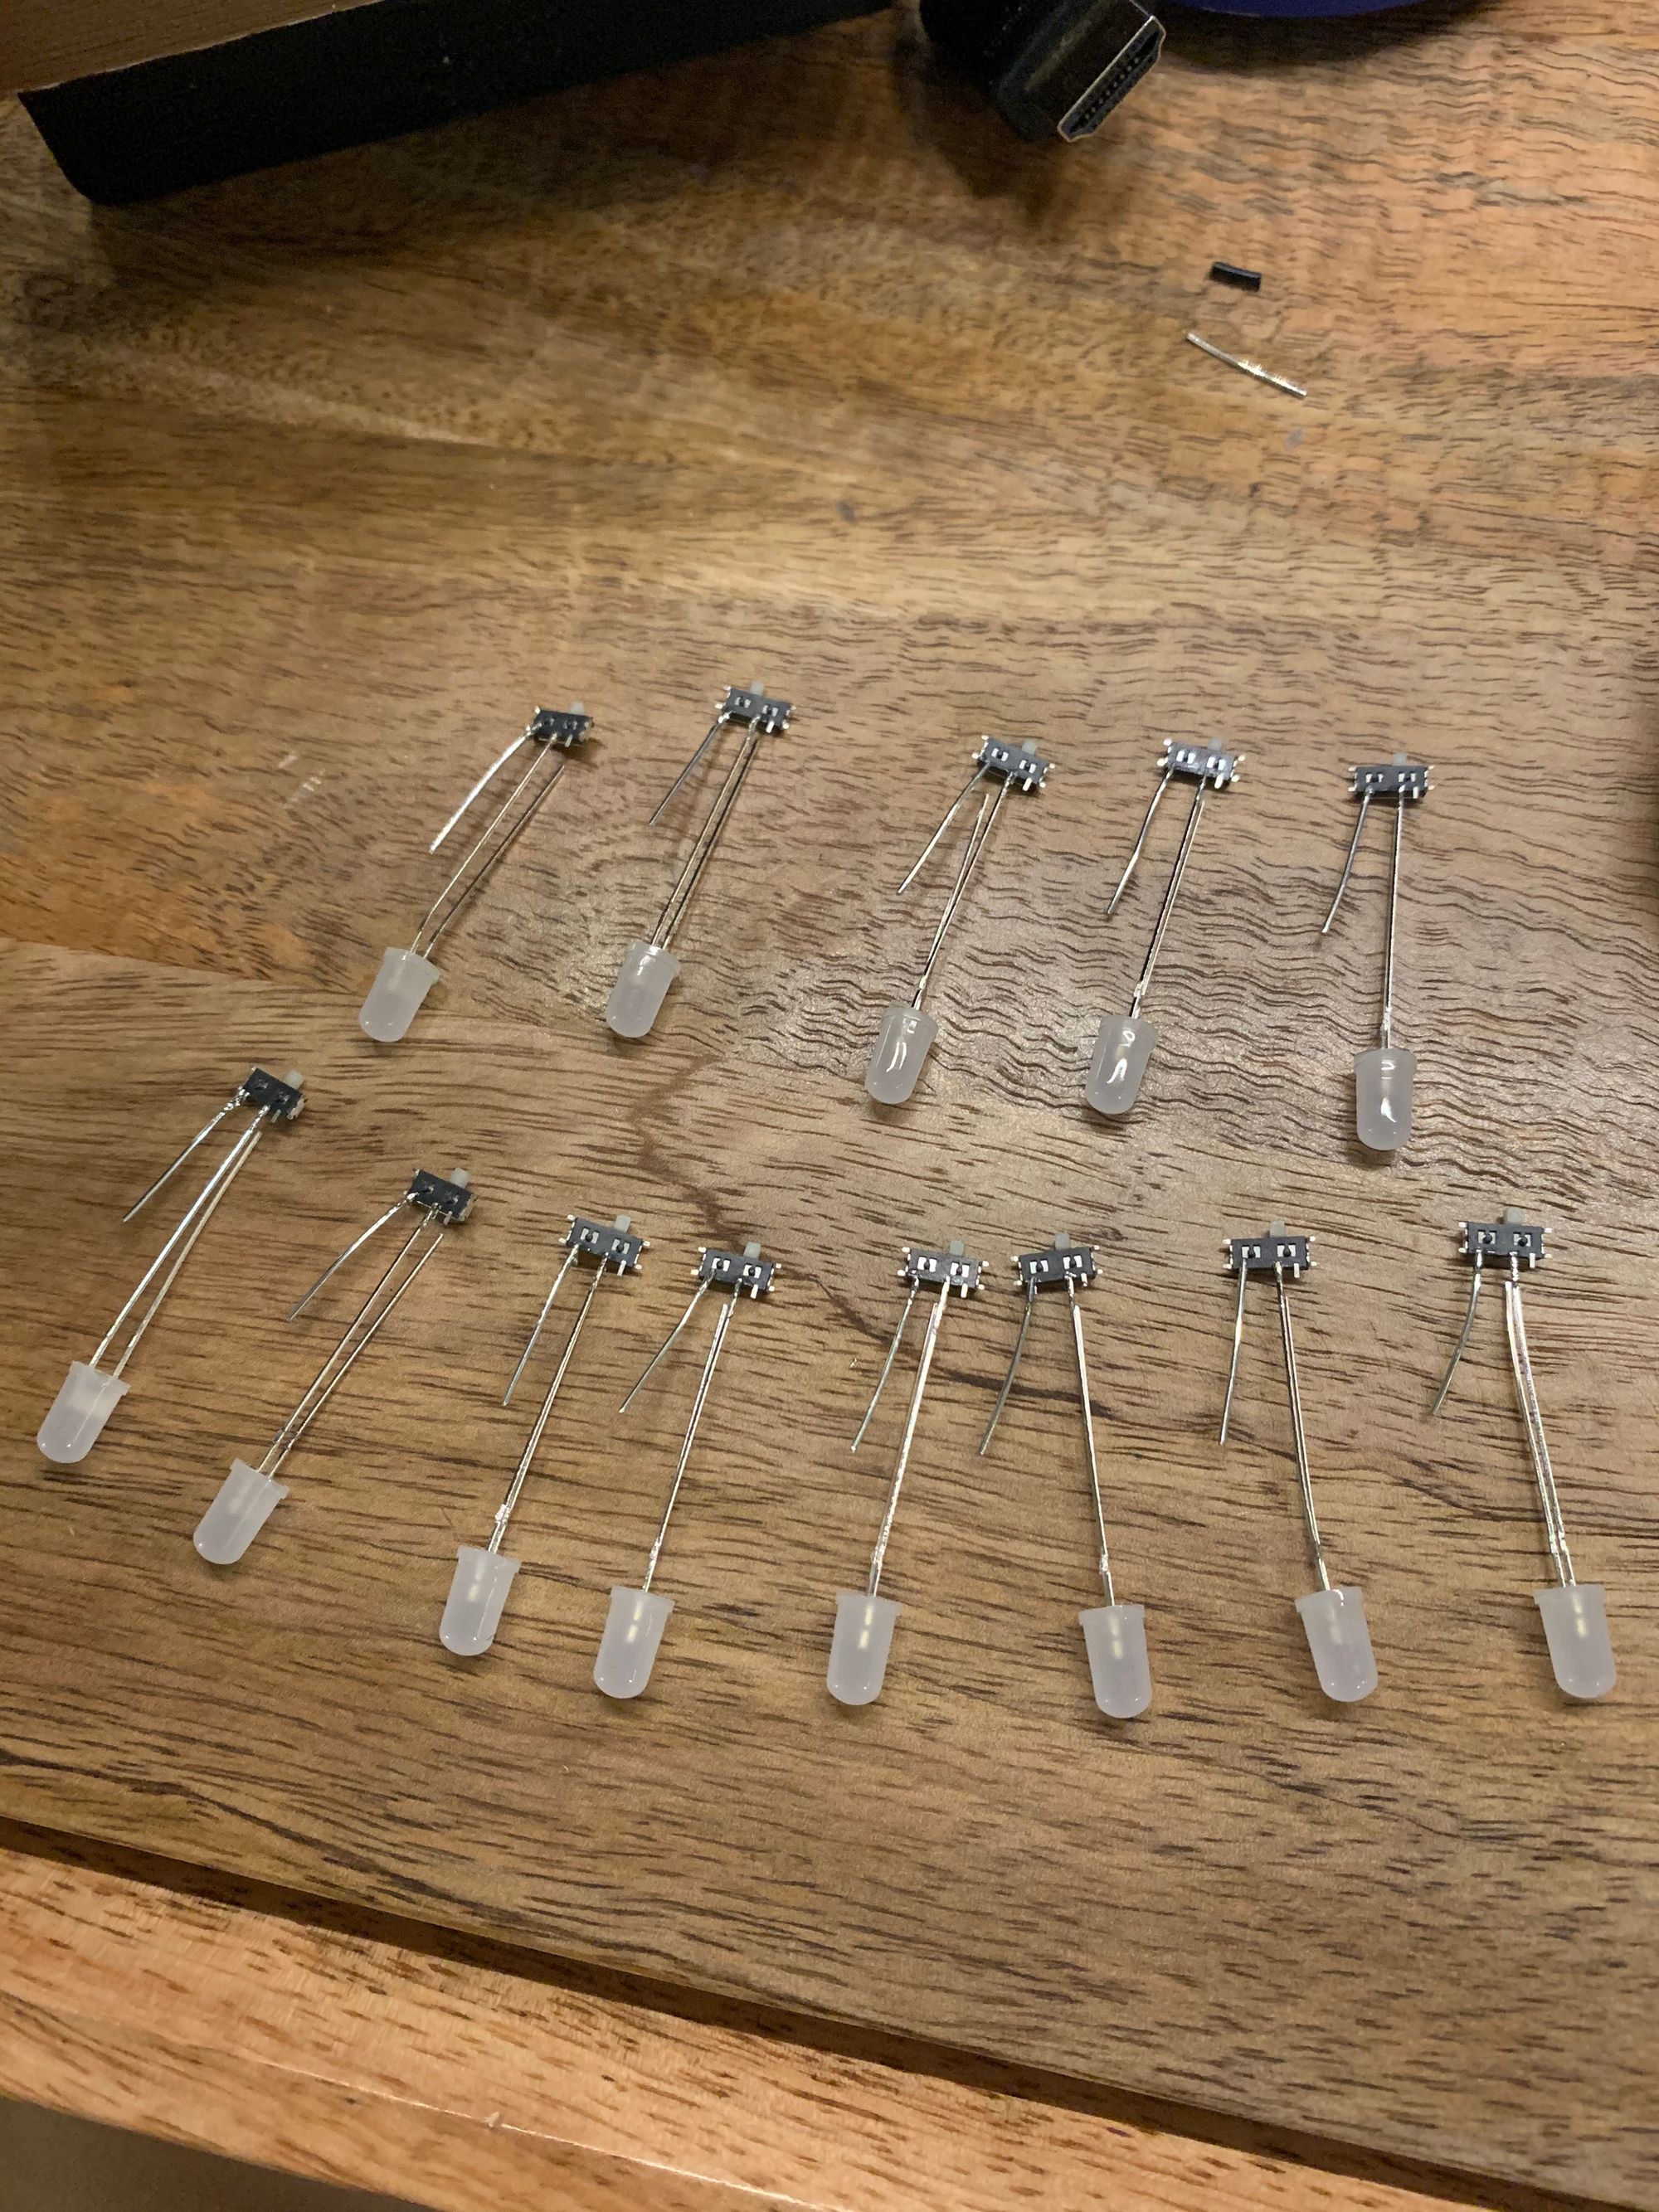
I’ve seen some versions of this idea that don’t include a switch, but I knew people would need a break from blinky rainbows 🌈 (I know, shocking) so I really wanted to have a switch. To keep it simple I soldered the switch right onto a slow flashing RGB LED
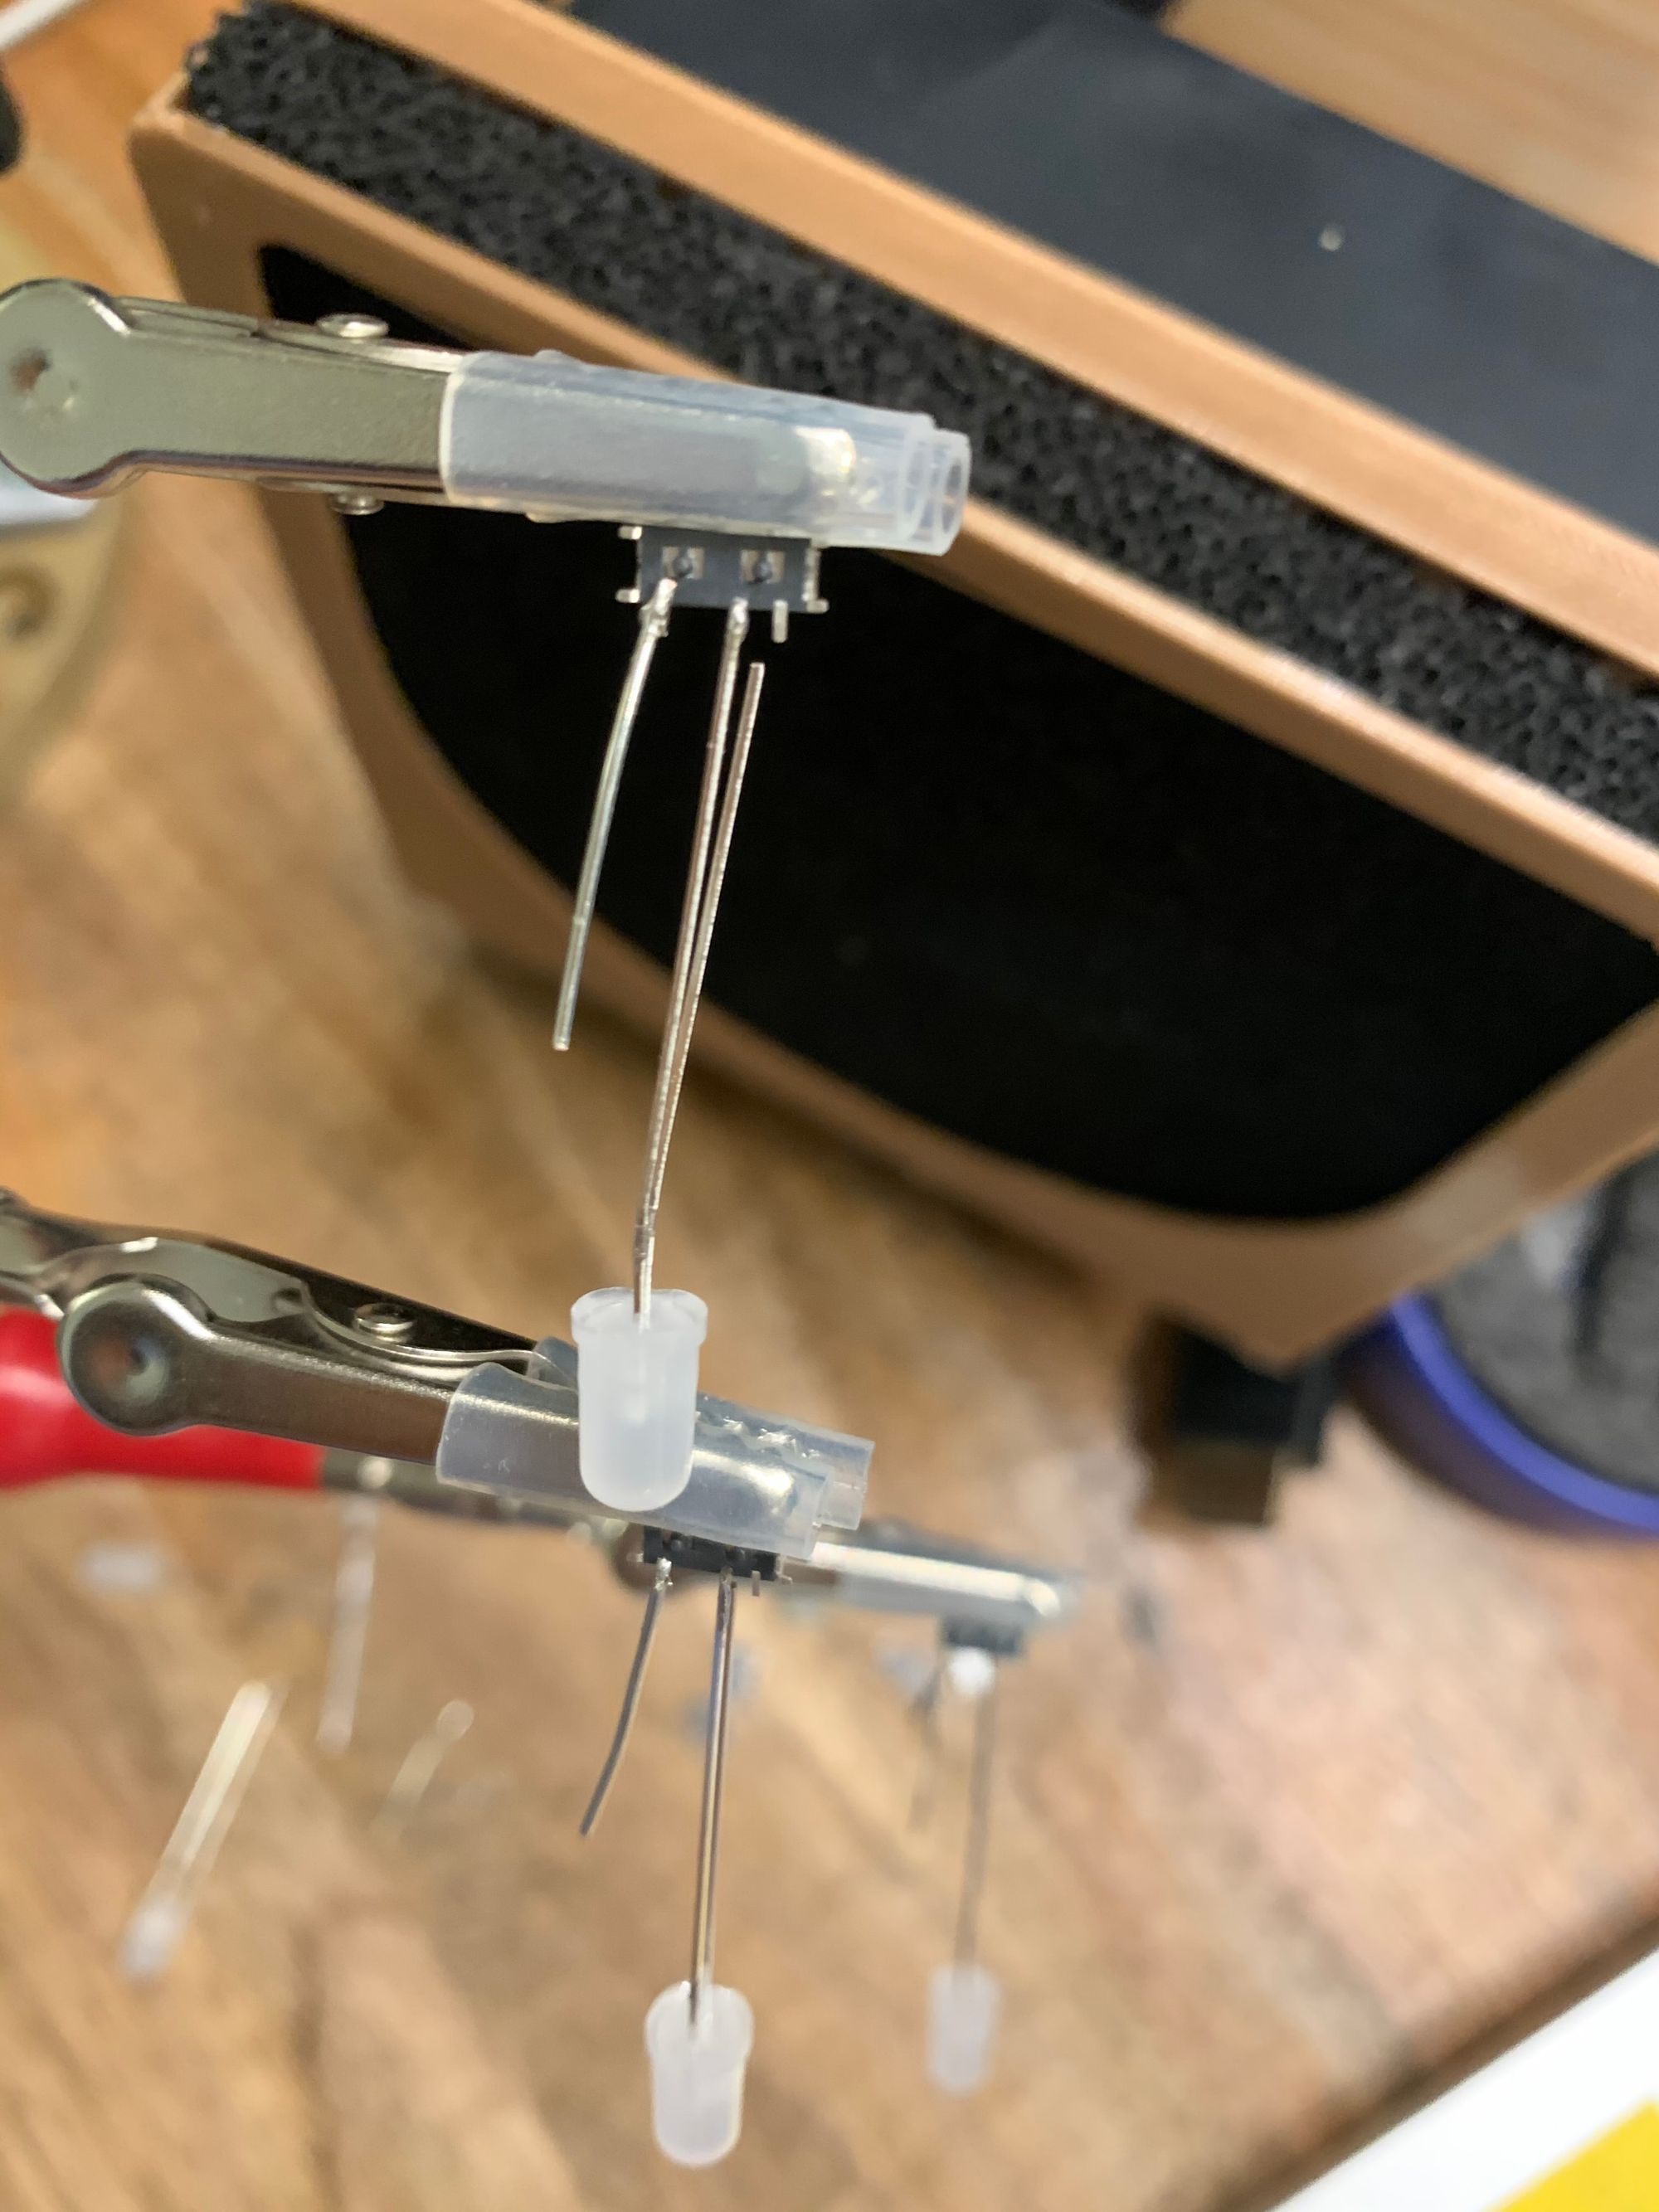
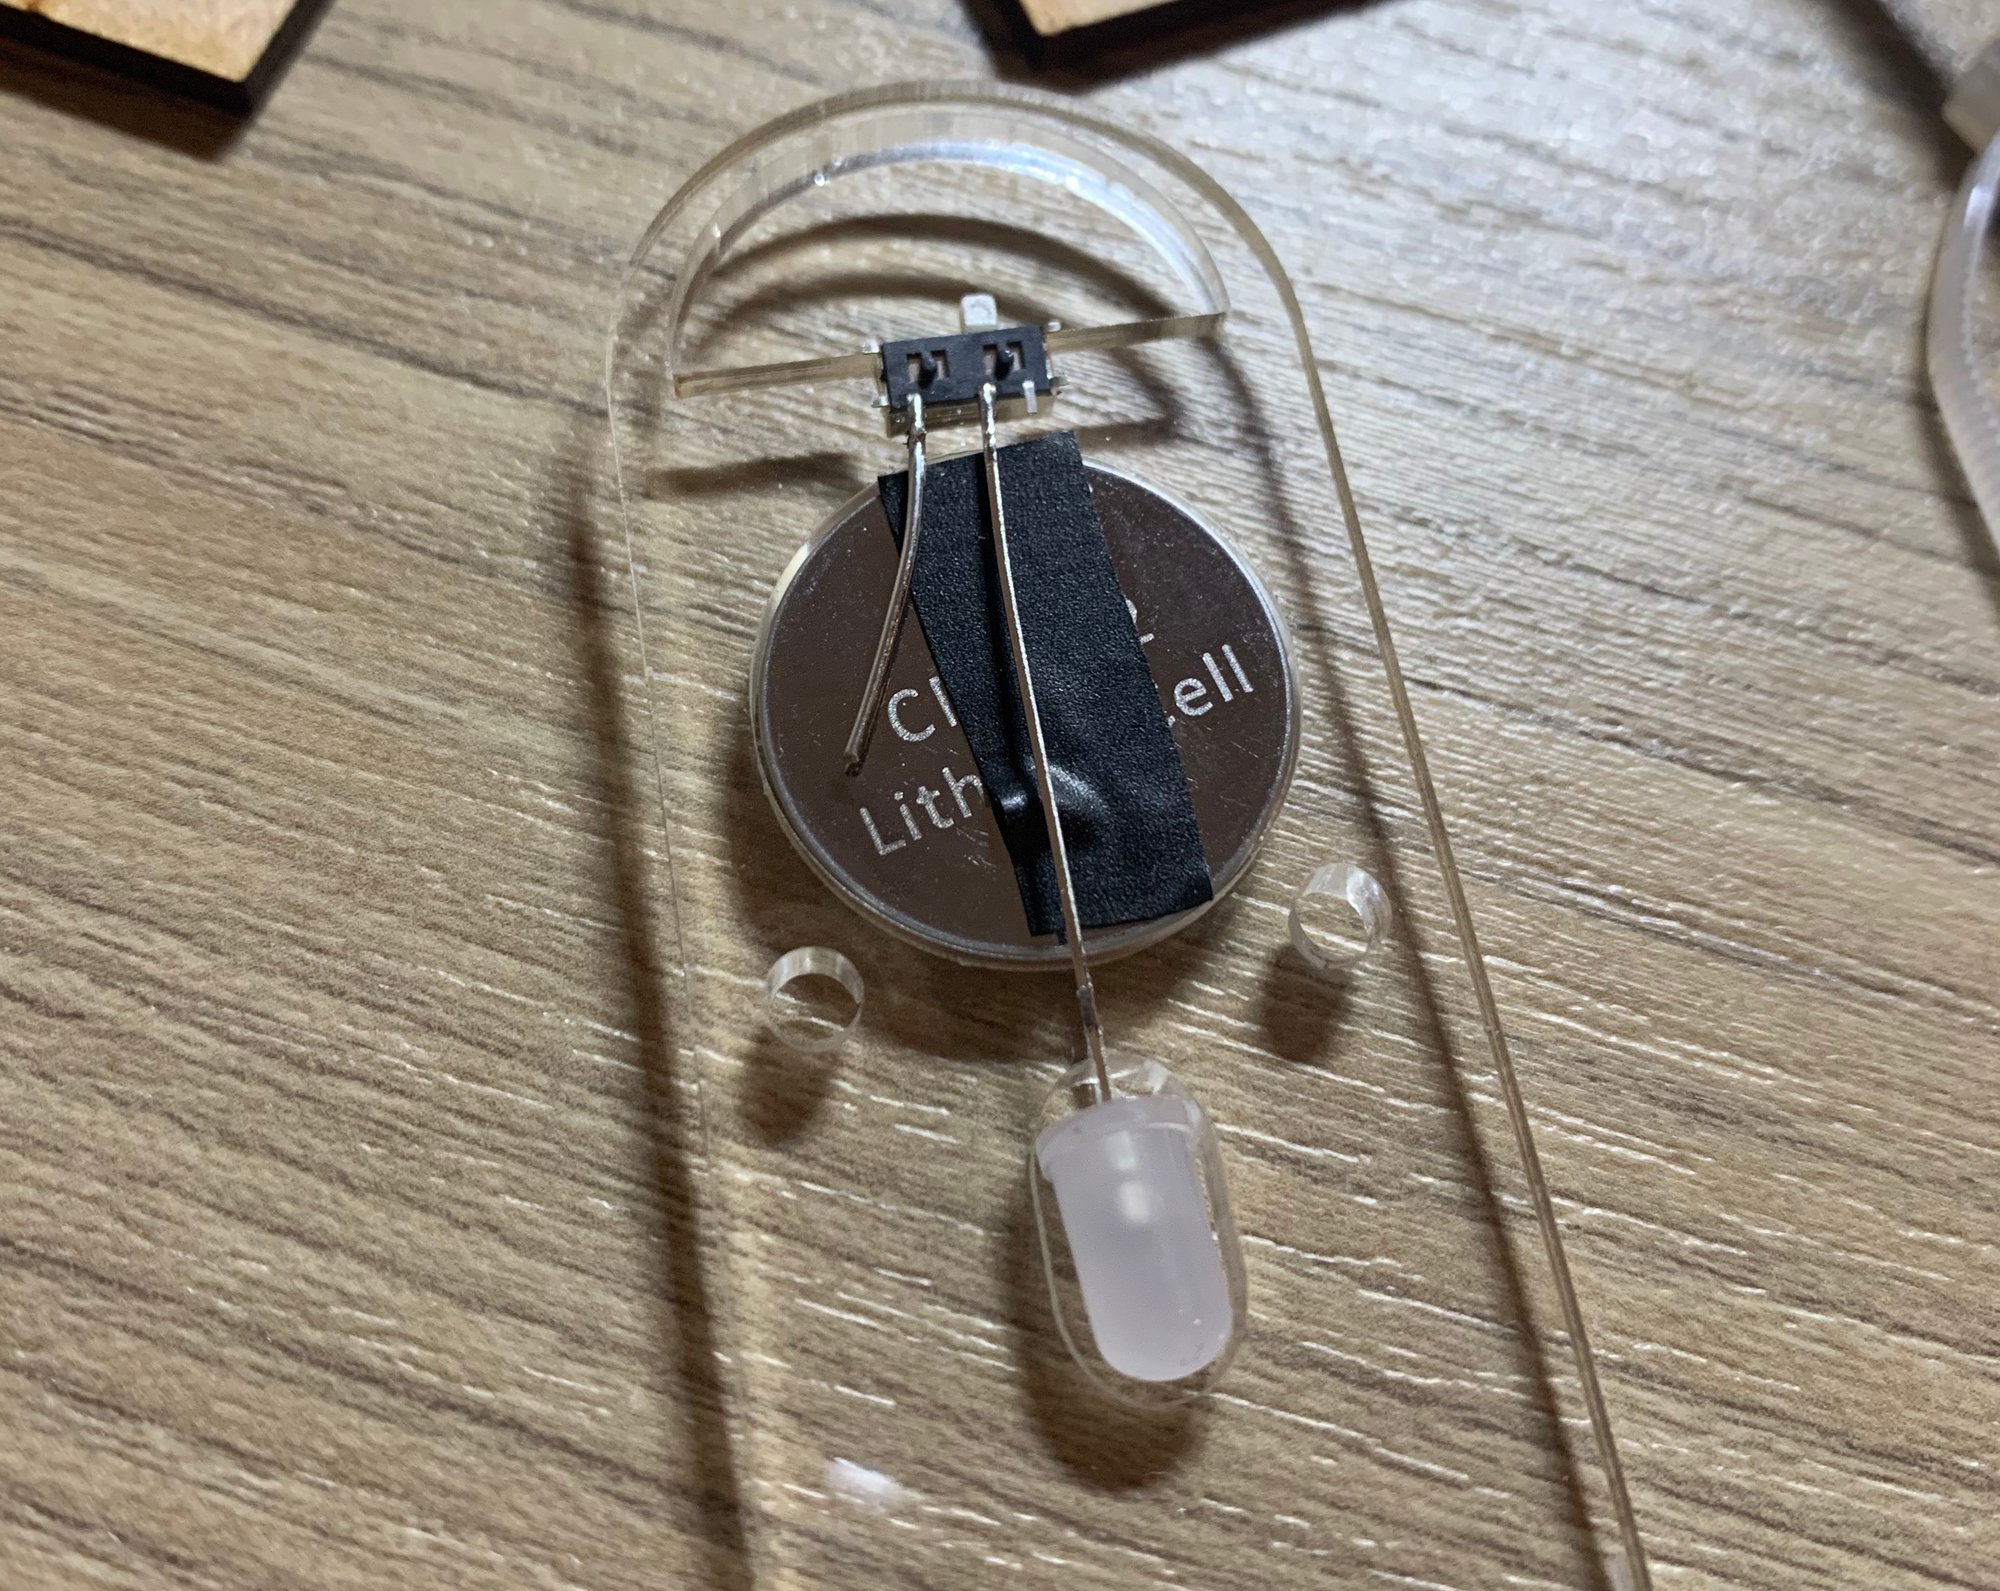
This is how it looks like assembled - positive LED leg on one switch pole and another wire to connect to positive coin cell side. Keeps the profile slim and sleek. The negative LED leg is on the other side of this, touching the ground side of the coin cell.
Then I sandwiched all that between two laser cut MDF panels. Done! Can’t wait to see more edge lit blinkys with these techniques! 🎉 Hope you enjoy!