
Hackaday Supercon 2019 was, to put it lightly, an absolutely life changing experience for me. Among the many incredible works of art toted and worn by their very creators, I got to see and behold the absolutely mind-blowing works of Greg Davill, Fred Temperton and Piotr Esden-Tempski from 1bitsquared – custom PCBs that form a 3D geometric shape.
Greg made a really cool icosahedron with triangle PCBs (2000+ hand soldered LEDs my goodness):


Fred made a really fantastic tiny cube:
LED cube is ready to meet its siblings at #supercon pic.twitter.com/5Jdbldechz
— Fred Temperton (@FredTemperton) November 16, 2019
And Piotr made a stunning HUGE cube!
Arrived in Portland with @kernlbob LED cube for @crowd_supply #teardown2019 visiting my friend @epmuav he filmed a nice short clip of the glorious LED cube. pic.twitter.com/W0BmlfgxLh
— Piotr Esden-Tempski @esden@chaos.social (@esden) June 21, 2019
These projects and others like it were a gorgeous trend in the maker community: A lot of people made their own renditions of a 3D shape made of LEDs. Jiri Praus even made an absolutely ultimate version: an LED sphere made with precisely-bent brass wires. The build process is incredibly intricate, shared in all its glory here:
The beginnings of a dream
Now, 2019 was the year I really went deep into learning and making things. I was surrounded by all these inspiring wonderful projects, and I REALLY wanted to make one of my own, but there was a problem: I didn't know how to make custom PCBs, and I also didn't know how to hand solder brass wires to make a perfect sphere. To be honest, I still do not have those skills today 😅
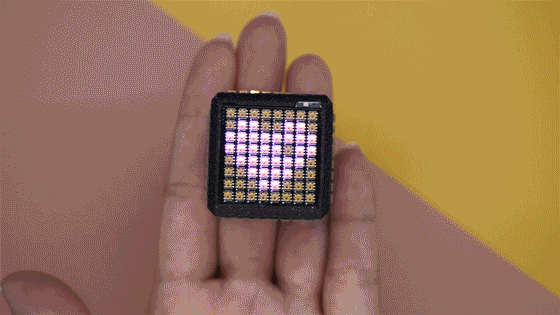
Shortly after witnessing the LED cube trend, I saw the MOST adorable LED matrix, which I immediately thought could be made into a cube:
 Adafruit Industries
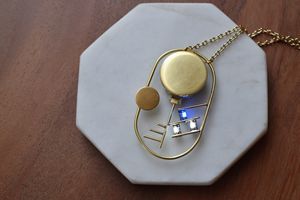
But again, I didn't have enough skills AND I couldn't find a microcontroller small enough to make it happen. So, this LED cube dream stayed in the project backlog for years. In the meantime, I made a 2D capacitive touch necklace because I couldn't resist how deliciously glowy this matrix is! I even wrote an Adafruit guide for it:

A glimmer of hope for the procrastinator
Fast forward to 2022, and Adafruit comes out with two things: the teeny tiny QT Py form factor in an ESP32-S3 wifi flavor, and a matching charger add-on board that keeps everything super compact. When these came out, dear reader, I was disproportionately ecstatic! I had managed to put off learning KiCad and how to make my own circuit boards long enough for someone to come out with the perfect parts I'd want to use for an LED cube project. Sometimes, procrastination works out fine.
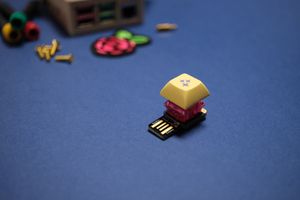
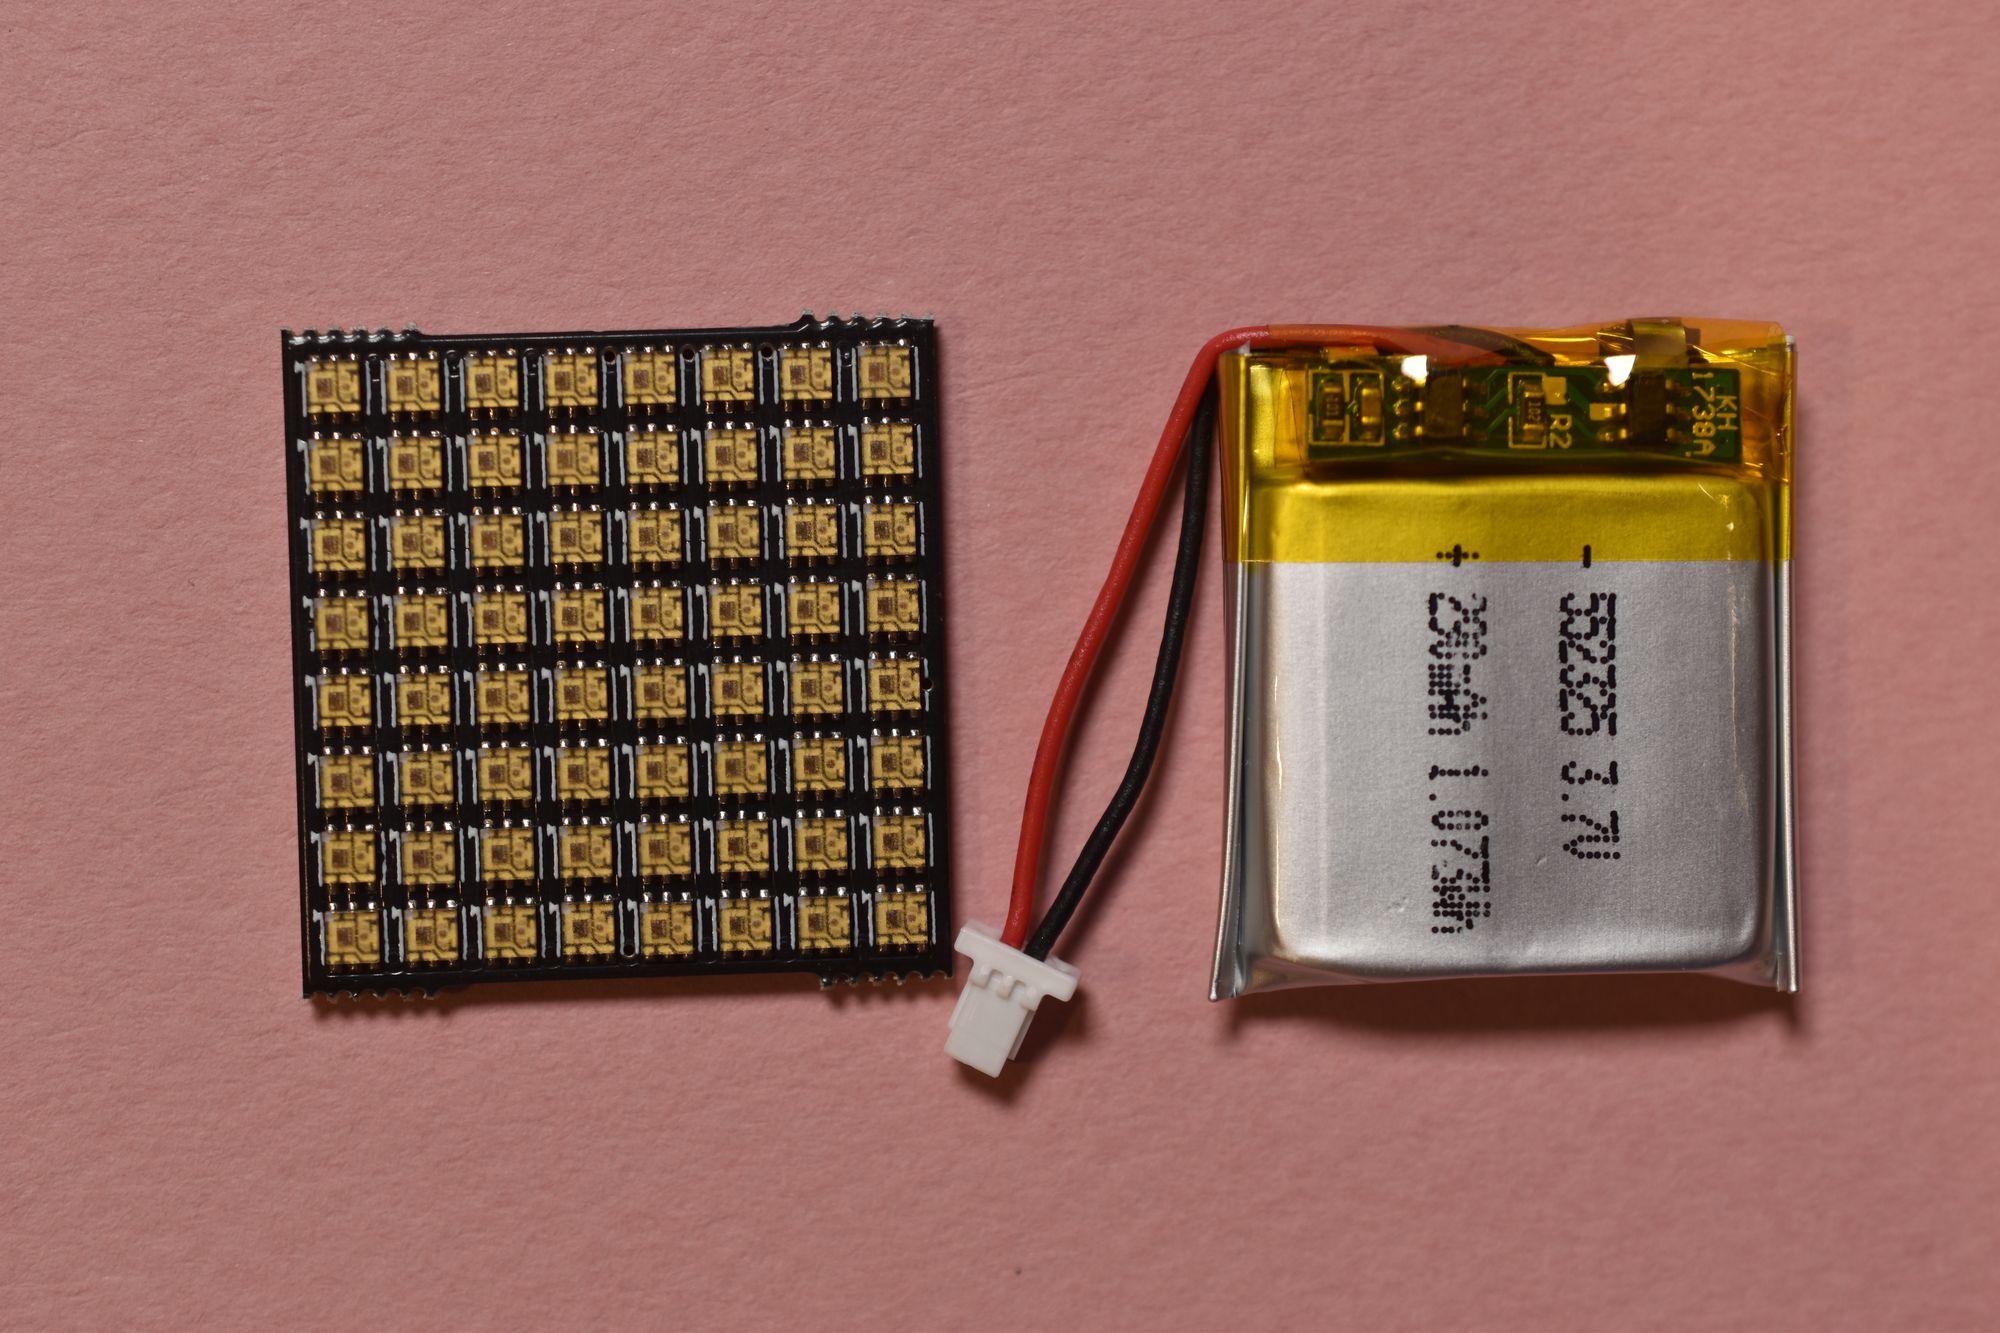
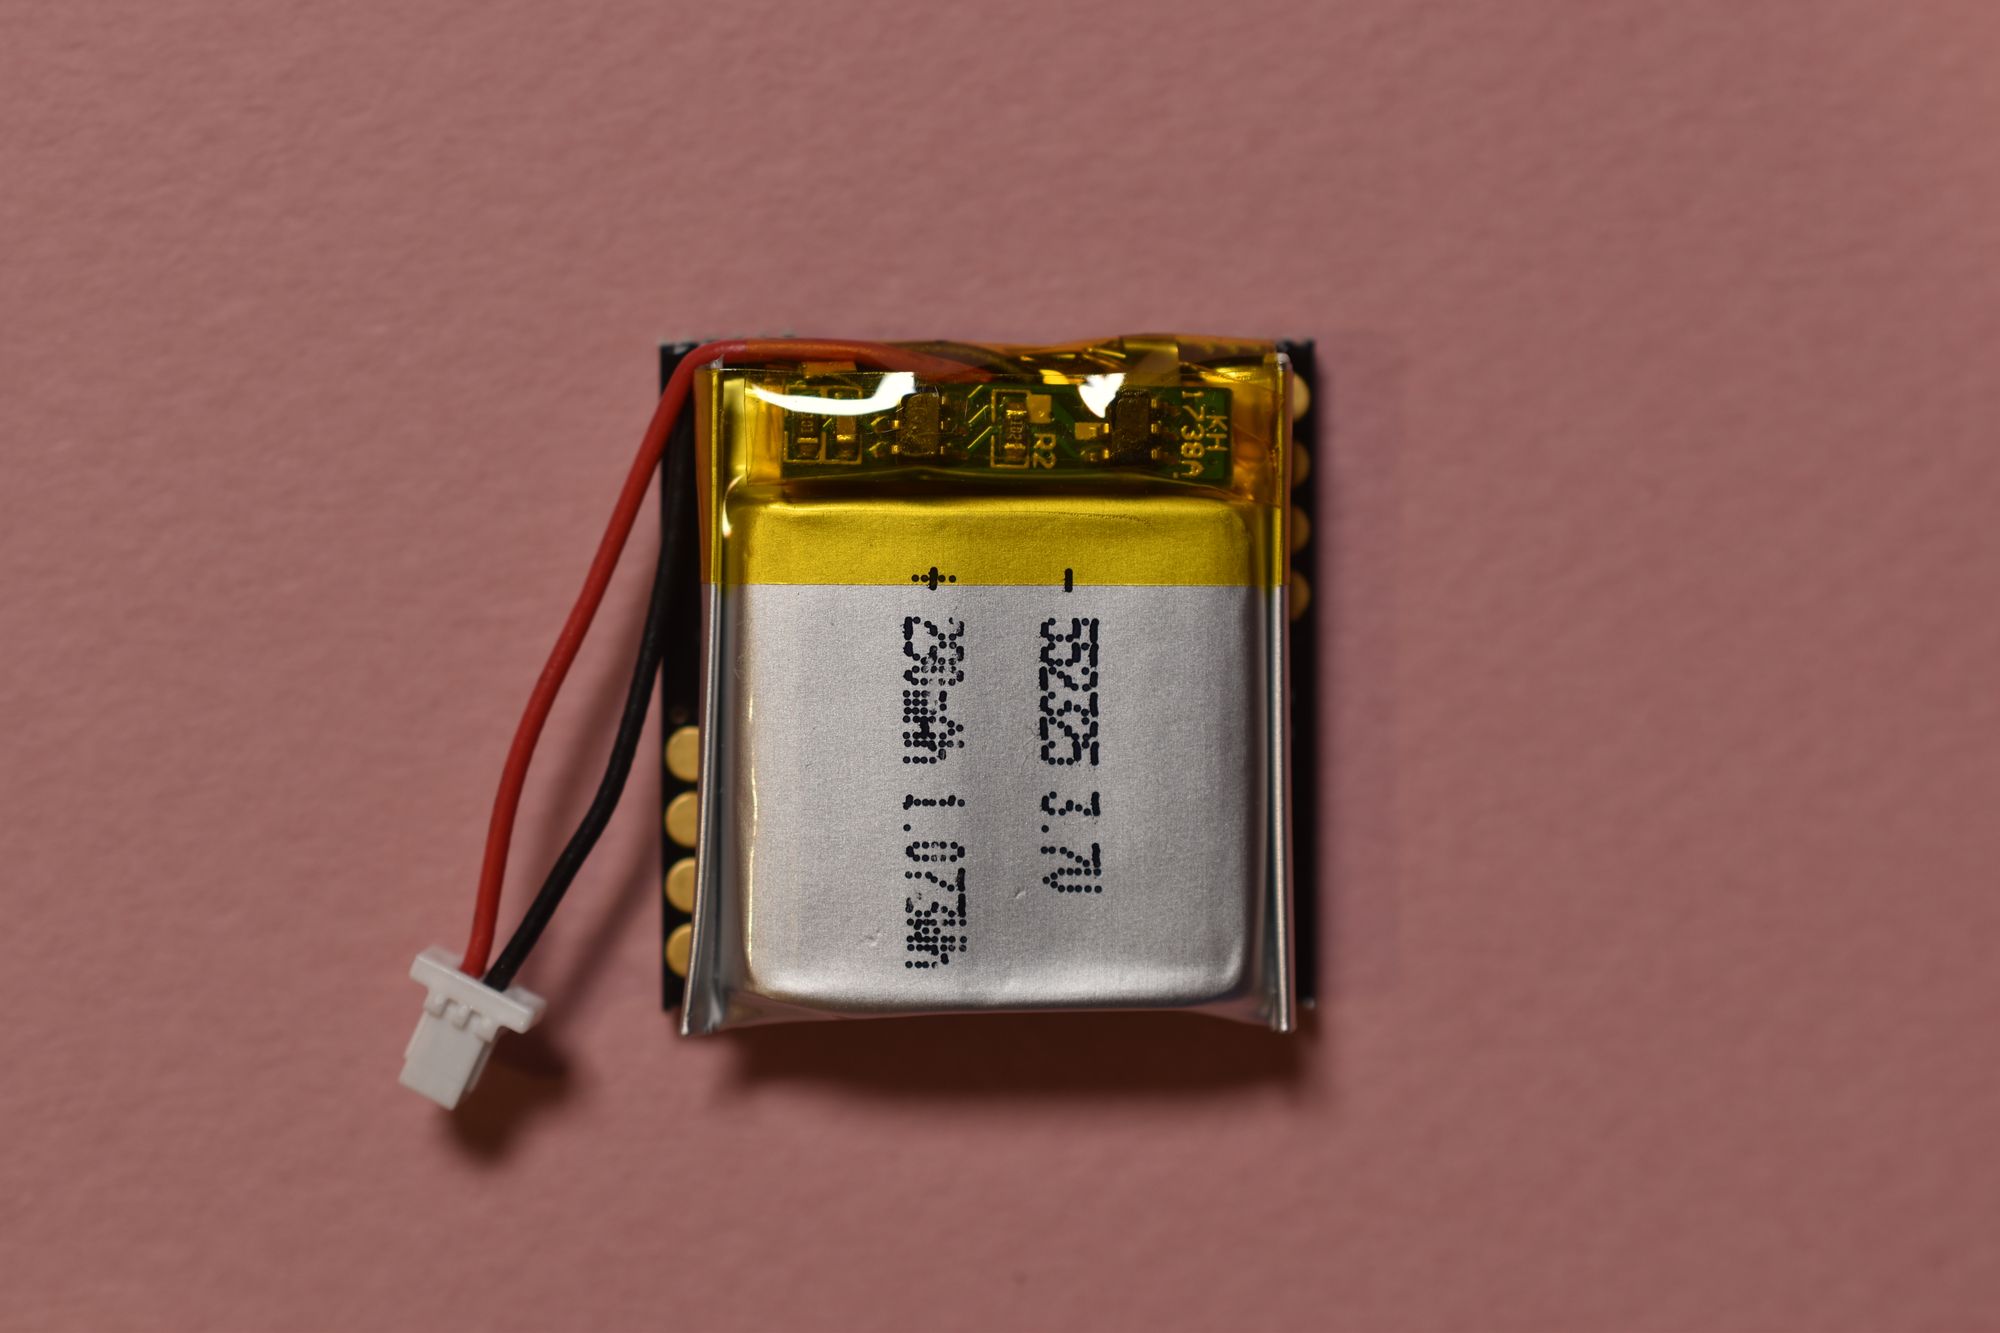
There was only one thing missing: a battery small enough to fit inside a roughly 1.25" x 1.25" x 1.25" cube along with the QT Py and charger add-on. I scoured DigiKey and finally found the holy grail: a battery from TinyCircuits that was basically the same overall dimensions as the LED matrix.
So, I had a microcontroller, a charger board, some LED matrices, the perfect tiny battery, plus enough electronics, CircuitPython and Fusion360 skills. The pieces were falling into place, I just had to put them all together.
How the dream came true (slowly)
This was my first attempt, I hope you're ready for this – tada! 😅
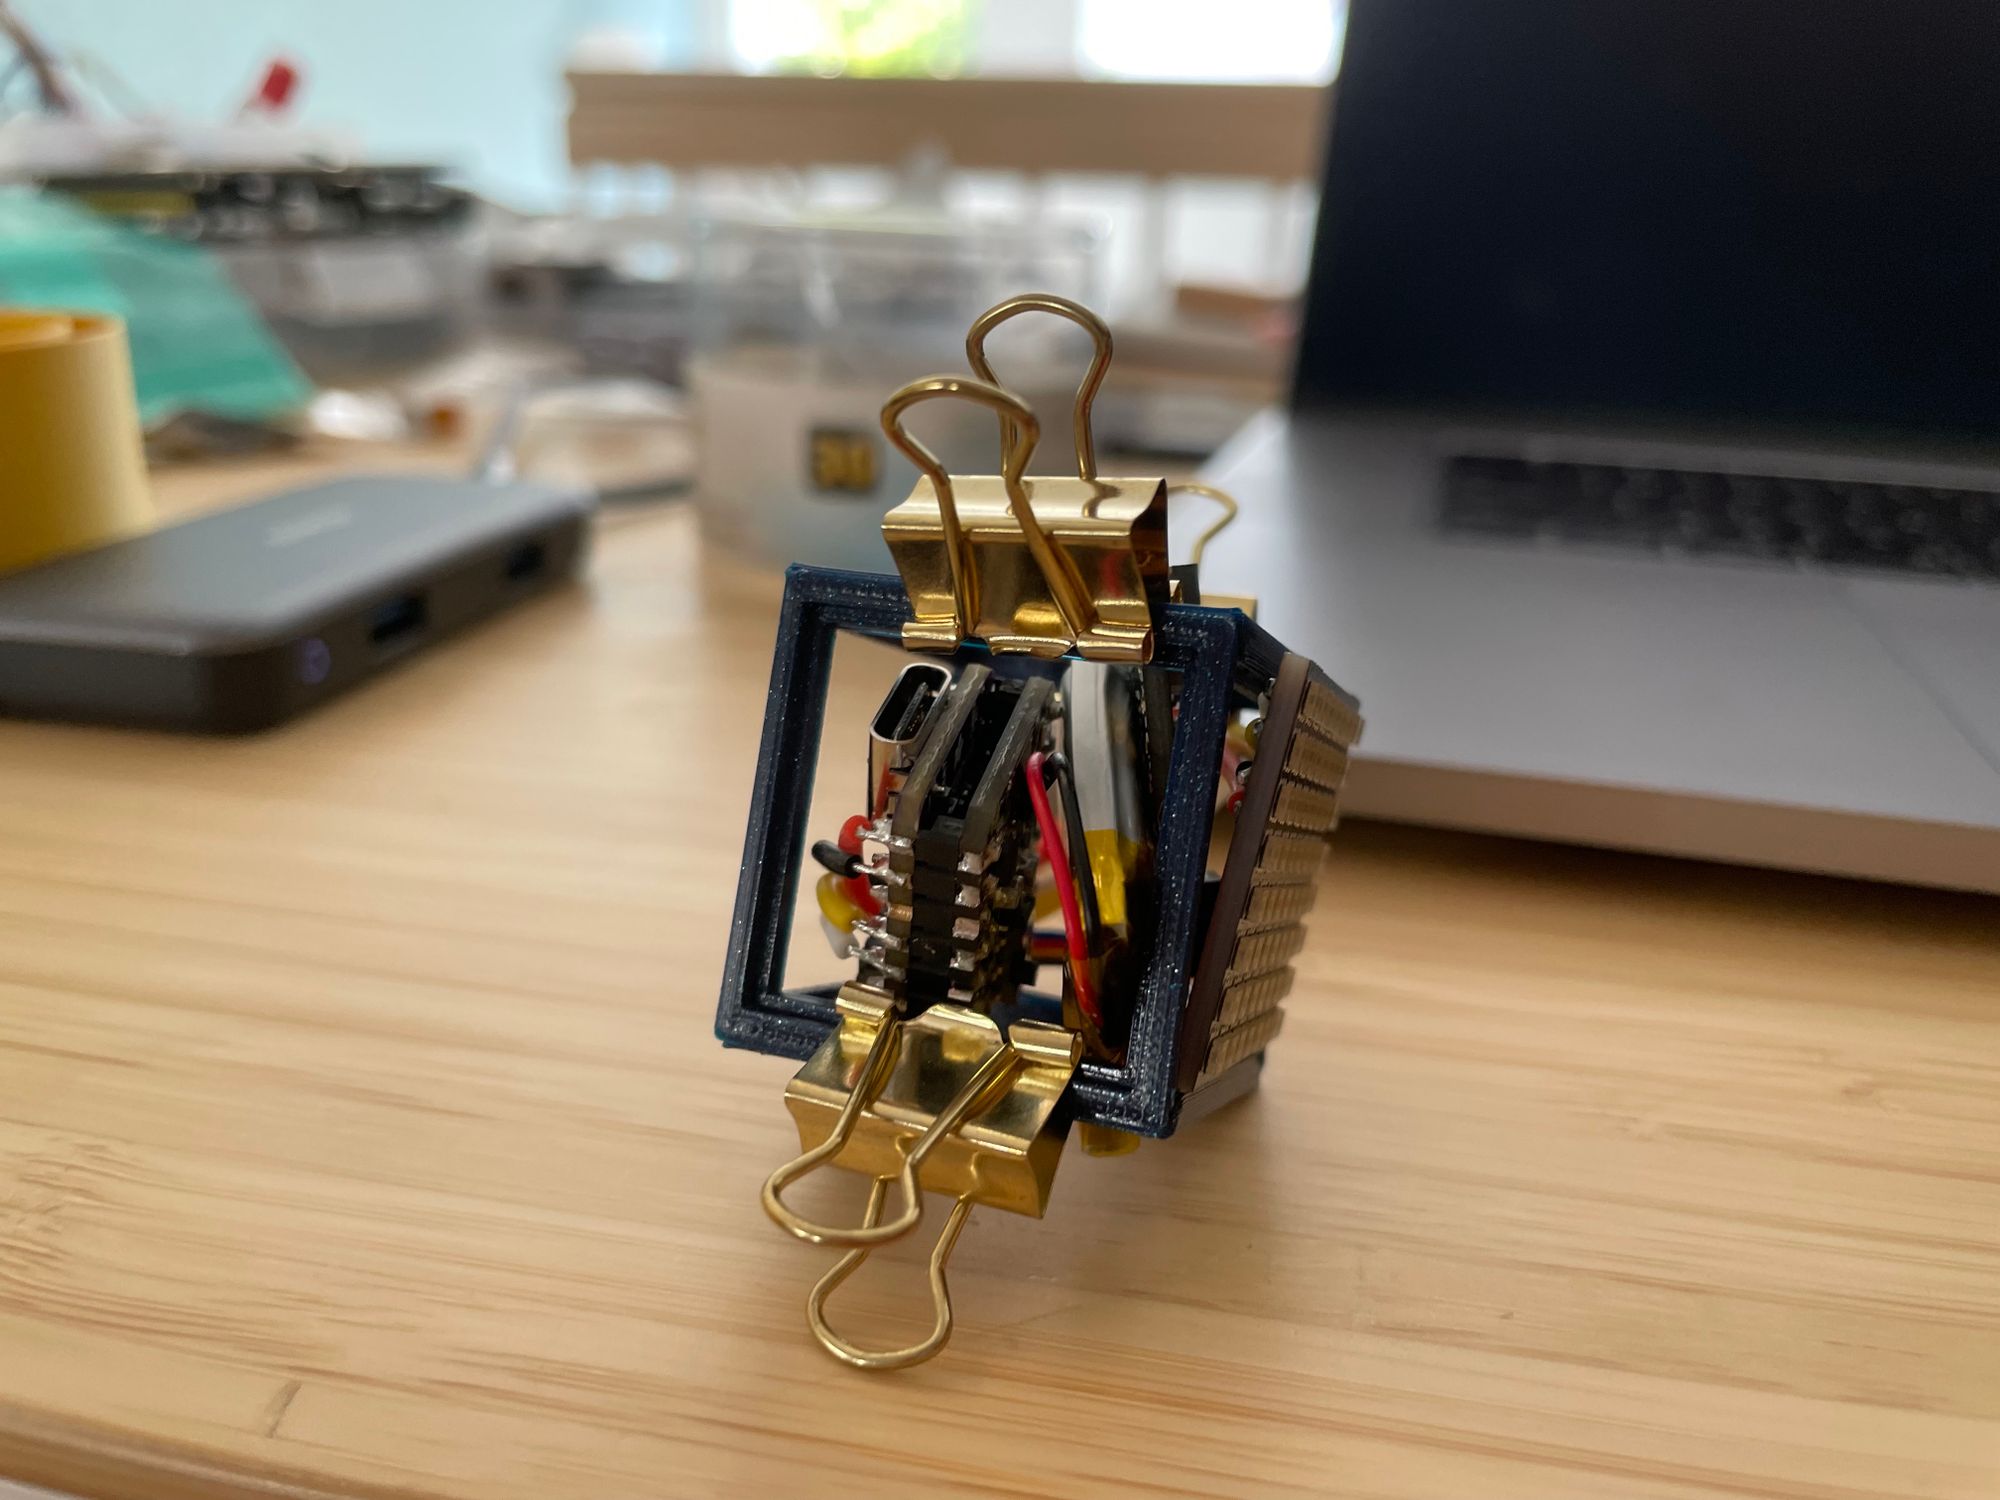
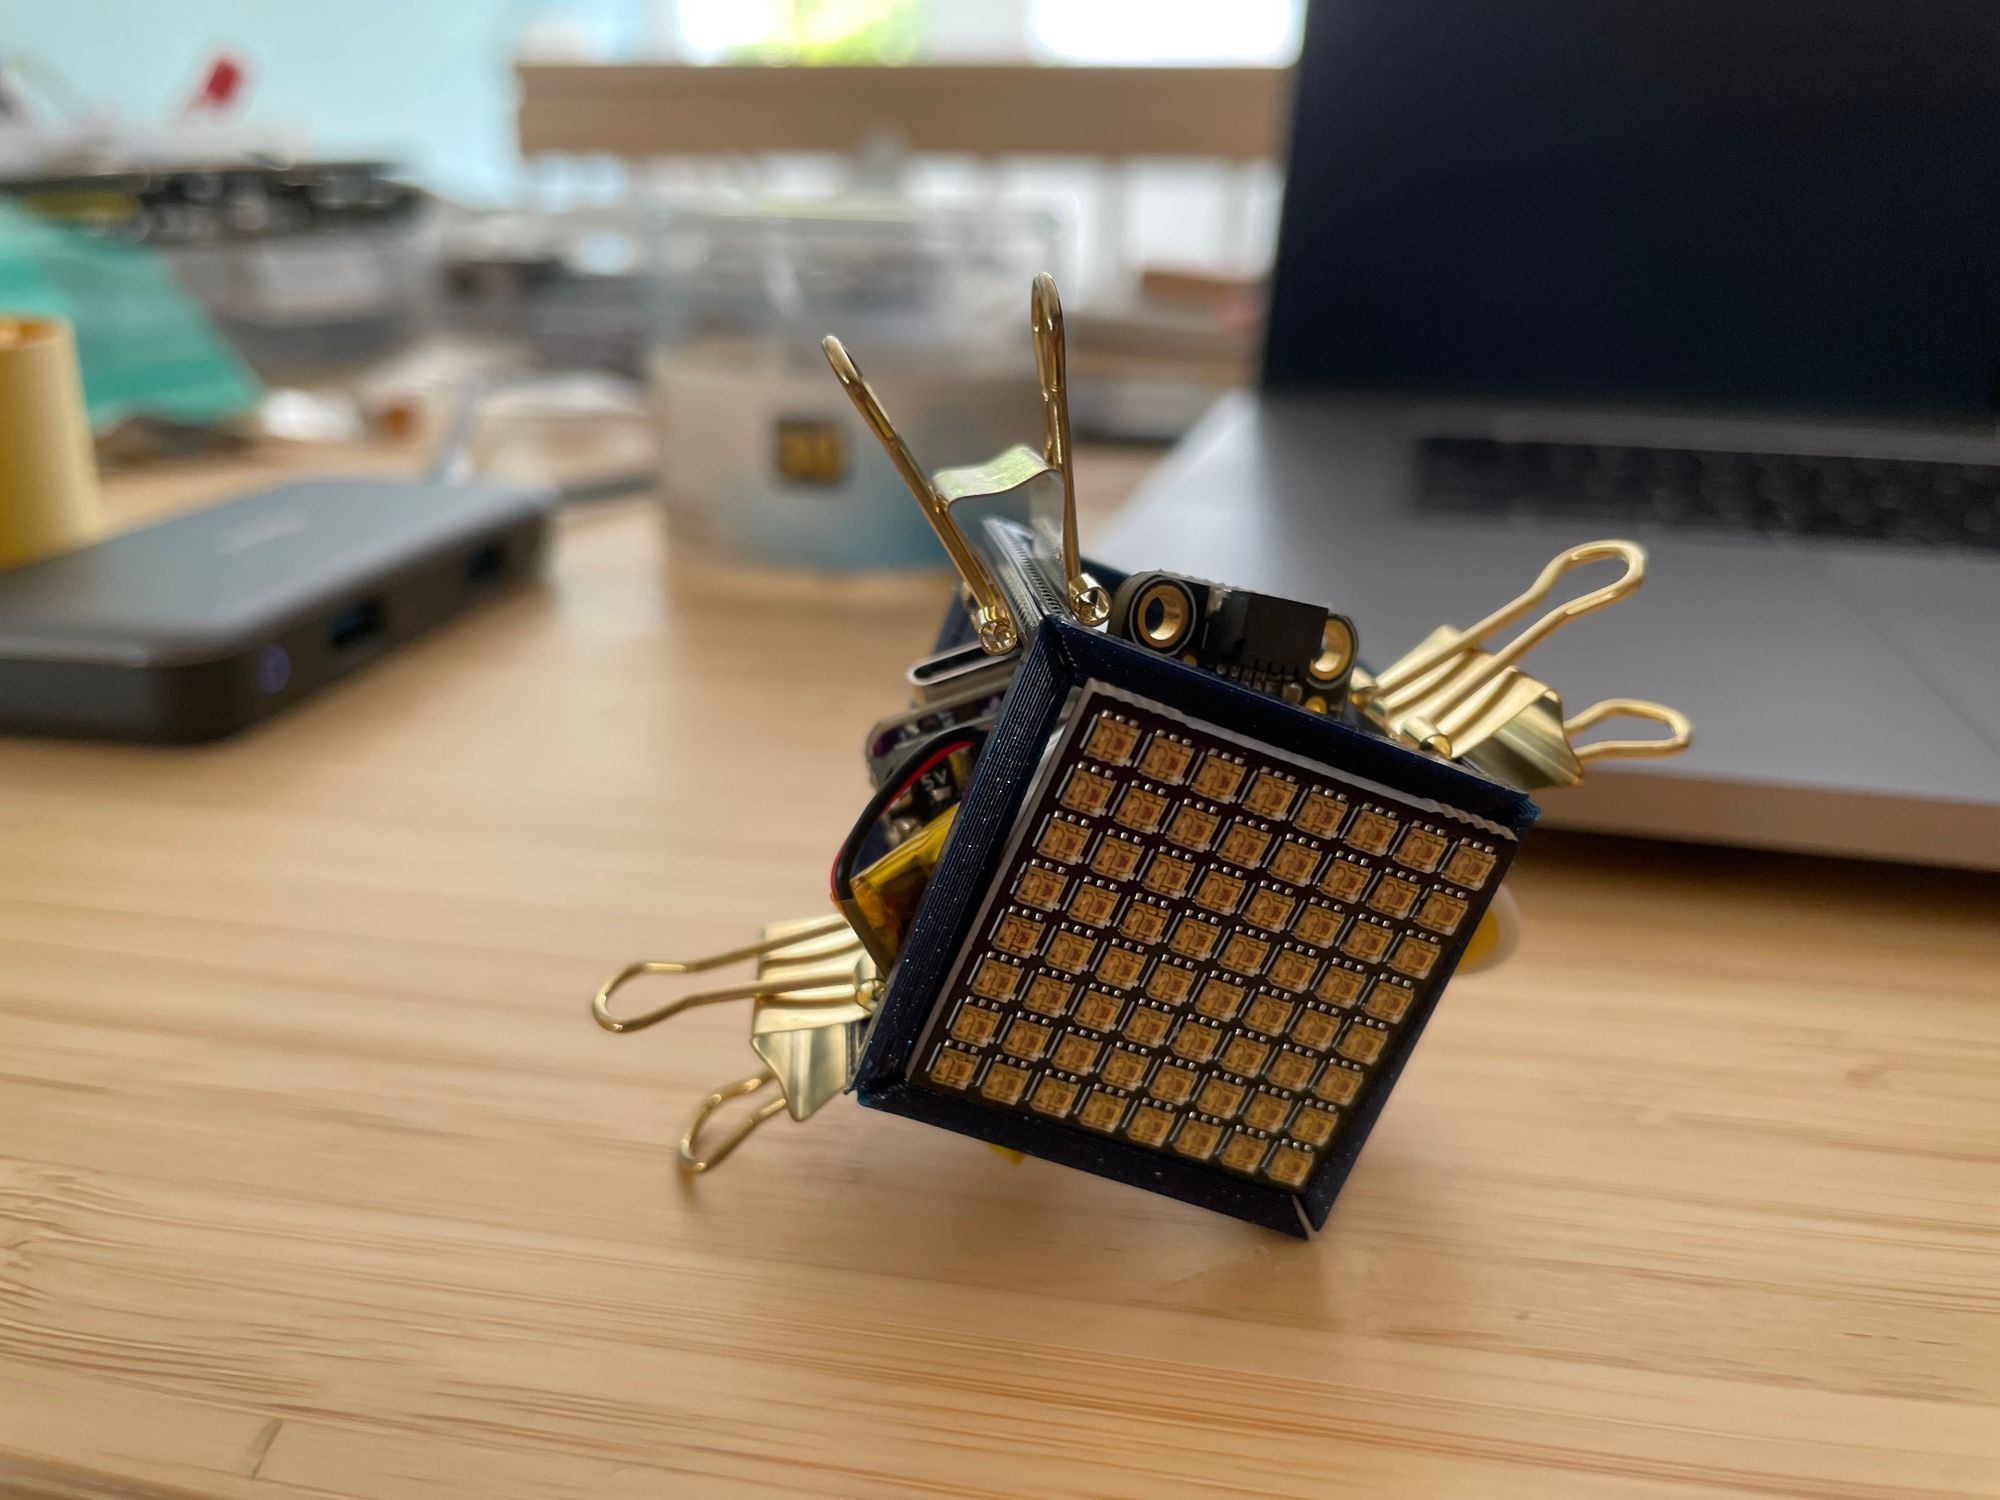
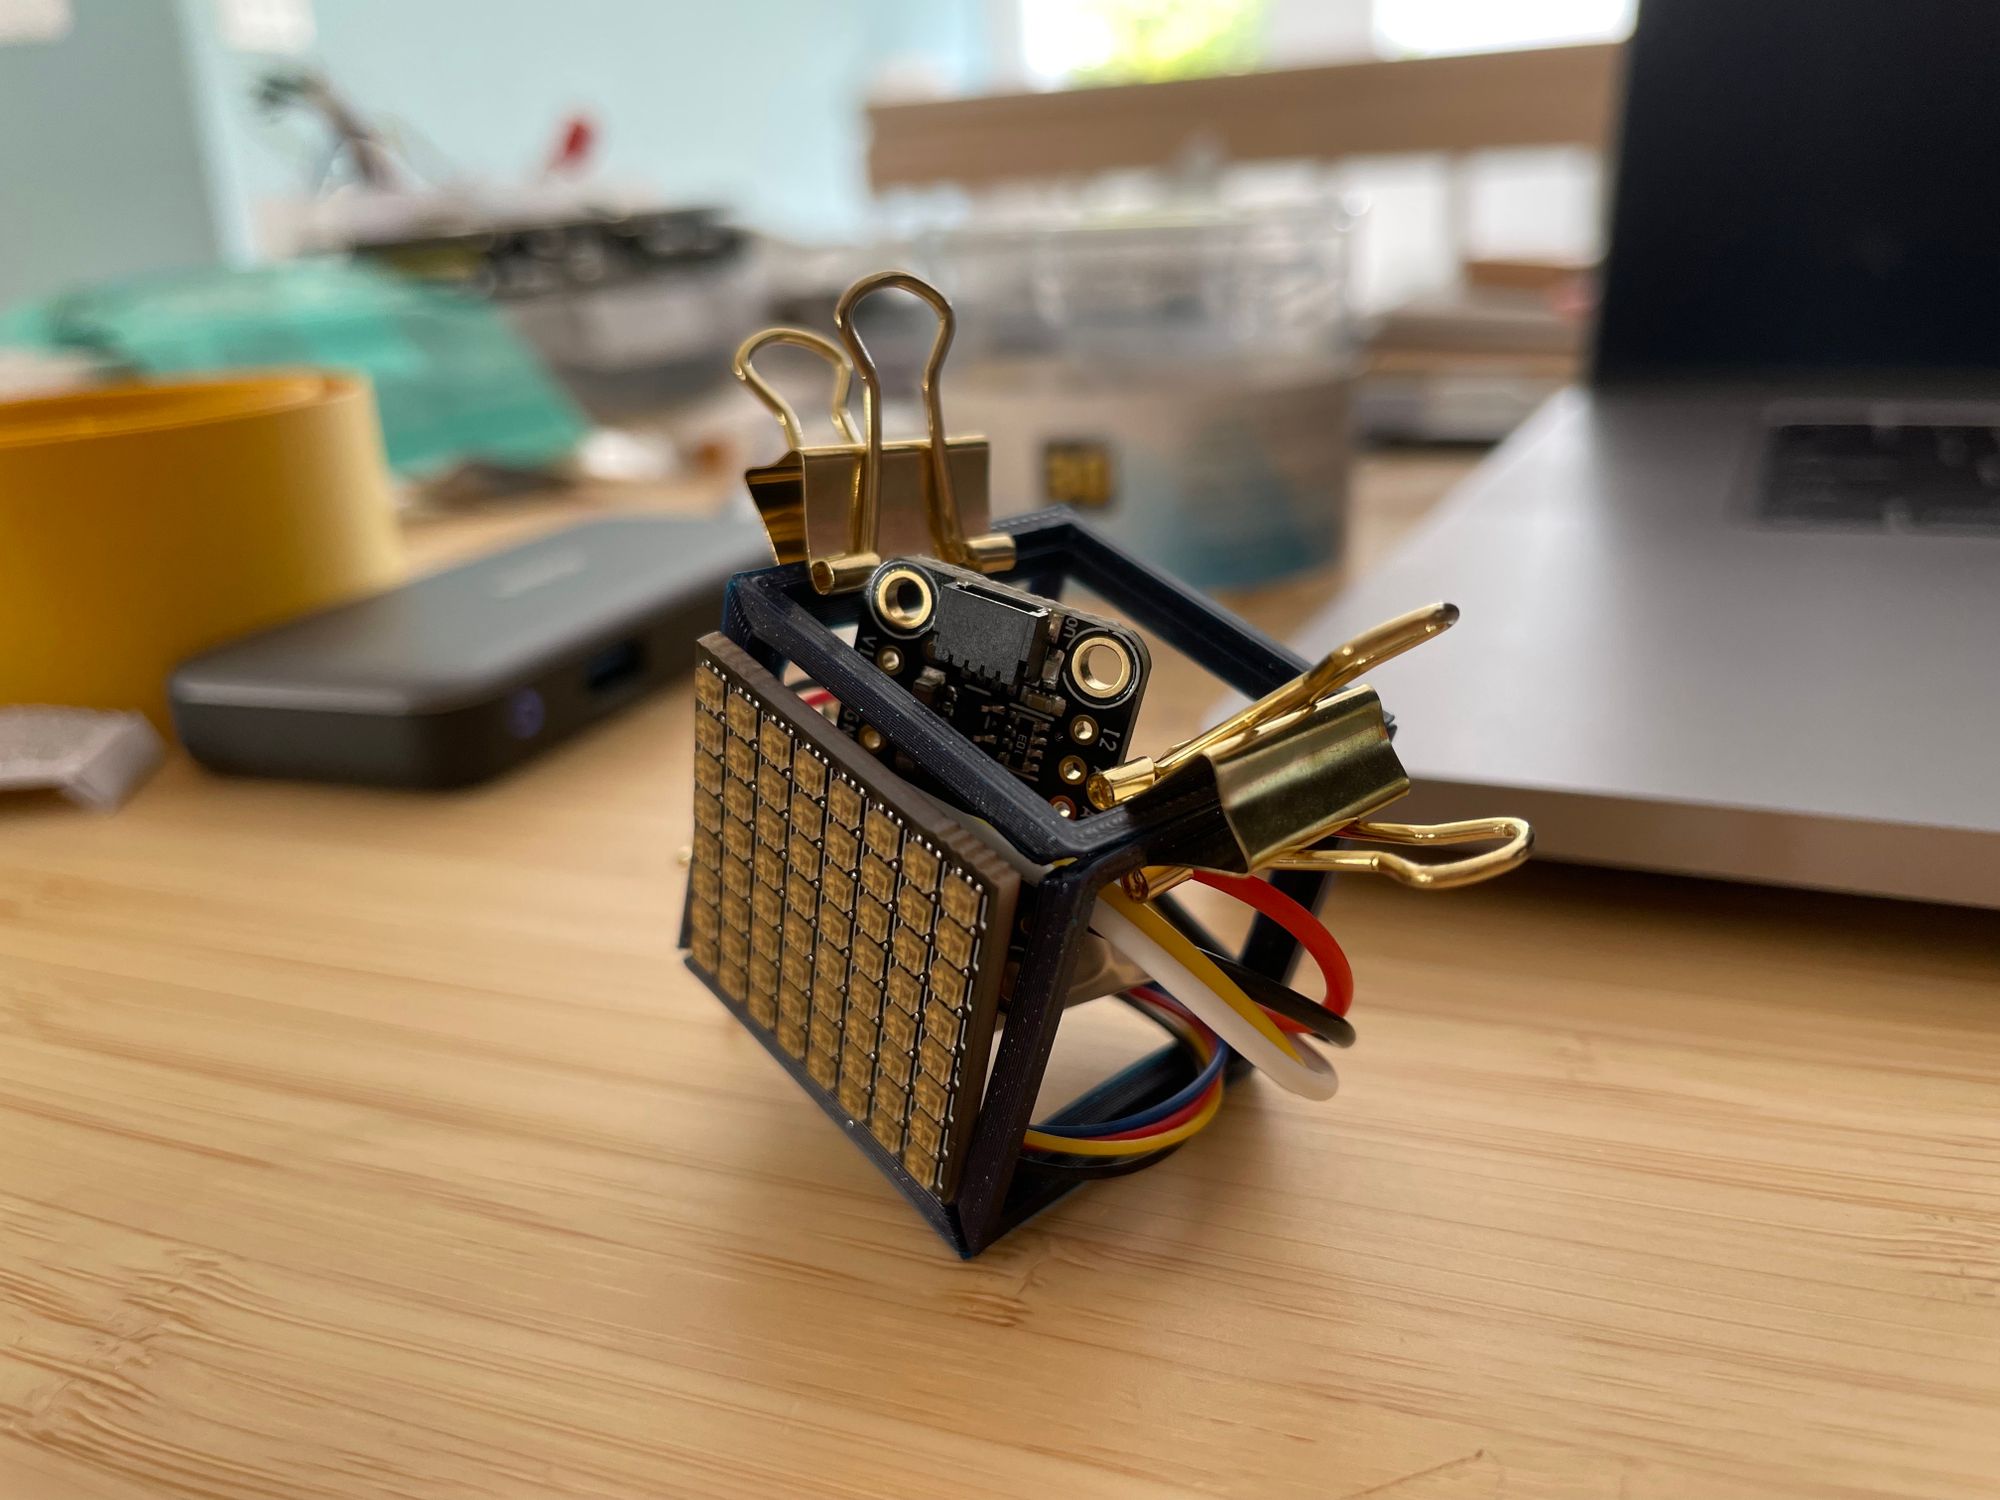
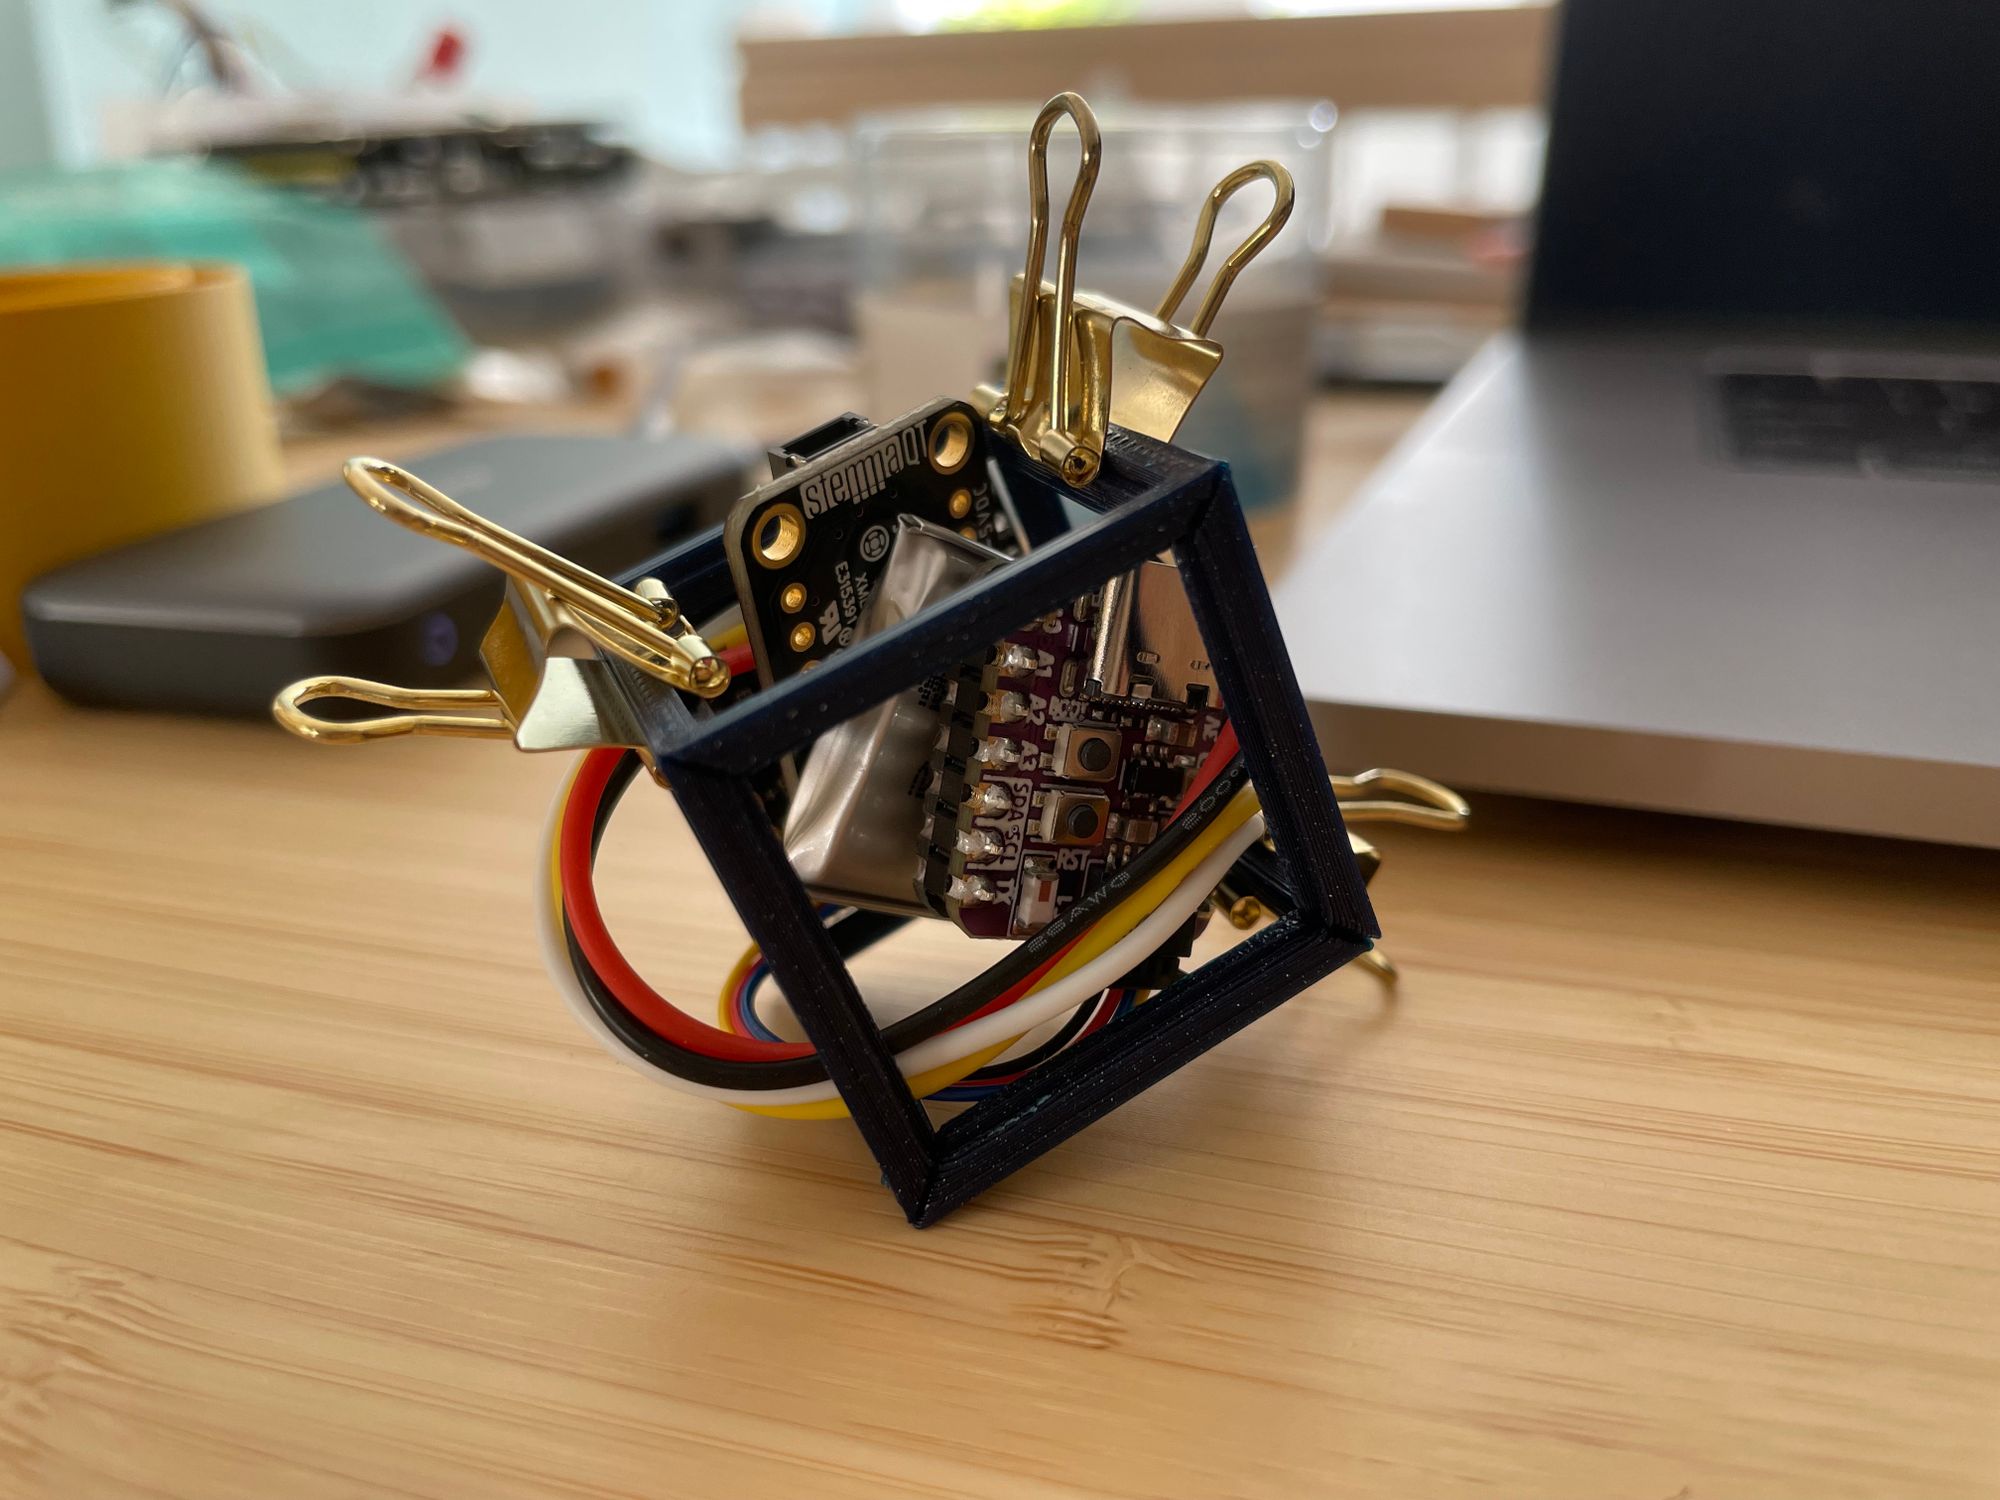
I had to get a good sense of the size, and also wanted to get a feel for whether or not these parts will approximately fit together. I did the quickest frame model I could whip up and super-glued everything together. It doesn't look like much, but physically being able to hold these pieces together was important to the process of figuring everything out.
I made A LOT of iterations to this model. I had to figure out warping issues, press-fit tolerance issues, how to integrate a switch in, the best print orientation, etc.
Ngl, I was also mildly terrified of stuffing electronics into such a tiny space, and somewhere along the way I completely scrapped an initial Fusion360 file and started over. Even so, I actually loved every grueling second of this creative process.
I worked on this cube on and off for a few weeks, until I finally I had a good working version that I was happy with. THEN, I dropped it. 😅
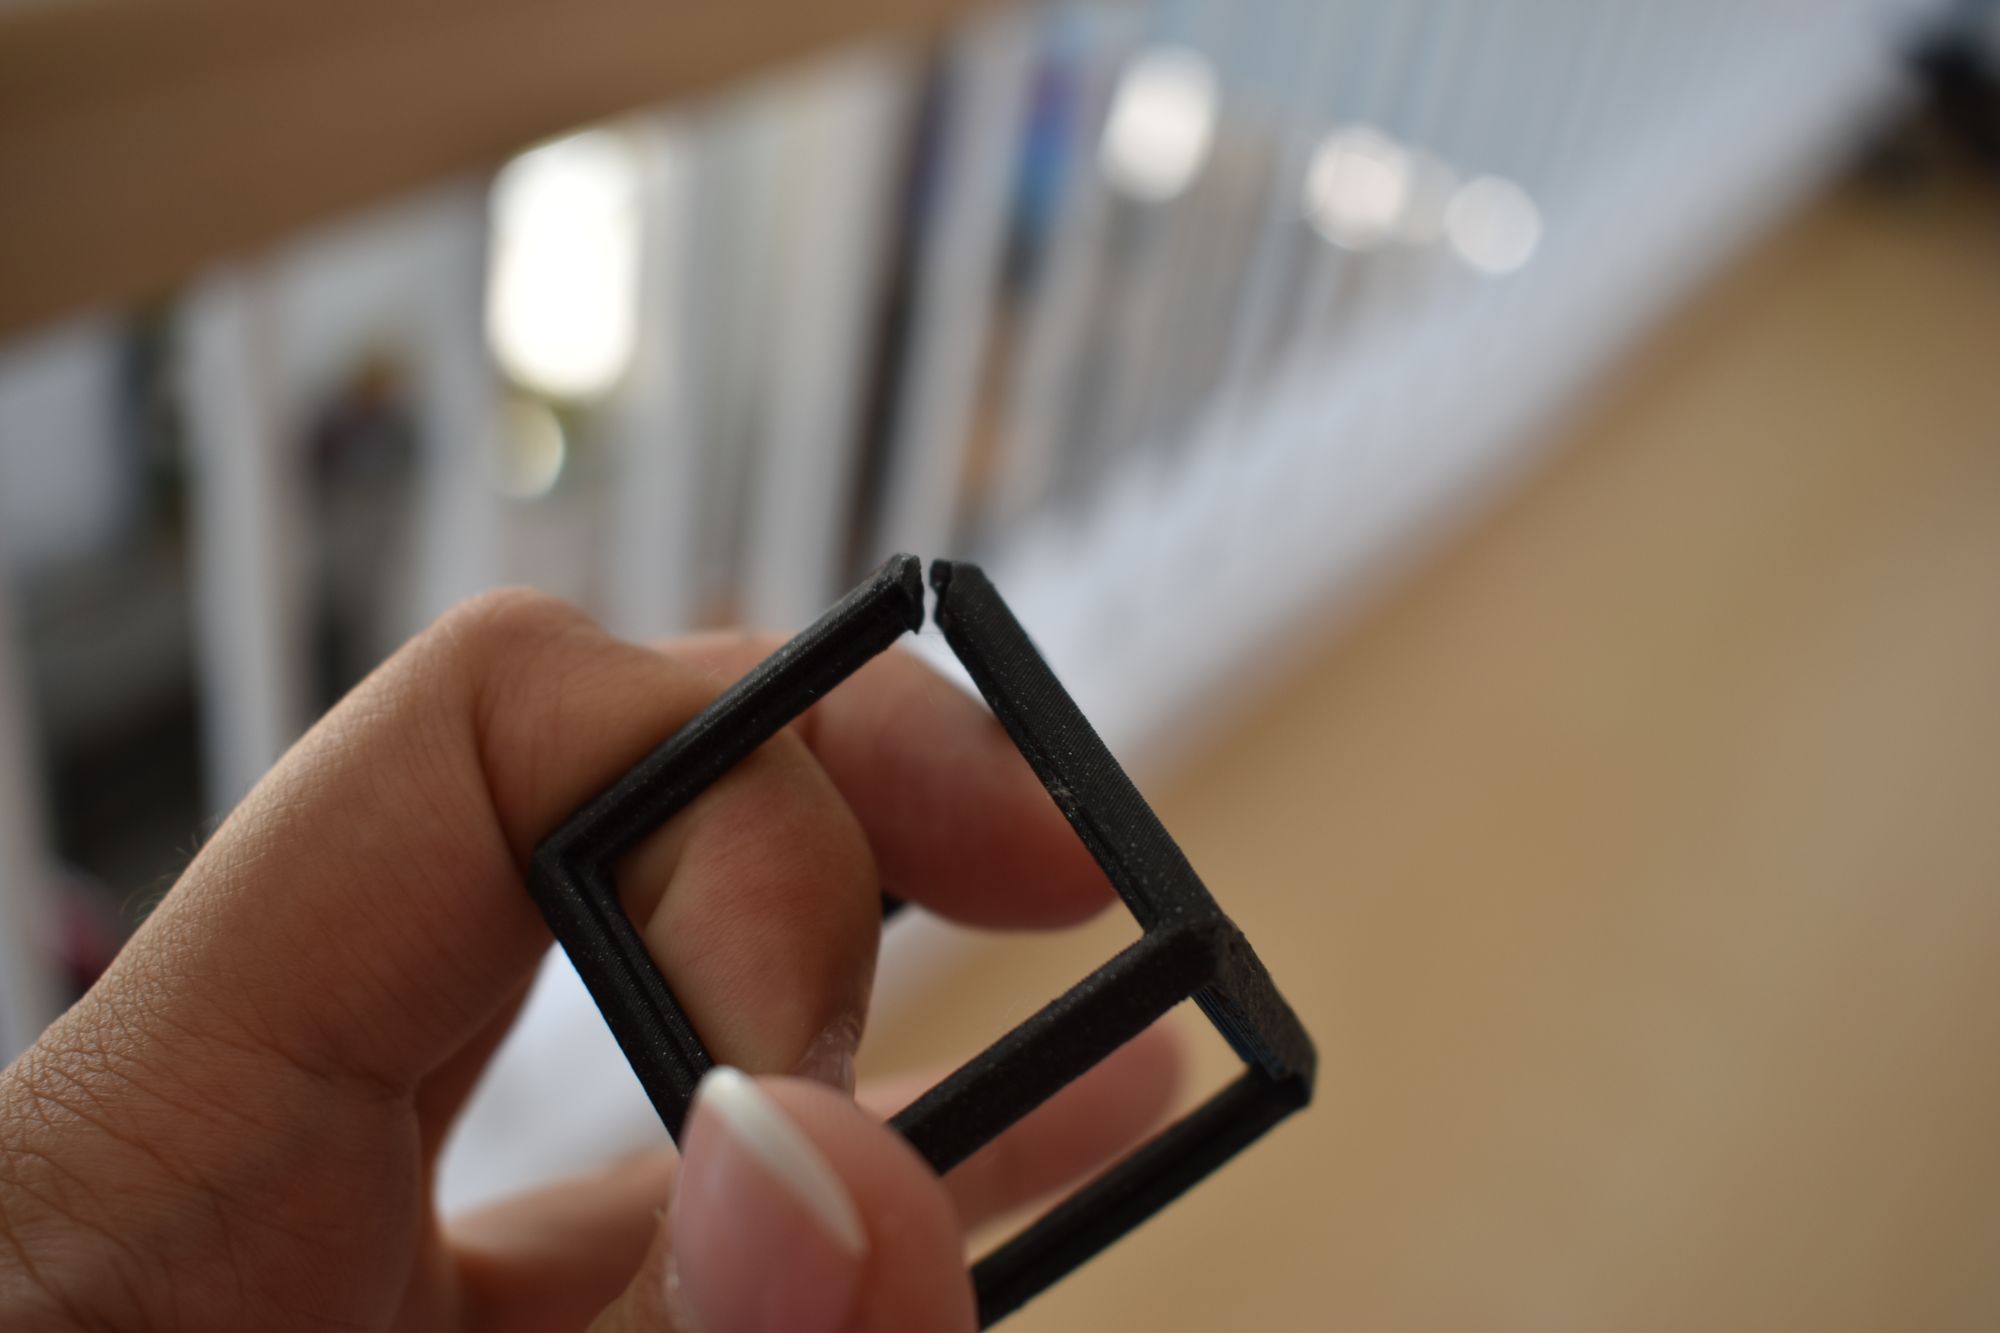
The beauty of 3D printing, of course, is that I was able to print another one and repair it! 🥳 Catastrophe averted.
Getting over the imposter syndrome (just this one time)
So, I had a fully functioning cube that was connected to the internet. I even made a little webpage for it that could be used to easily send both a text message to the cube AND draw a little 8x8 pixel art on the top surface of the cube.
But still, I found it really had to gather the courage to email the Adafruit team about writing a guide for this project. I had convinced myself that this wasn't cool enough to write about. After all, I didn't make any custom PCBs, so like, is this even a real LED cube??
Whenever I have moments like this, I remind myself that it's better to gather data about my world than to keep speculating about it. So, I send over this demo video to Adafruit, just to see if they'd be interested. I figure, worst case is that they say it's not that interesting, so I just get to write about it on my blog and that's it.
PT from Adafruit emailed me back and said they thought it was so cute and that I should indeed write up a guide for it! Data collected, myth busted, maker heart absolutely REJOICED! 🥳
I don't think I'll ever completely get rid of my imposter syndrome, but I sure as heck can try, every single time.
The Learn Guide, finally!

And so dear reader, thank you for coming with me on this journey. I proudly present this Adafruit Learn Guide about how to make your own LED cube! I hope you enjoy it.

Special thanks to Anne and Dan for helping me review the guide and the code for this project!
Let me know if you make it one yourself, or make your own version, or if you already have one made in a completely different way! I'd love to be inspired by you.
Hit me up on Twitter or Insta, and subscribe using the form below if you'd be so inclined to see more of my creative projects. Thanks again!!