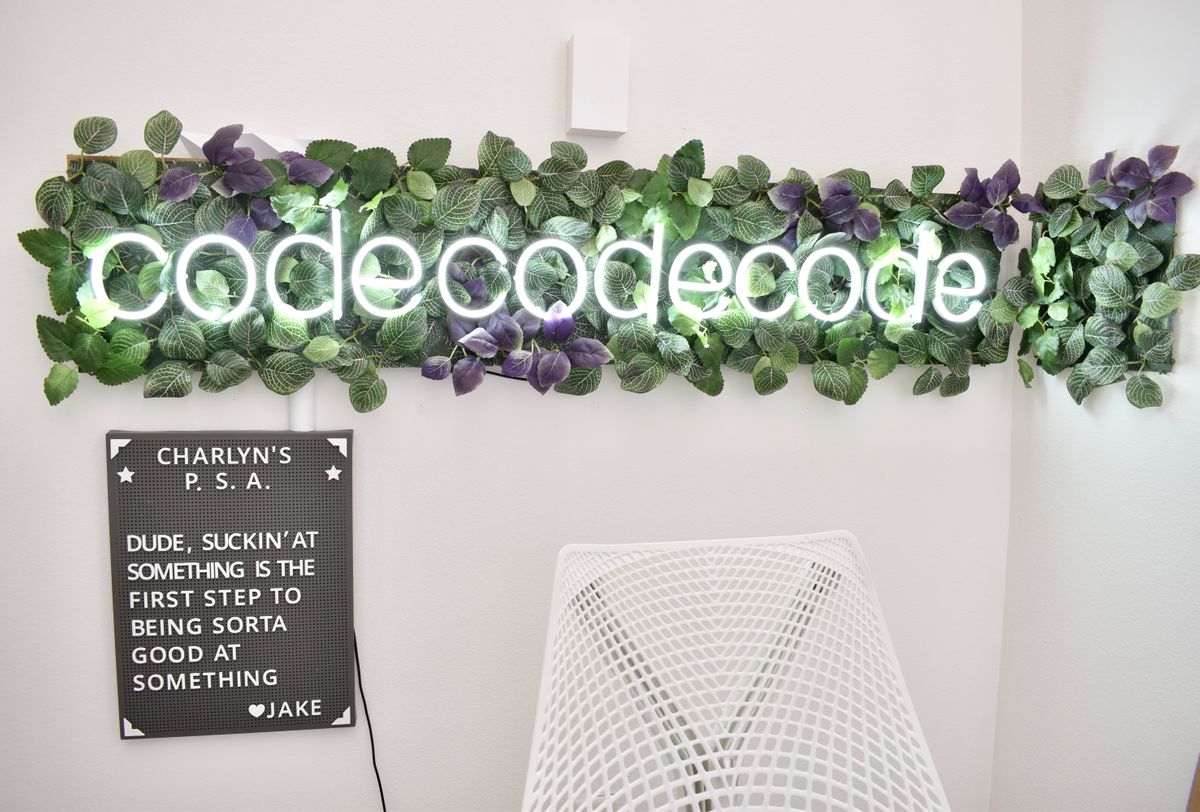

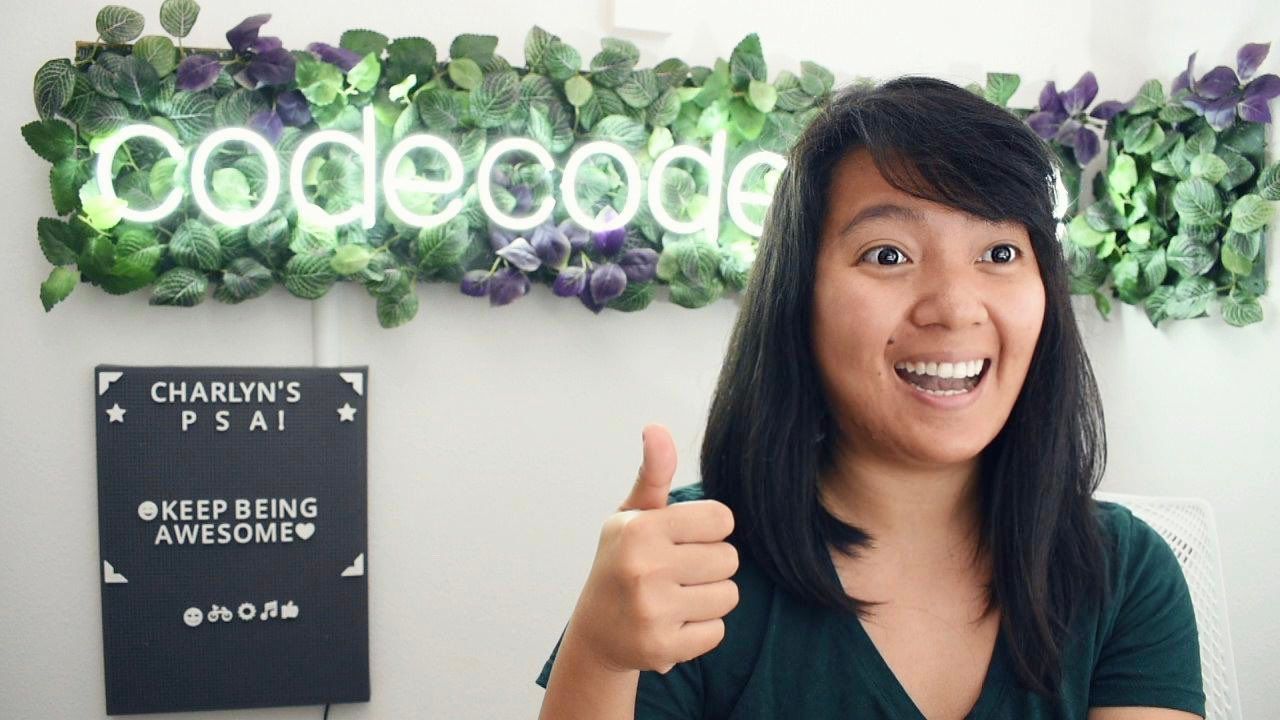
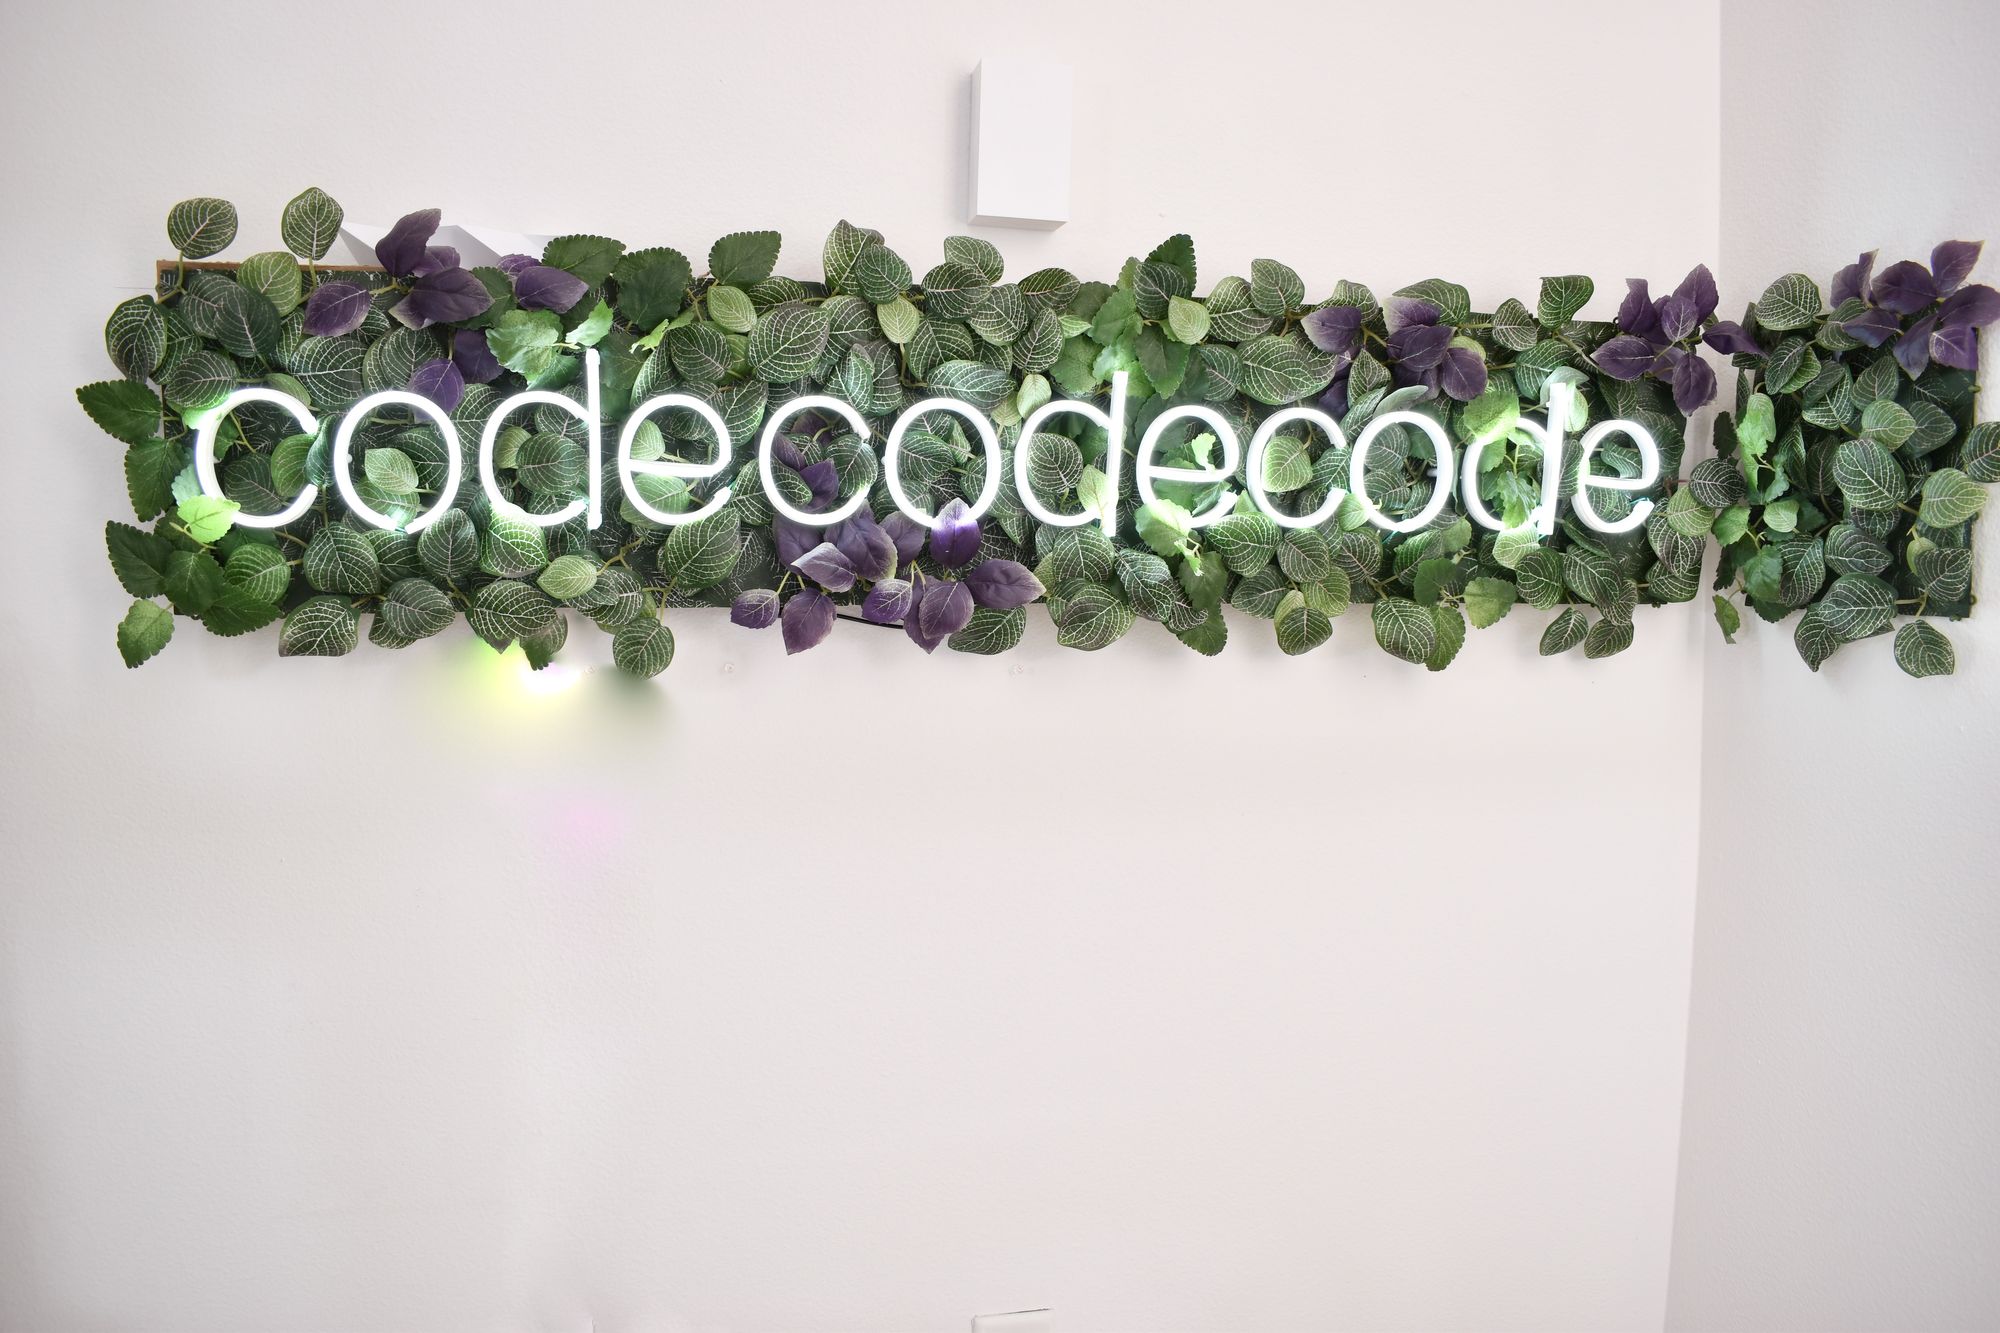
These neon-like LED strips are currently my fave LED strips. They mimic the look of neon lights, but without all the dangerous voltages or glass bending skills required. I've been asked if my background was virtual, which I consider a pretty high compliment. 😄
The letters are held in place by simple 3d printed holders that I specifically designed for the width of this LED strip. Another way to do this would be laser cutting a similar holder, but at the time I didn't have my own laser cutter so this method worked out well!
Let's take a look at how I designed the letters and how I put everything together.
From font, to svg, to 3D print model
Modeling these letters to size was a bit of an iteration process. I used a combination of Fusion360, Adobe Illustrator and a (paid) font called SLF Engineer from Single Line Fonts. I did roughly the following steps:
- Typed out the word "code" in Illustrator with the single line font, roughly to the size that I thought would be good.
- Used the "Type -> Create Outlines" feature to turn those letters into vector lines and then exported to SVG.
- Imported the SVG file into Fusion360 and manually traced splines on top of the SVG outline (couldn't figure out an automatic way to do this).
- Once the splines were done, I created a rectangle sketch perpendicular to the path, with a width that is as wide as the strip, and height that is about half the depth of the strip.
- Then, it's just a matter of using the "Sweep" feature so that the rectangles I drew follow the splines to form the letters, and then I used "Shell" to create walls and take the top off the rectangle.
- Export to STL, slice in Prusa Slicer, and that's it!
Here's a 46 second video that hopefully illustrates the idea a little better:
The tricky part was that SVGs imported into Fusion360 will not have the expected dimensions (i,e, if an SVG square was about 1in x 1in in Illustrator, it would end up being bigger after importing into Fusion360).
Since I was an impatient person, I decided that instead of methodically figuring out how exactly the Illustrator SVG size scales when compared to what the size ended up being in Fusion, I would instead figure out the size I needed by printing out a couple layers of the letter "C" in smaller and smaller sizes until I was satisfied with the size. This is my favorite way of figuring out 3d printing sizes 😅 I ended up using the smallest "c" in the middle.
Each size of C pictured below required me to do steps 1-6 above over and over again. 😅 Not the most efficient way, but it worked!

When that was done, I printed out the rest of the letters in that same size!
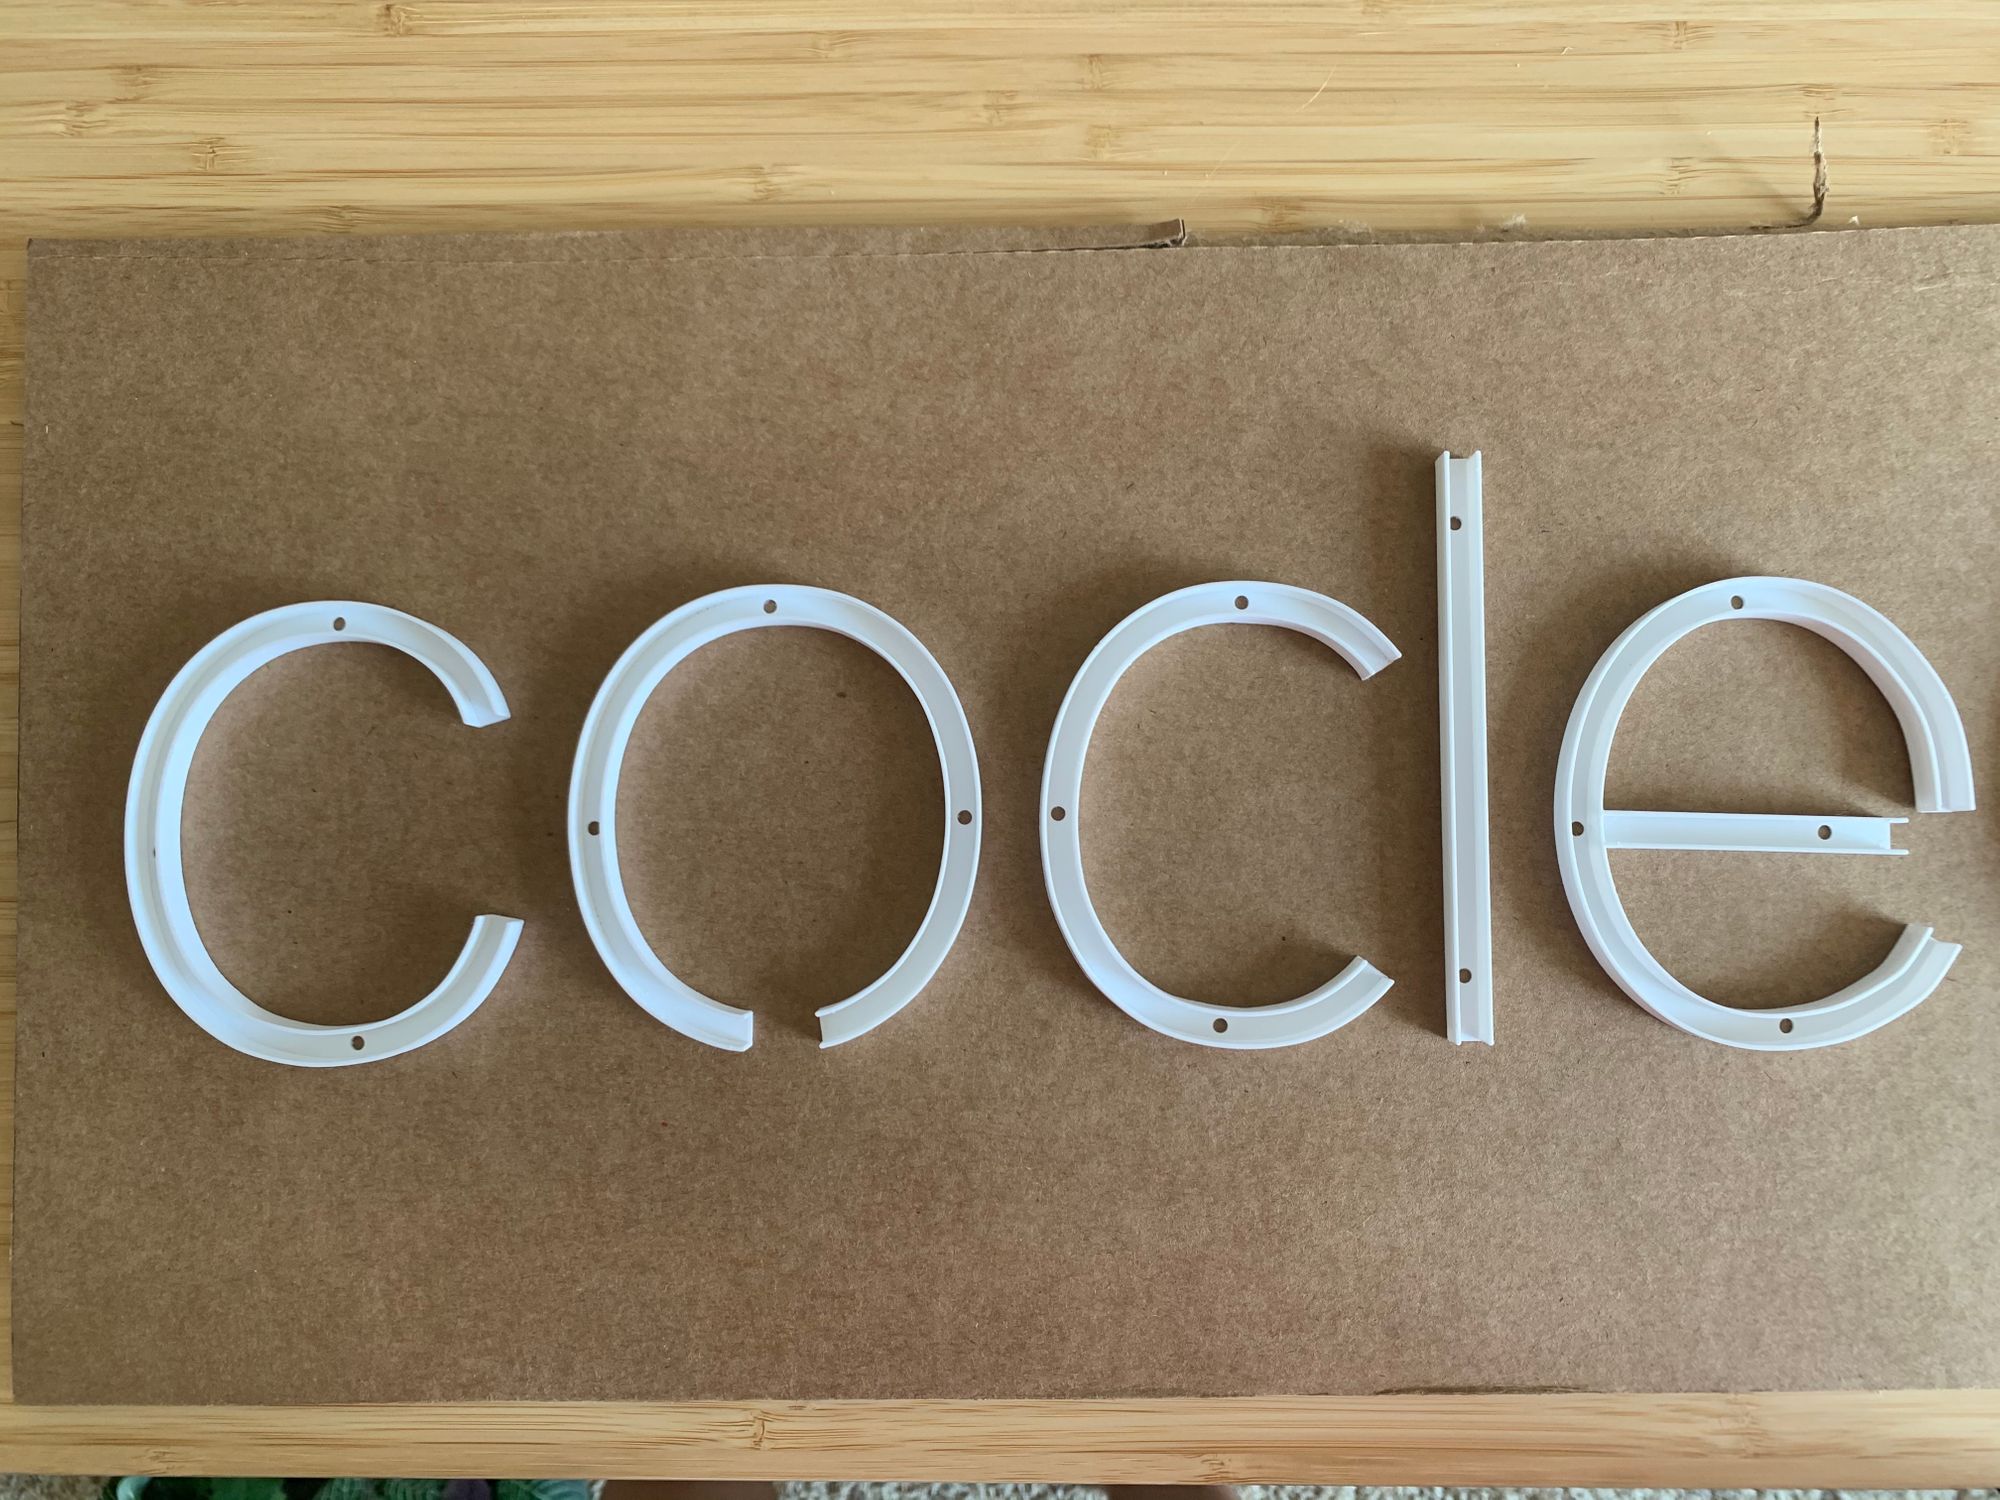
The holes that you see in the photo above were actually manually drilled in after the print, because honestly it took me a while to figure out how I wanted to mount the letters onto the leafy background. I thought I was going to use glue, but I decided to use screws instead, since I've learned the hard way that mechanical connections/attachments are vastly superior to glued ones.
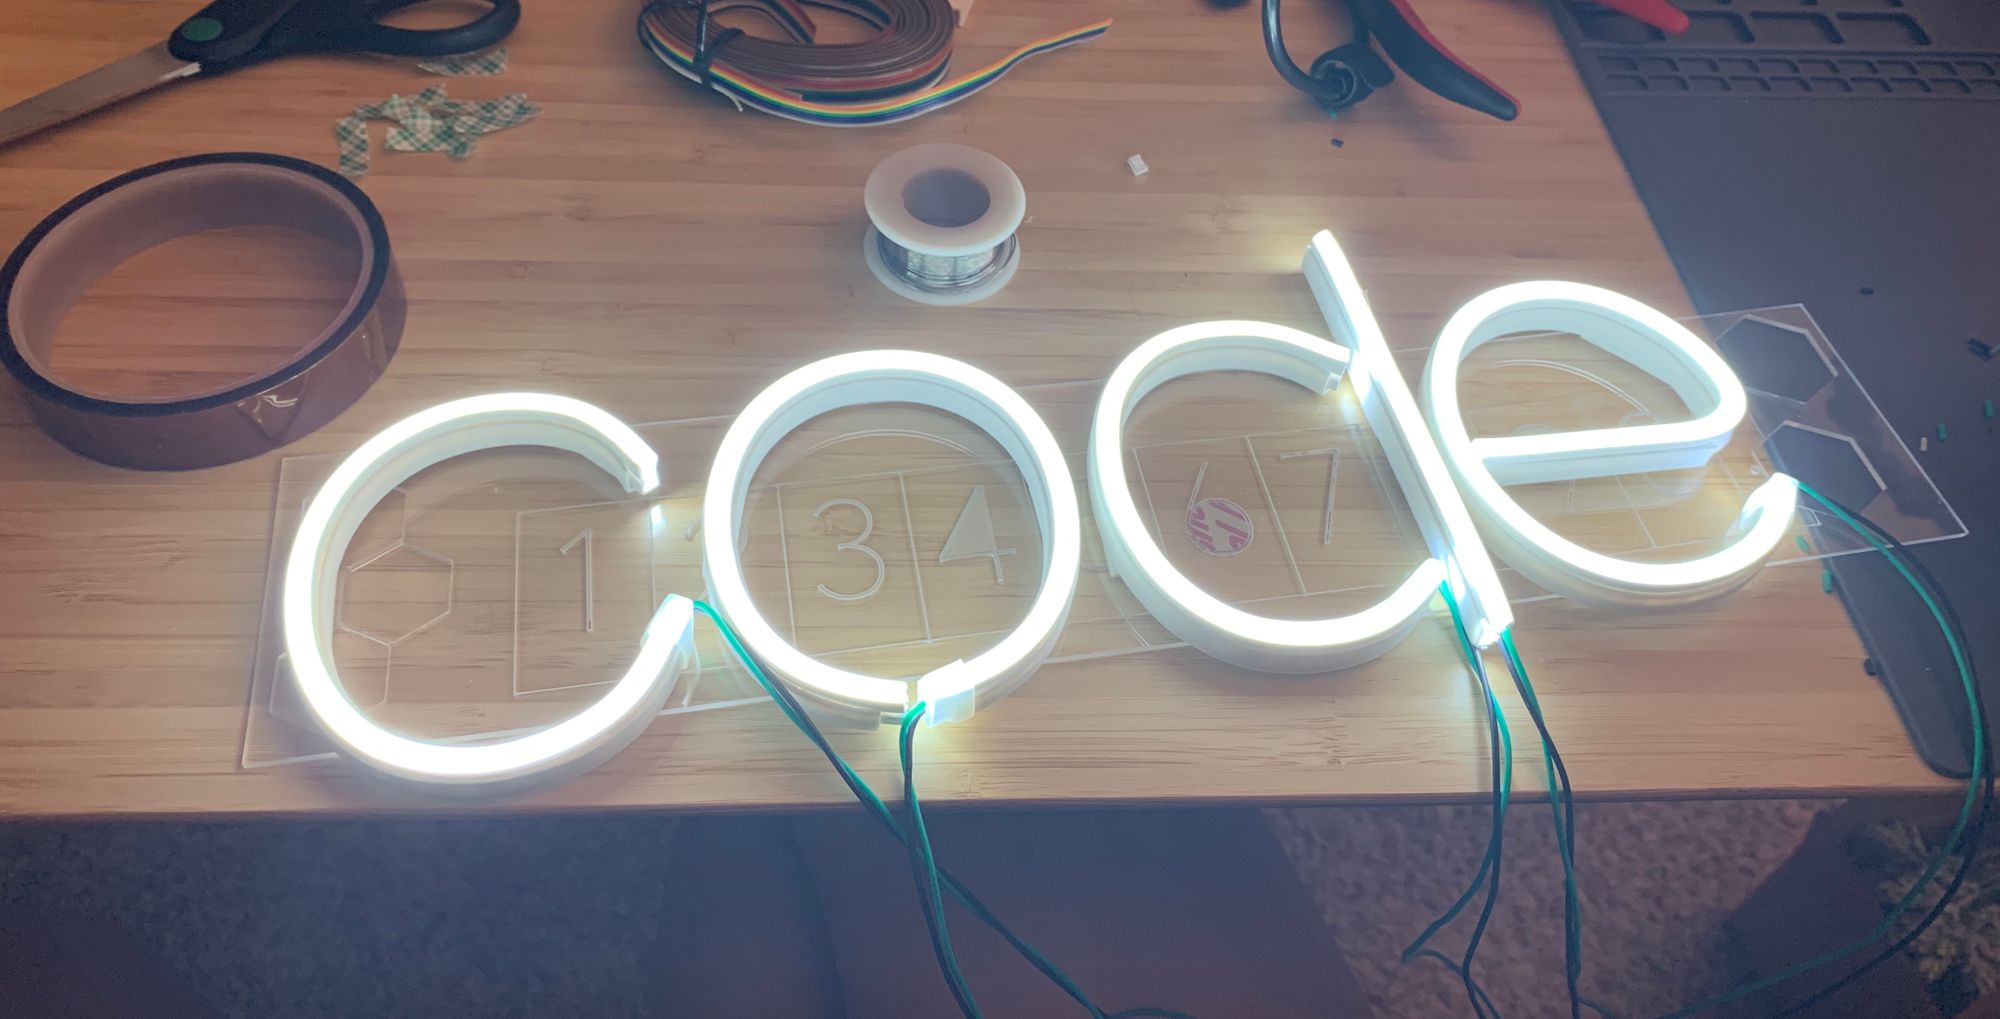
Quick test
Impatient Charlyn is impatient, so I cut up some light strips, soldered some wires and tested out what it would look like to convince myself that everything was going to be alright. When I turned this on, I got SO EXCITED! 🥳 It was exactly the motivation I needed to finish what ended up being quite a lot of tedious work. 😅
Mounting the letters
I used some stong recycled cardboard for the backing because that's all I had lying around, AND I didn't need any special equipment to cut it. After cutting up the cardboard to size, I aligned all the letters to what would be their final position, and then made marks for the mounting holes in the letters.
Then, after checking and double checking that all the letters were spaced out just the way I wanted it (it would be hard to change the positions after this step), I drilled into the marks.
Side note: the wireless drill I used was a birthday present from Bryan, and it's just one of those tools that I've happily ended up needing a lot more than I thought I would. 💖
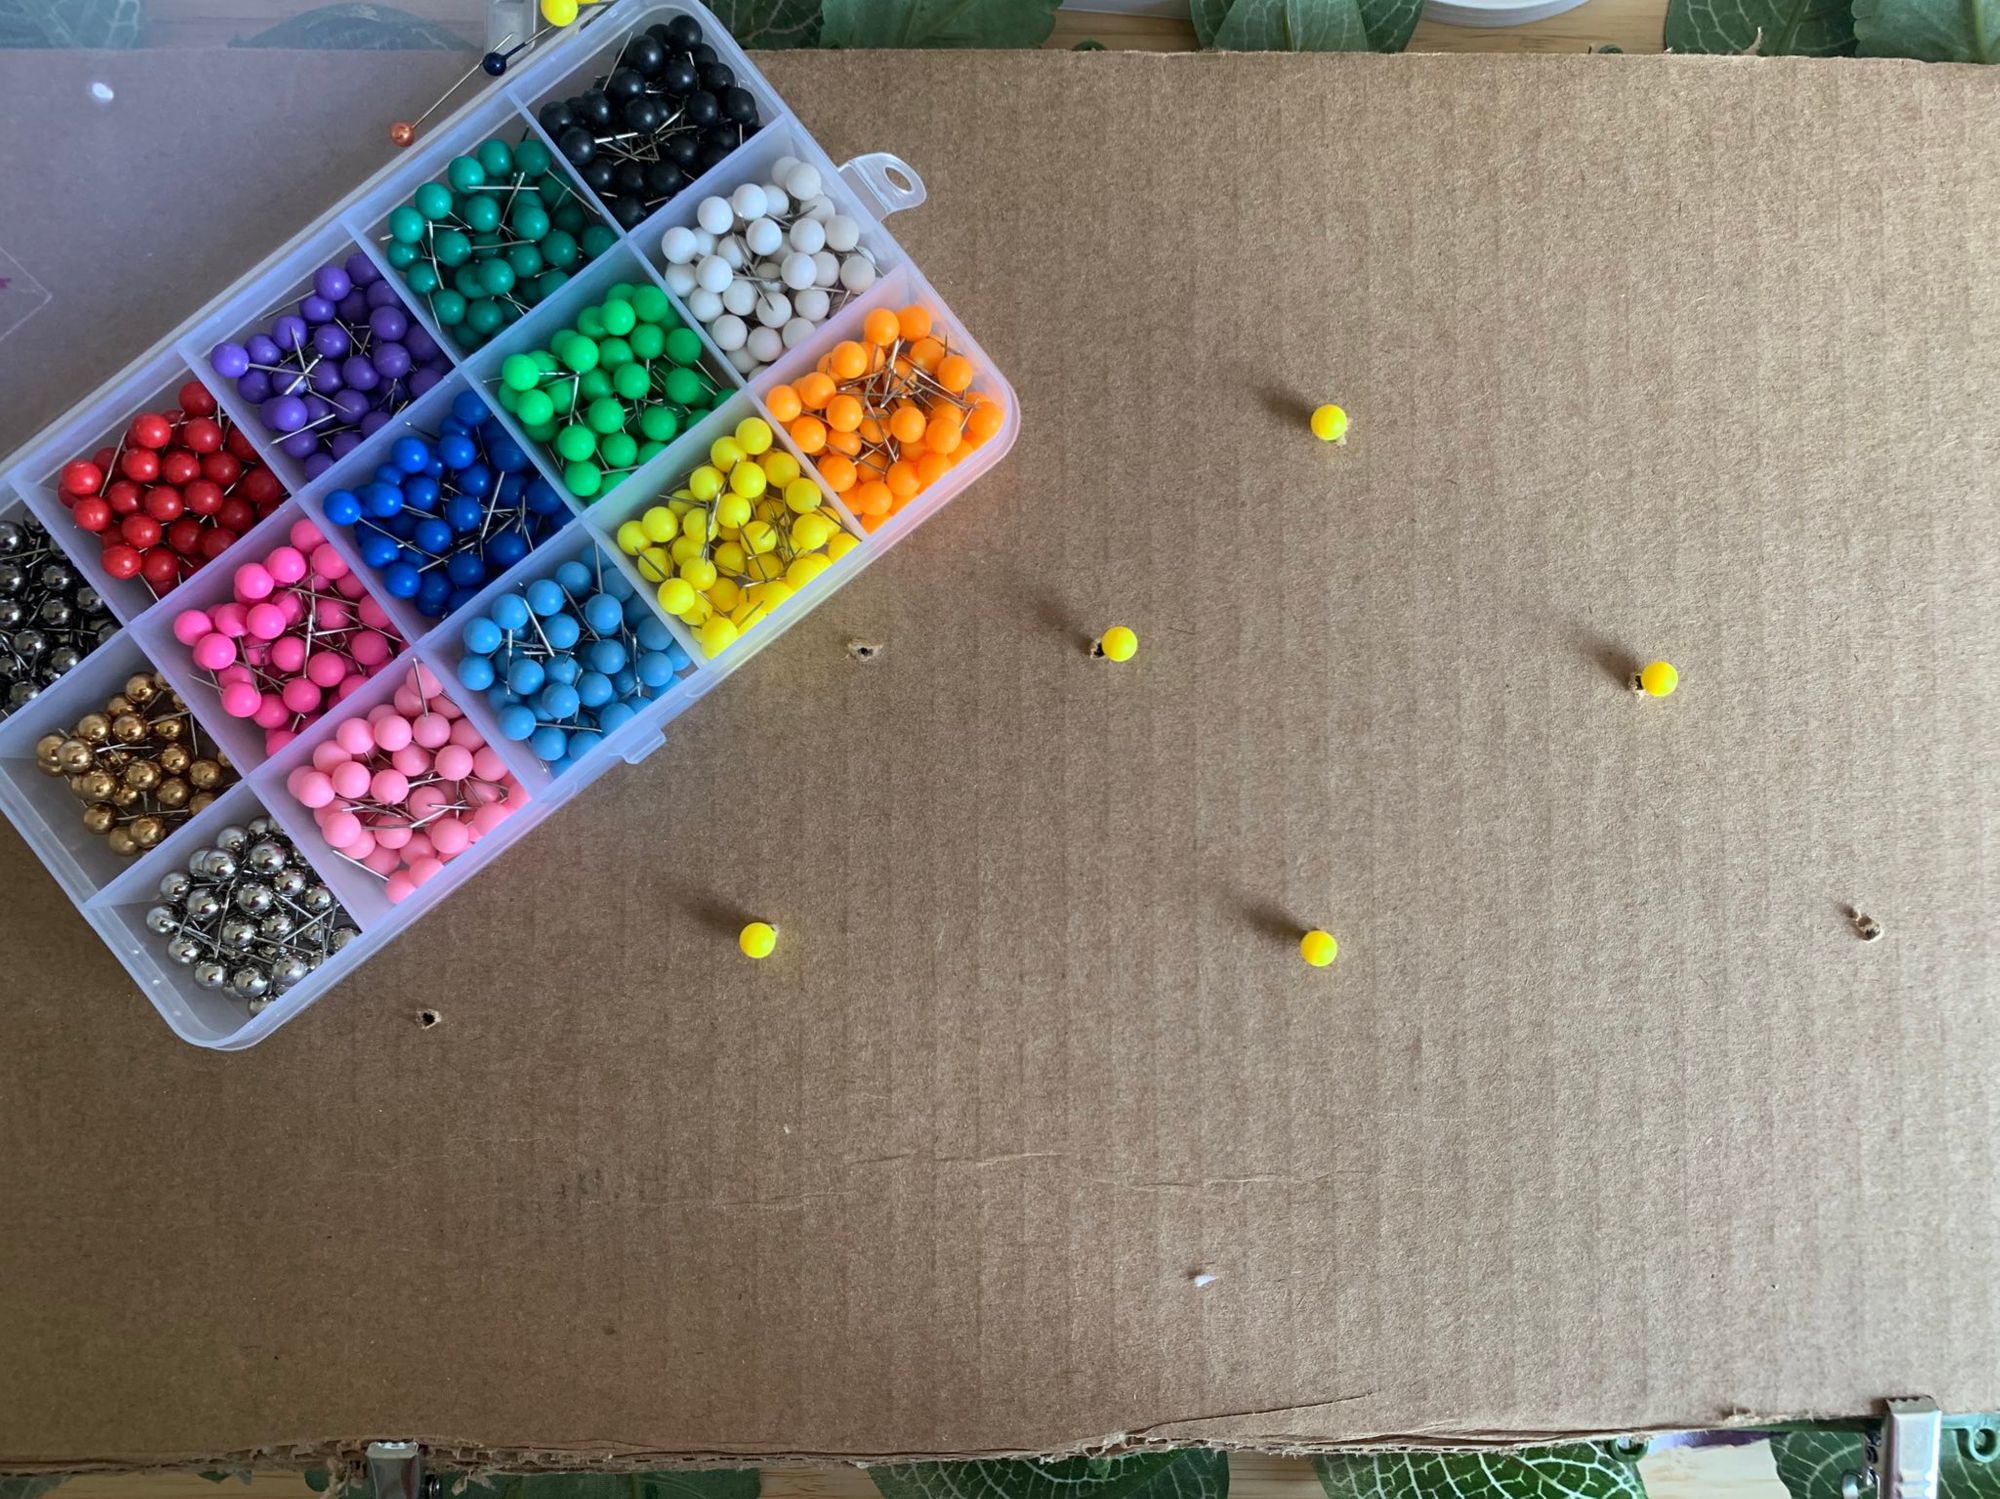
The tricky part was figuring out how to layer in the leafy background pieces. I ended up using some map pins to go through the drilled hole and poked into the fabric of the leafy background so that I could see it on the other side, and then drilled through that. Yes, it was indeed as tedious as it sounds ✨

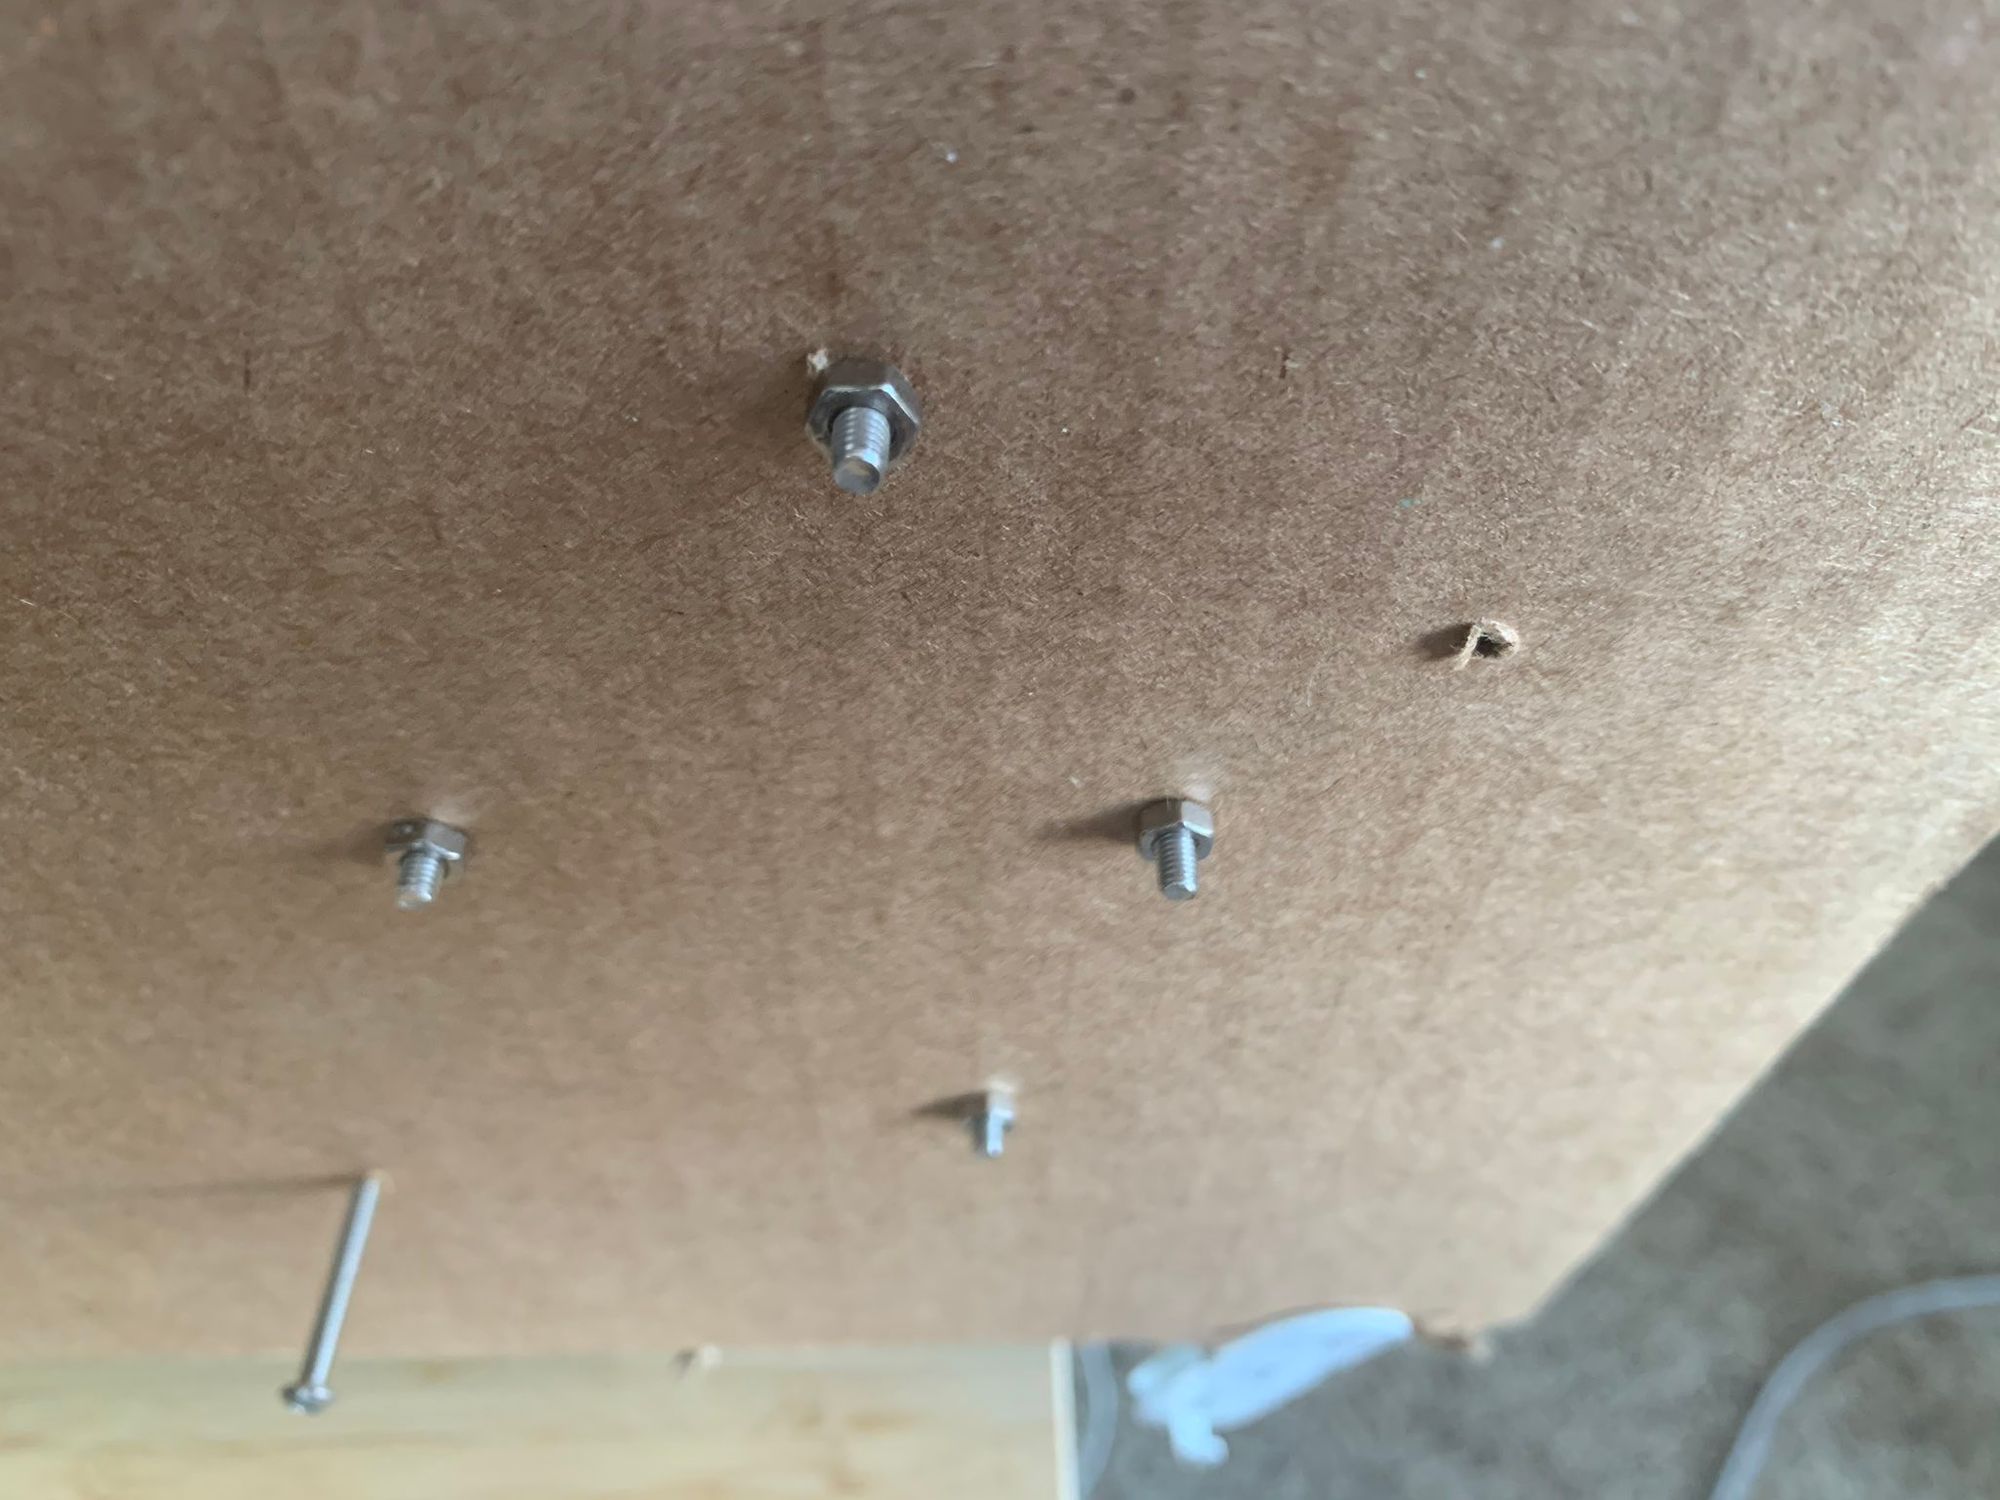
I used some 3d printed spacers and some very long machine bolts with nuts on the back to secure each of the 12 letters in place.
Wiring and soldering
After mounting the letters, I cut up the LED strips to size and started soldering. I had to carefully cut out a portion of the silicone sheath so that I could actually reach the pads to solder to. I also used green and black wires so that it would blend into the background more easily.
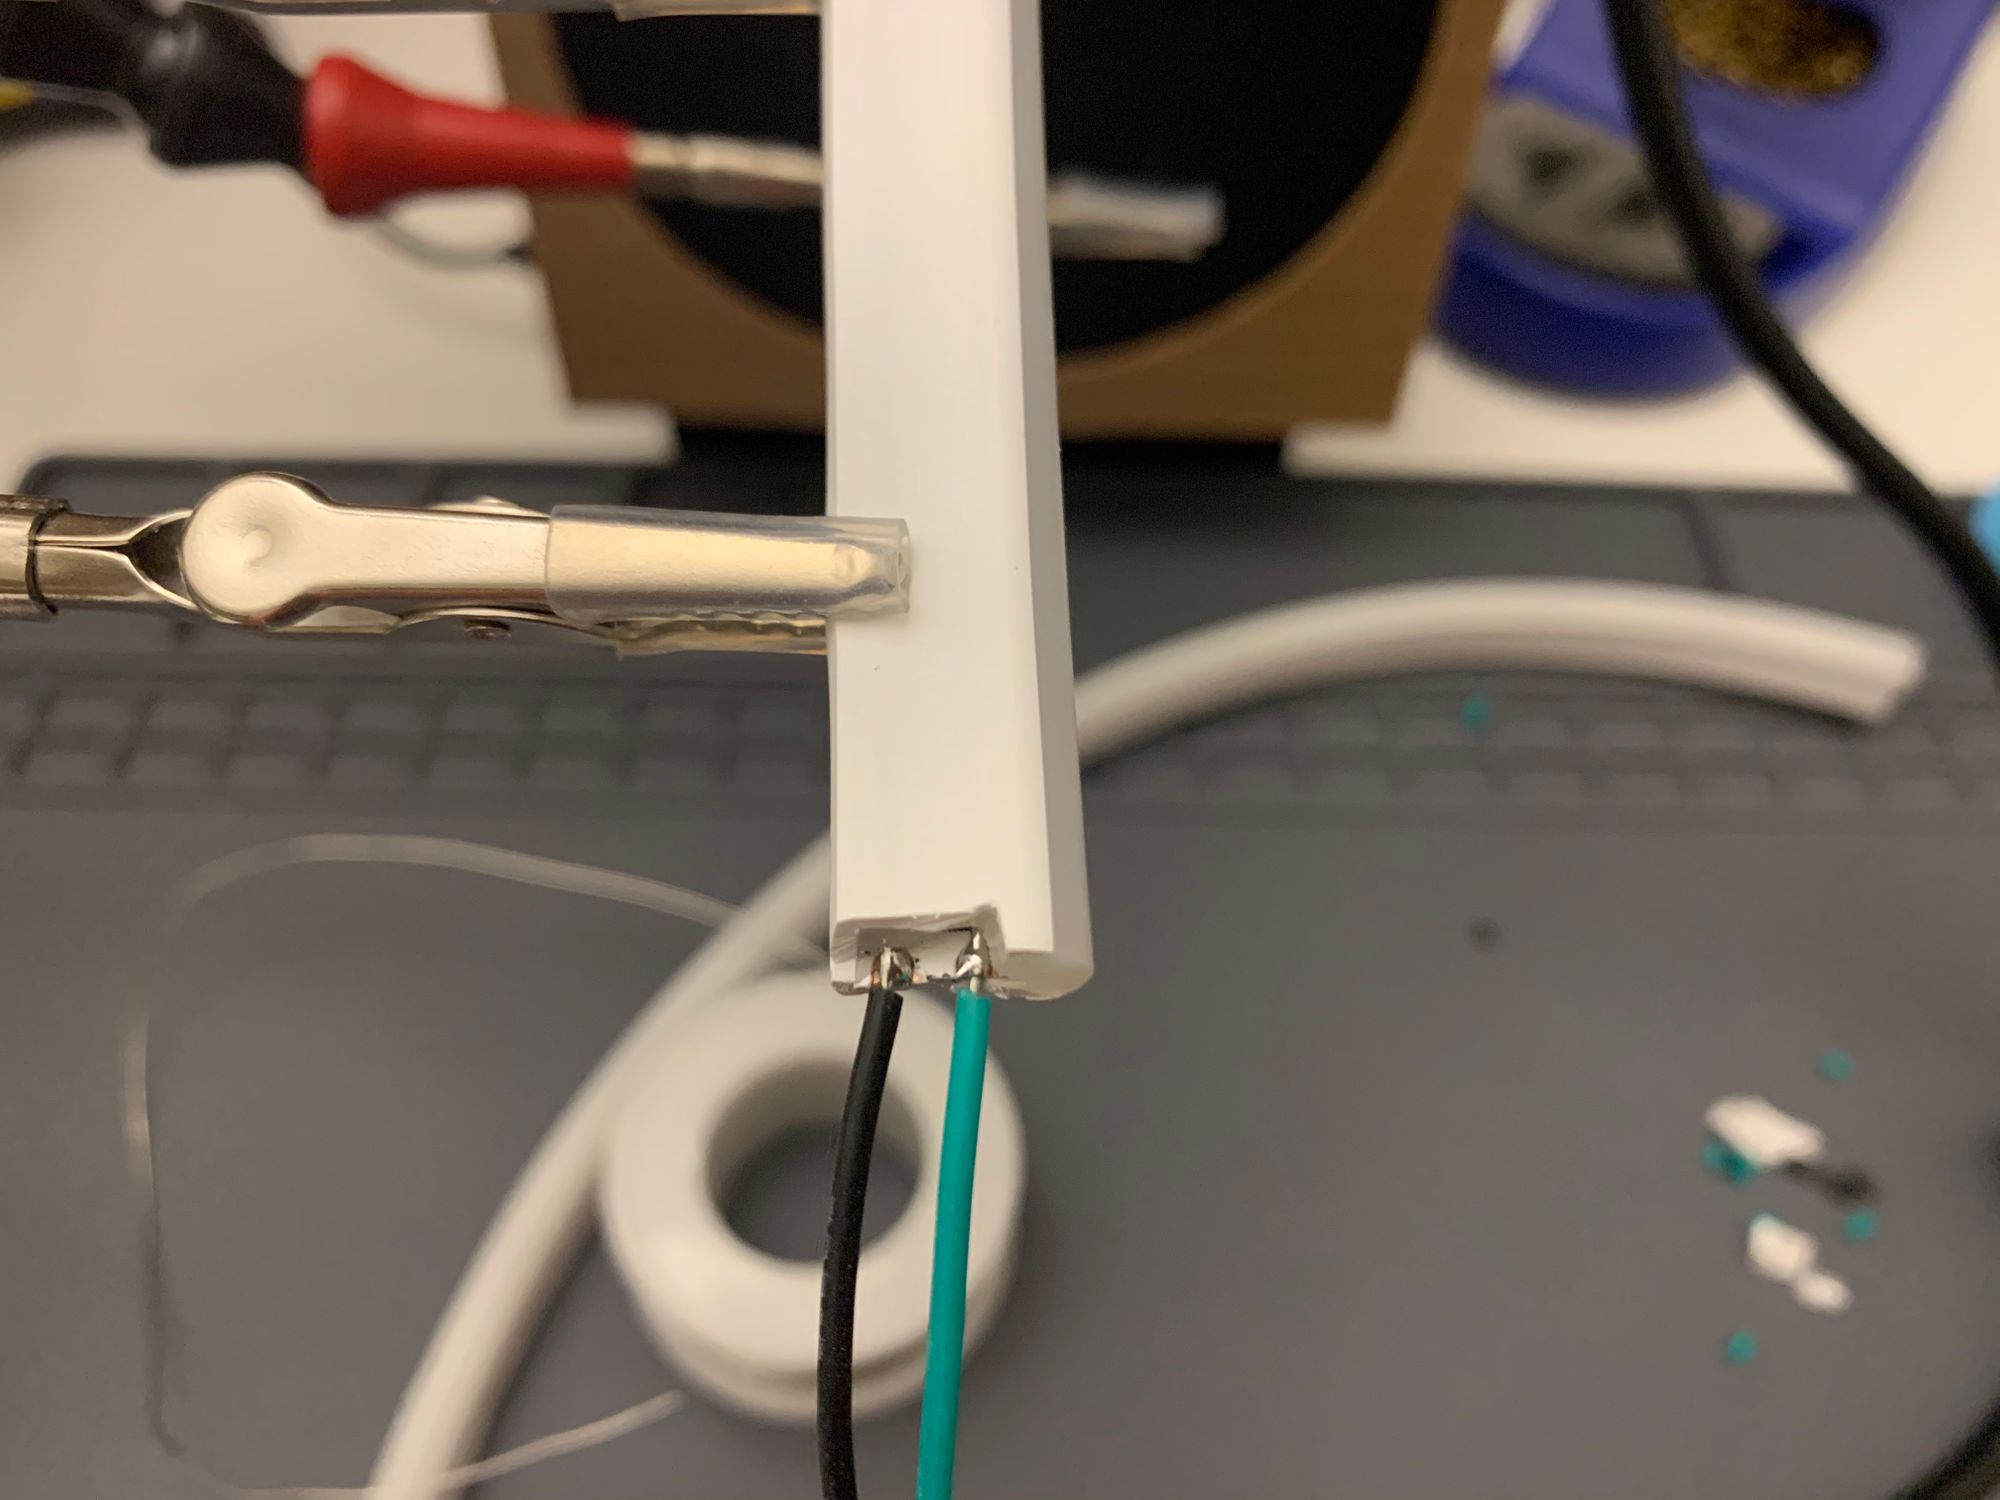
After so much soldering, I fitted the strips into the letter-shaped holders, using silicone caps to secure the ends and help smooth out the light leaks a bit on the ends of the letters.
Now I had to thread the wires from the front to the back. I picked a spot close enough to the end of the letter to be discreet, and just drilled holes straight through.
Here's a closer look at how exactly I threaded those wires through the leafy background. I used a piece of solid core wire to catch the wires through a loop and then pulled the loop through to the back – similar to how you'd thread a needle with a threader tool!
In the end, I ended up with a beautiful chaos of wires. ✨ It was late by that time, so I took a much needed break and cuddled up with my pup Biscuit before tackling the next part.
Nvm, my puppy has demanded cuddles, how can I say no? Good night! 🥰 pic.twitter.com/E2P3lFIMB6
— ✨ charlyn ✨ (@chardane) September 6, 2020
Powering up!
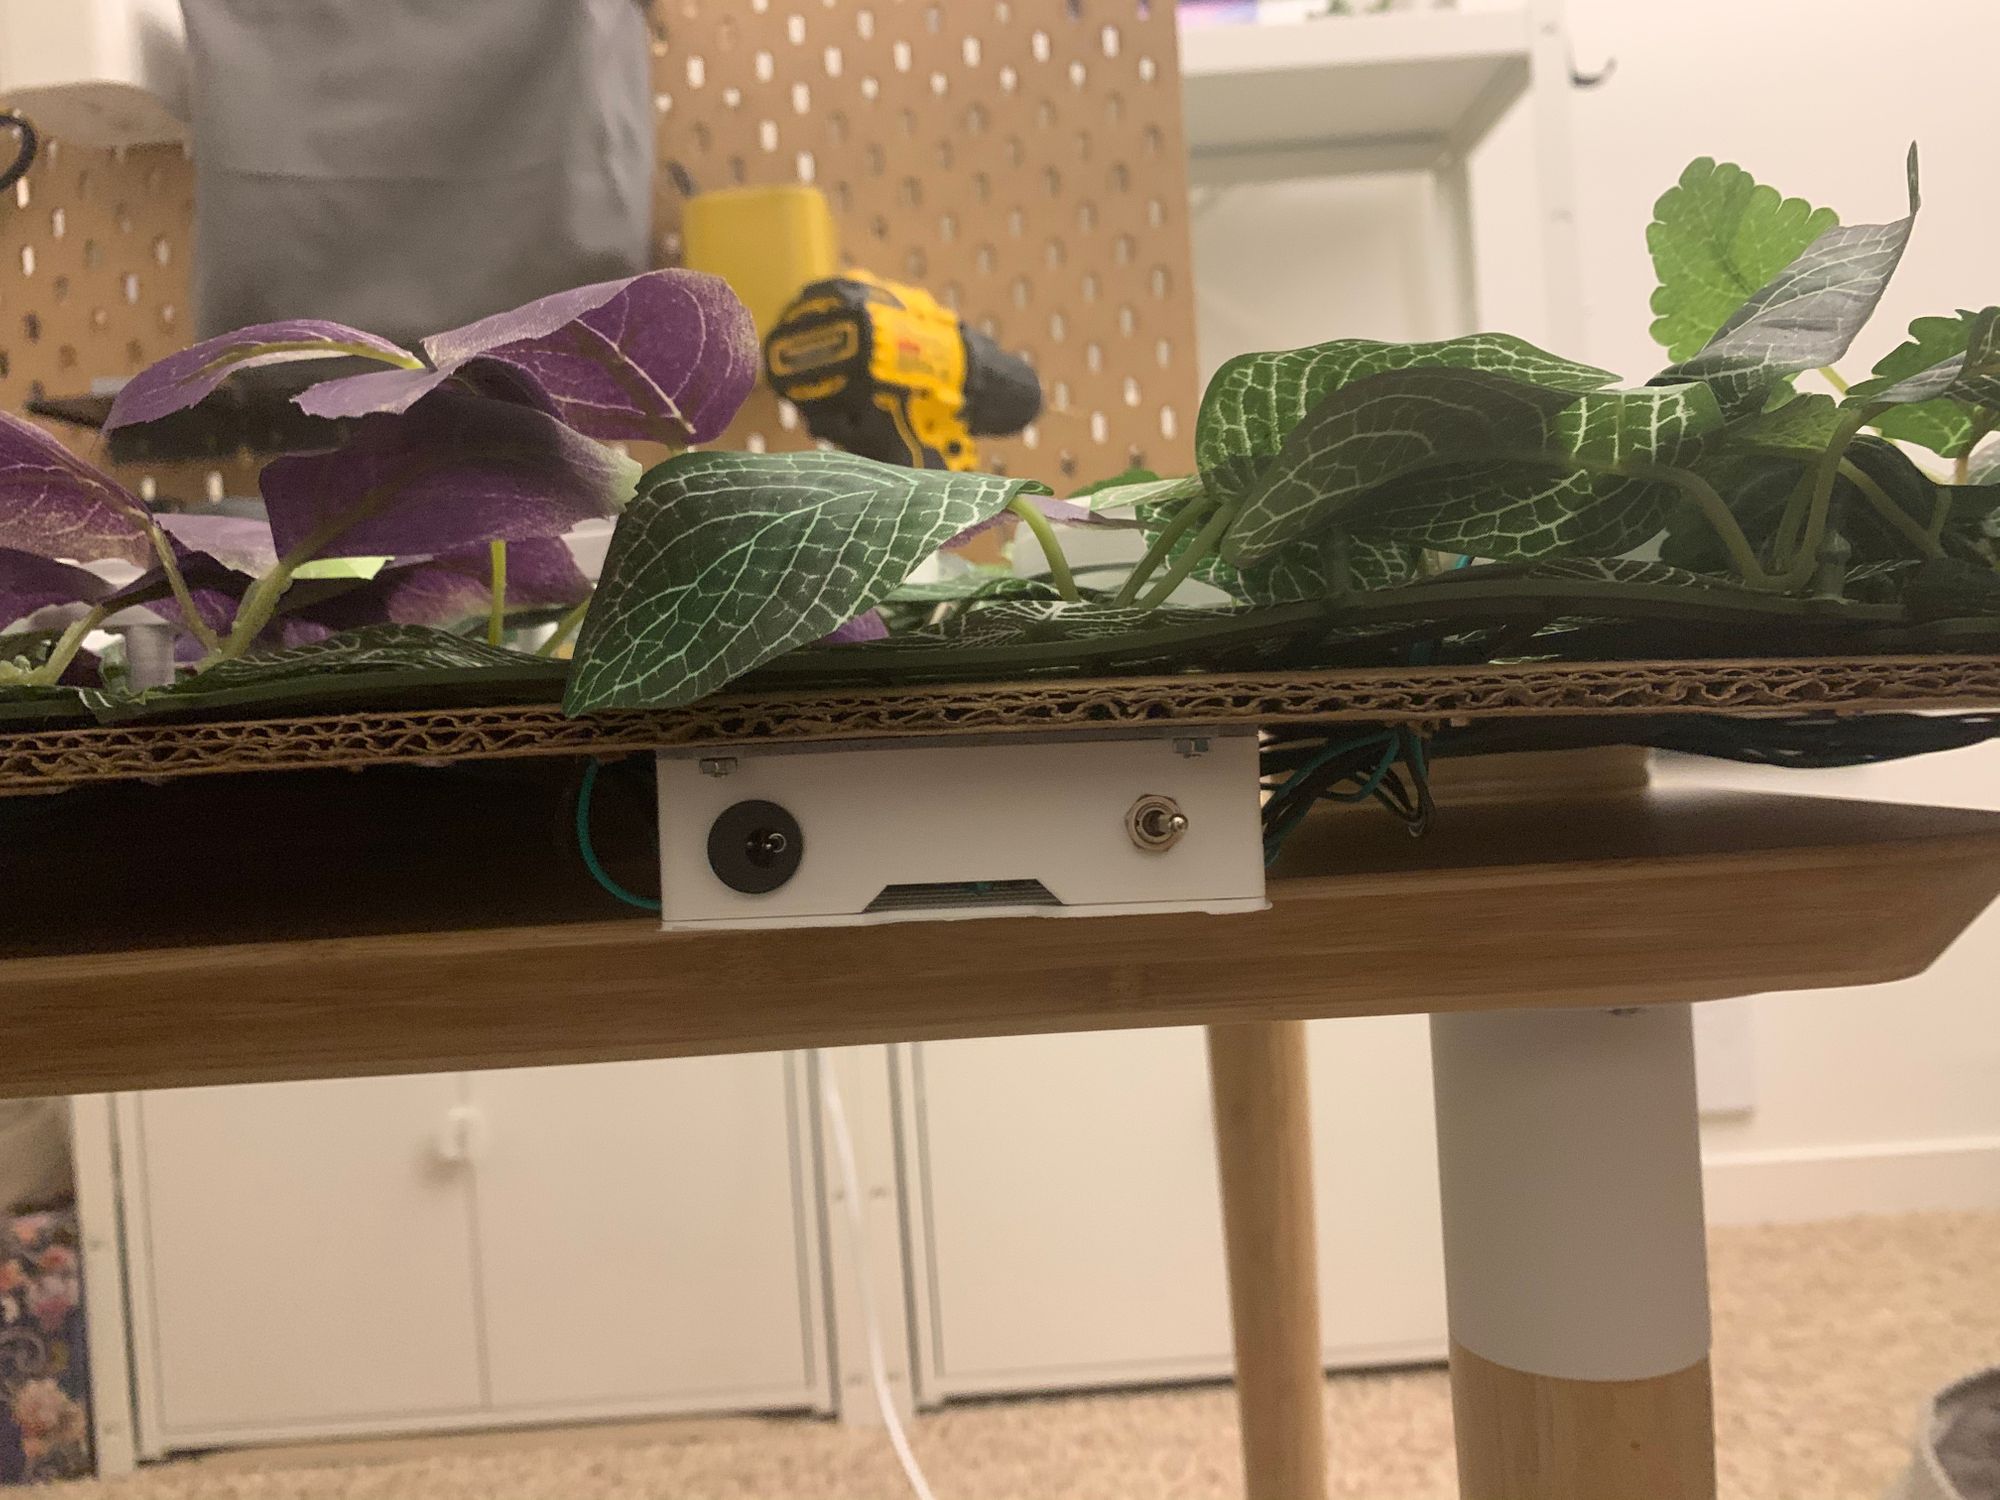
I woke up to a relaxing long weekend, had a cup of coffee, and was determined to finish! First, I 3d printed the perma-proto feather case from Adafruit (just slightly modified so that both the switch and the barrel jack panel mount holes were on the same side).
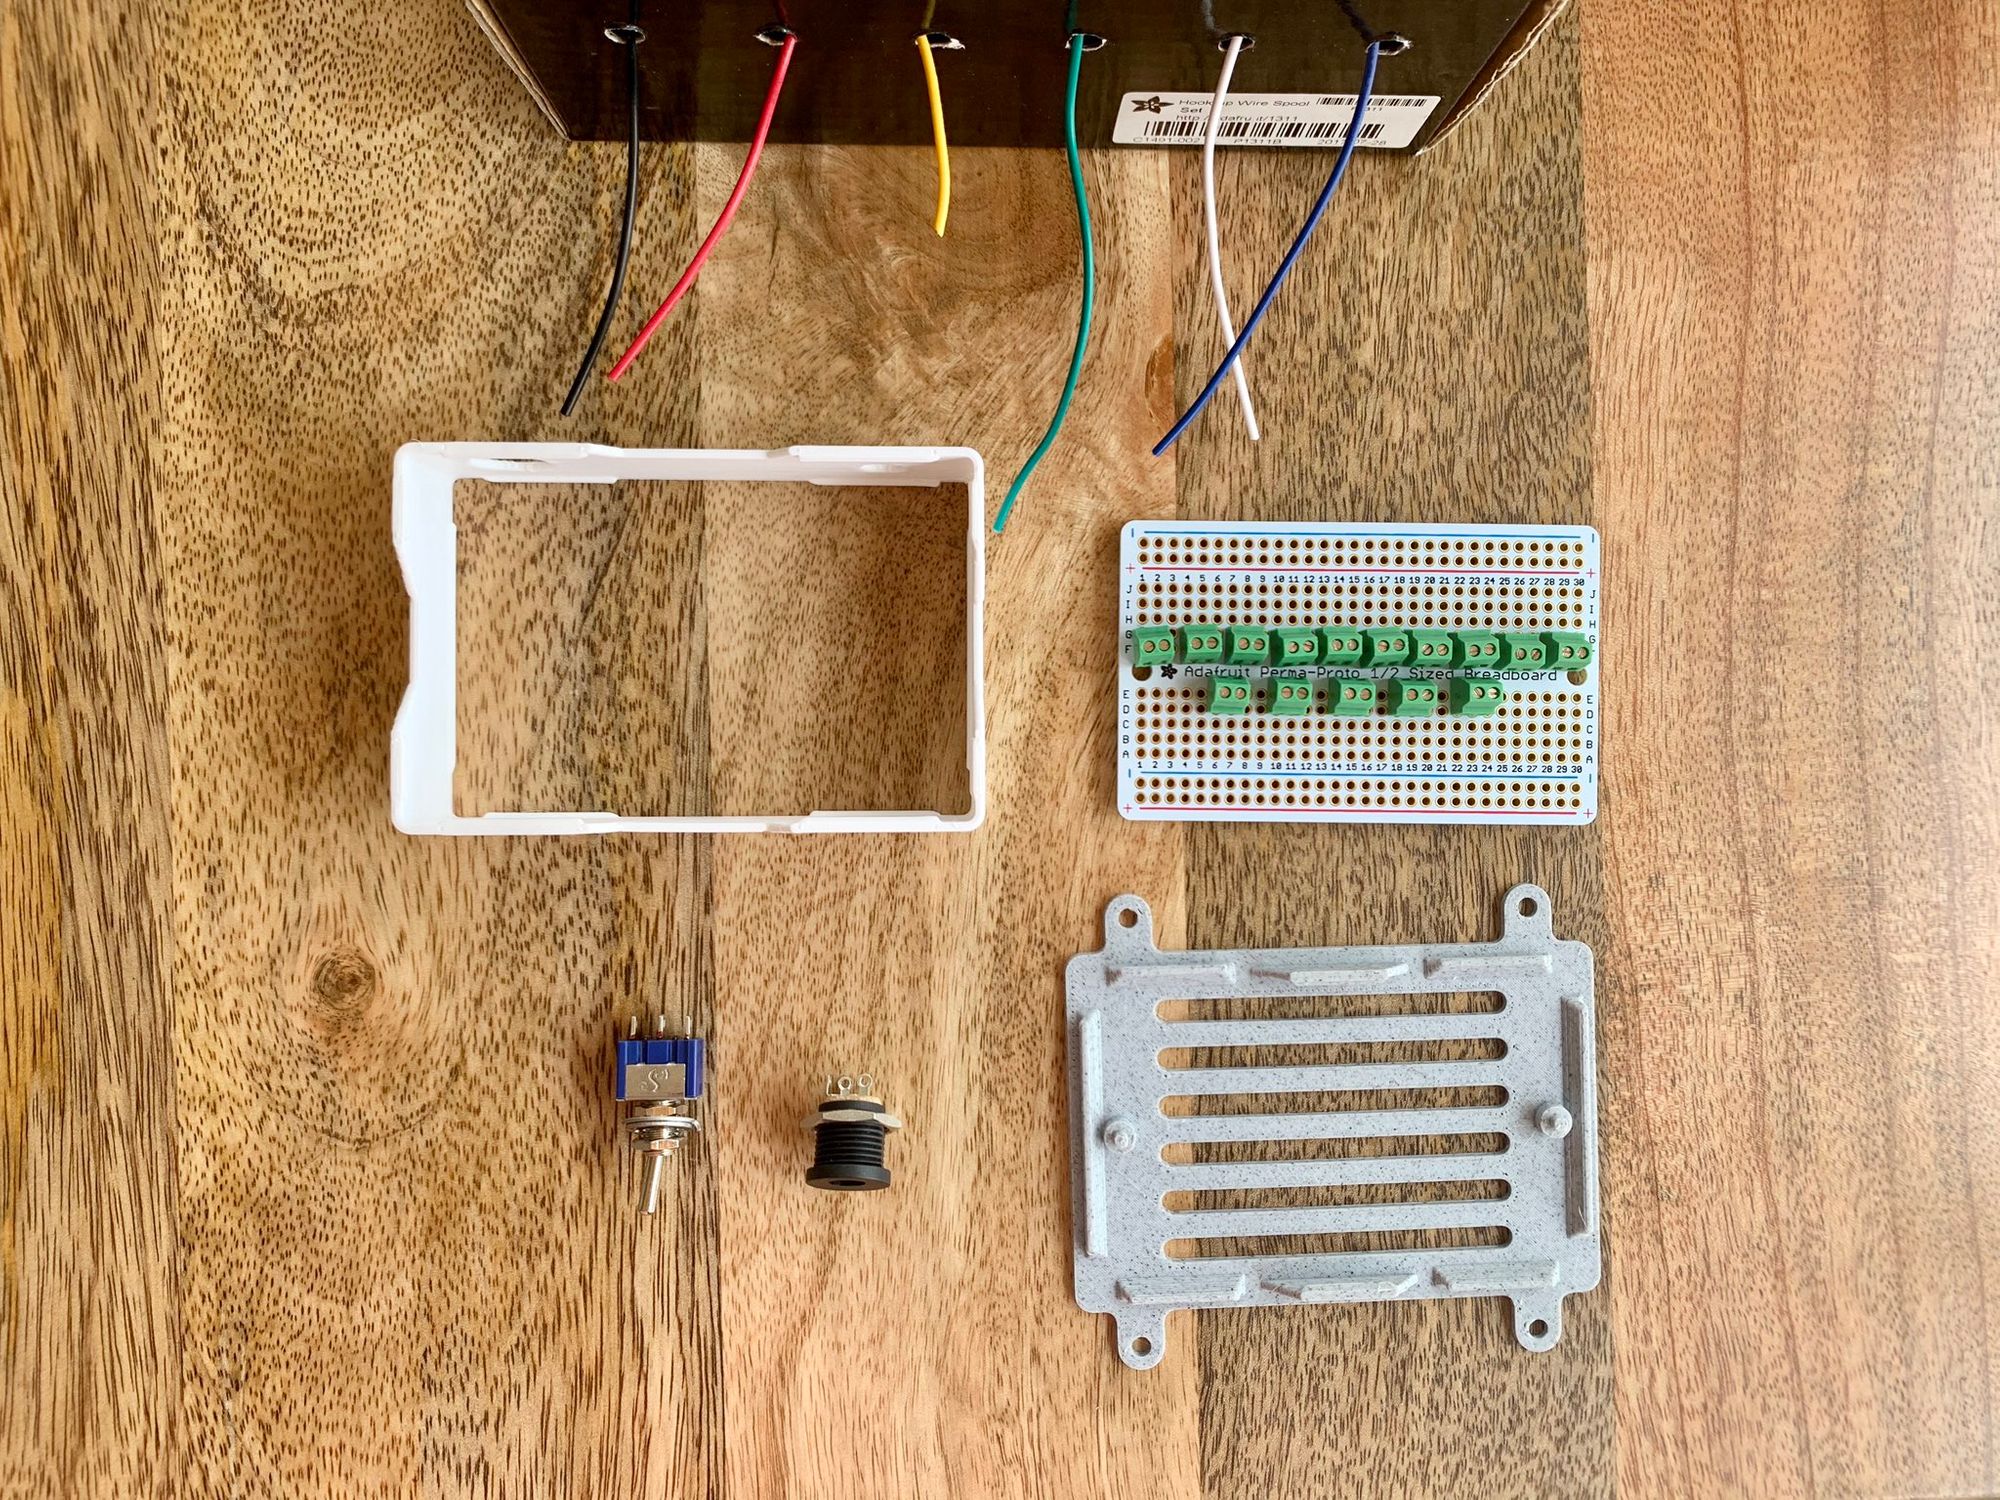
Then I soldered up these 2-pin screw-in wire terminals, so that each letter would be connected in parallel to a 12v power supply. The barrel jack panel mount on the left would connect to the power supply, and the toggle switch on the right turns the entire thing on/off.
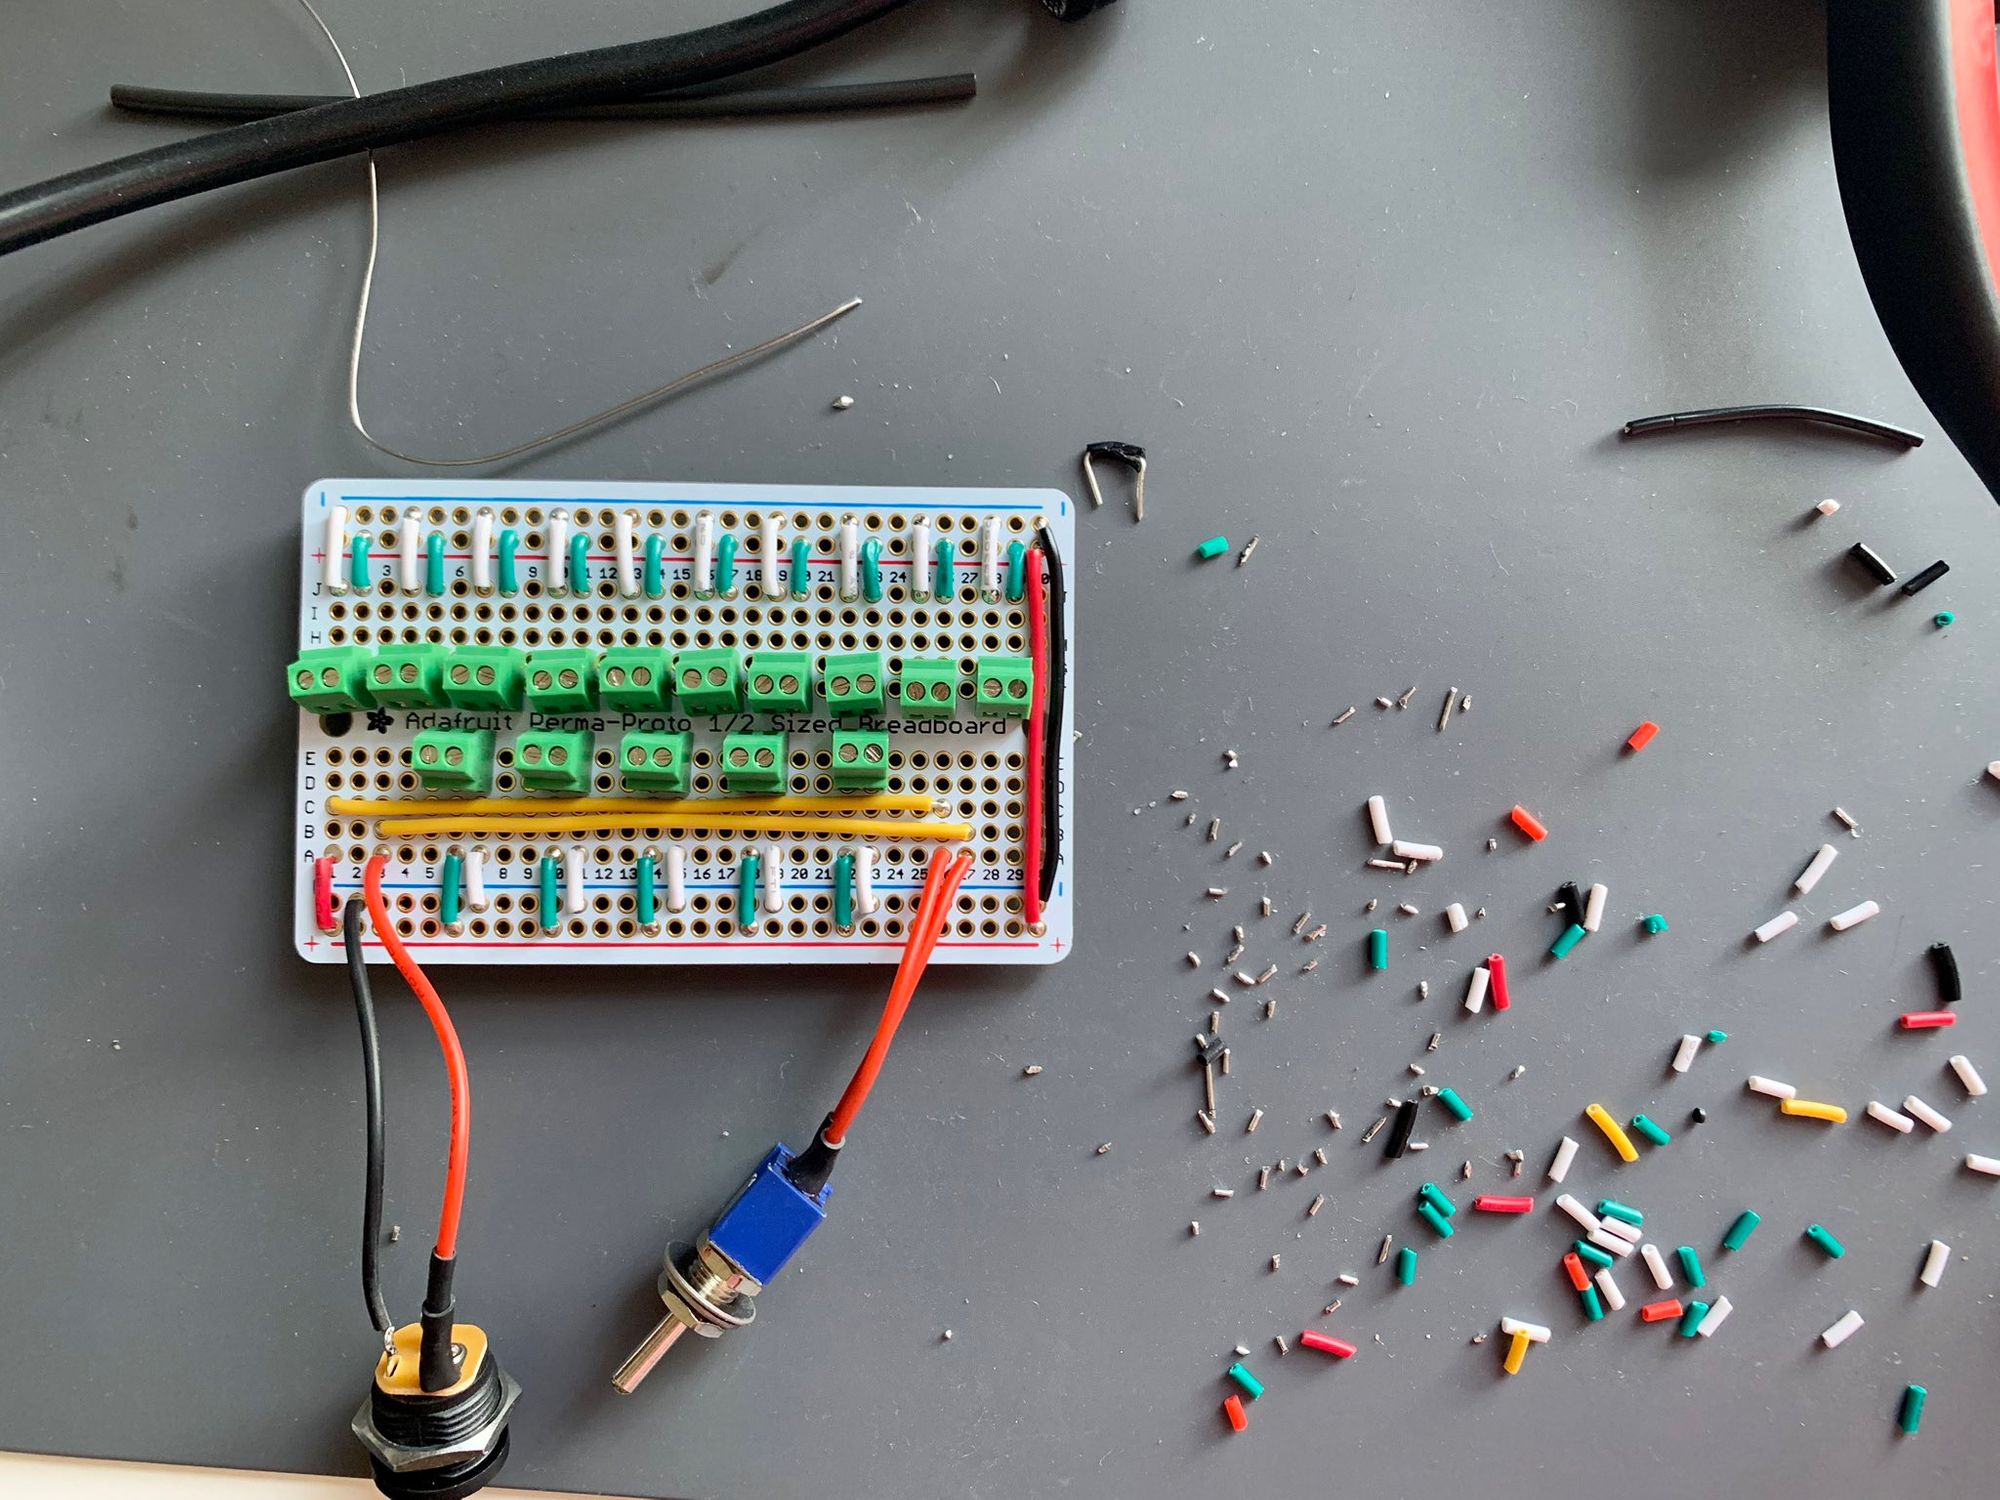
I was really glad I had waited until morning and had my coffee, because this took a while. On the plus side, it was very easy to reverse any wiring mistake since I could always unscrew the wires. I did not even know that terminals were a thing until a few months into my maker journey, so I highly recommend them to anyone who needs to connect wires to proto boards / PCBs. Please enjoy this timelapse to get an idea of the process.
Finishing up
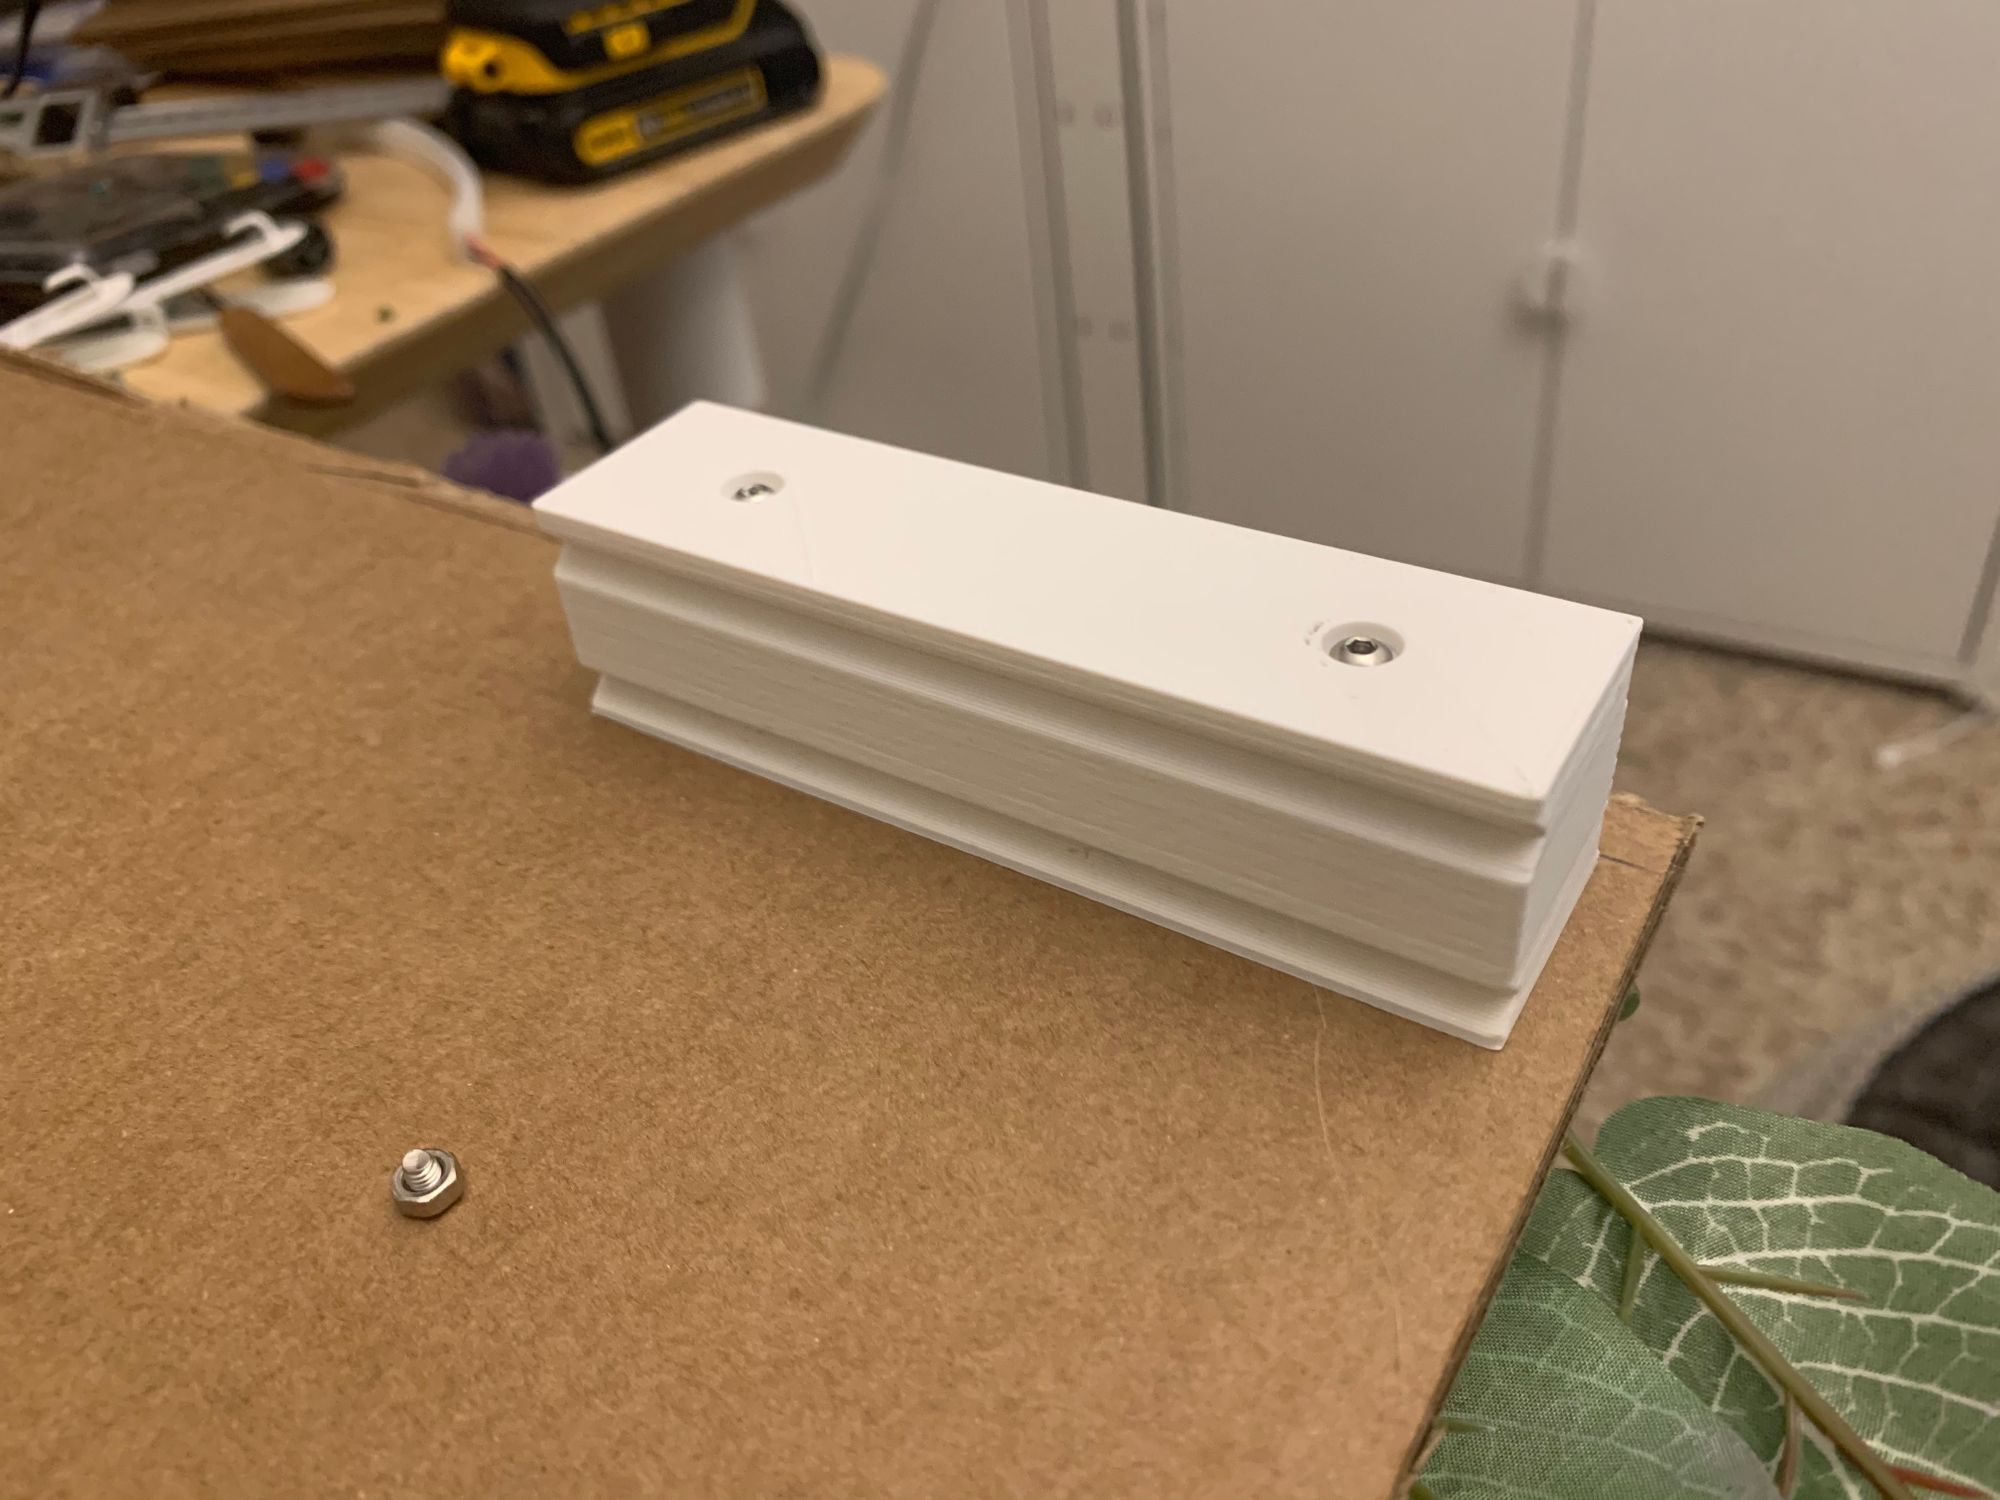
I designed a simple 3d printed block to be able to hang the entire thing on the wall. Because the backing was just cardboard, the whole thing was quite light! The power box sat in the middle for easy access to the switch.
You've seen how lovely the front of this thing ended up being, but check out how marvelous the back side is! 🙃
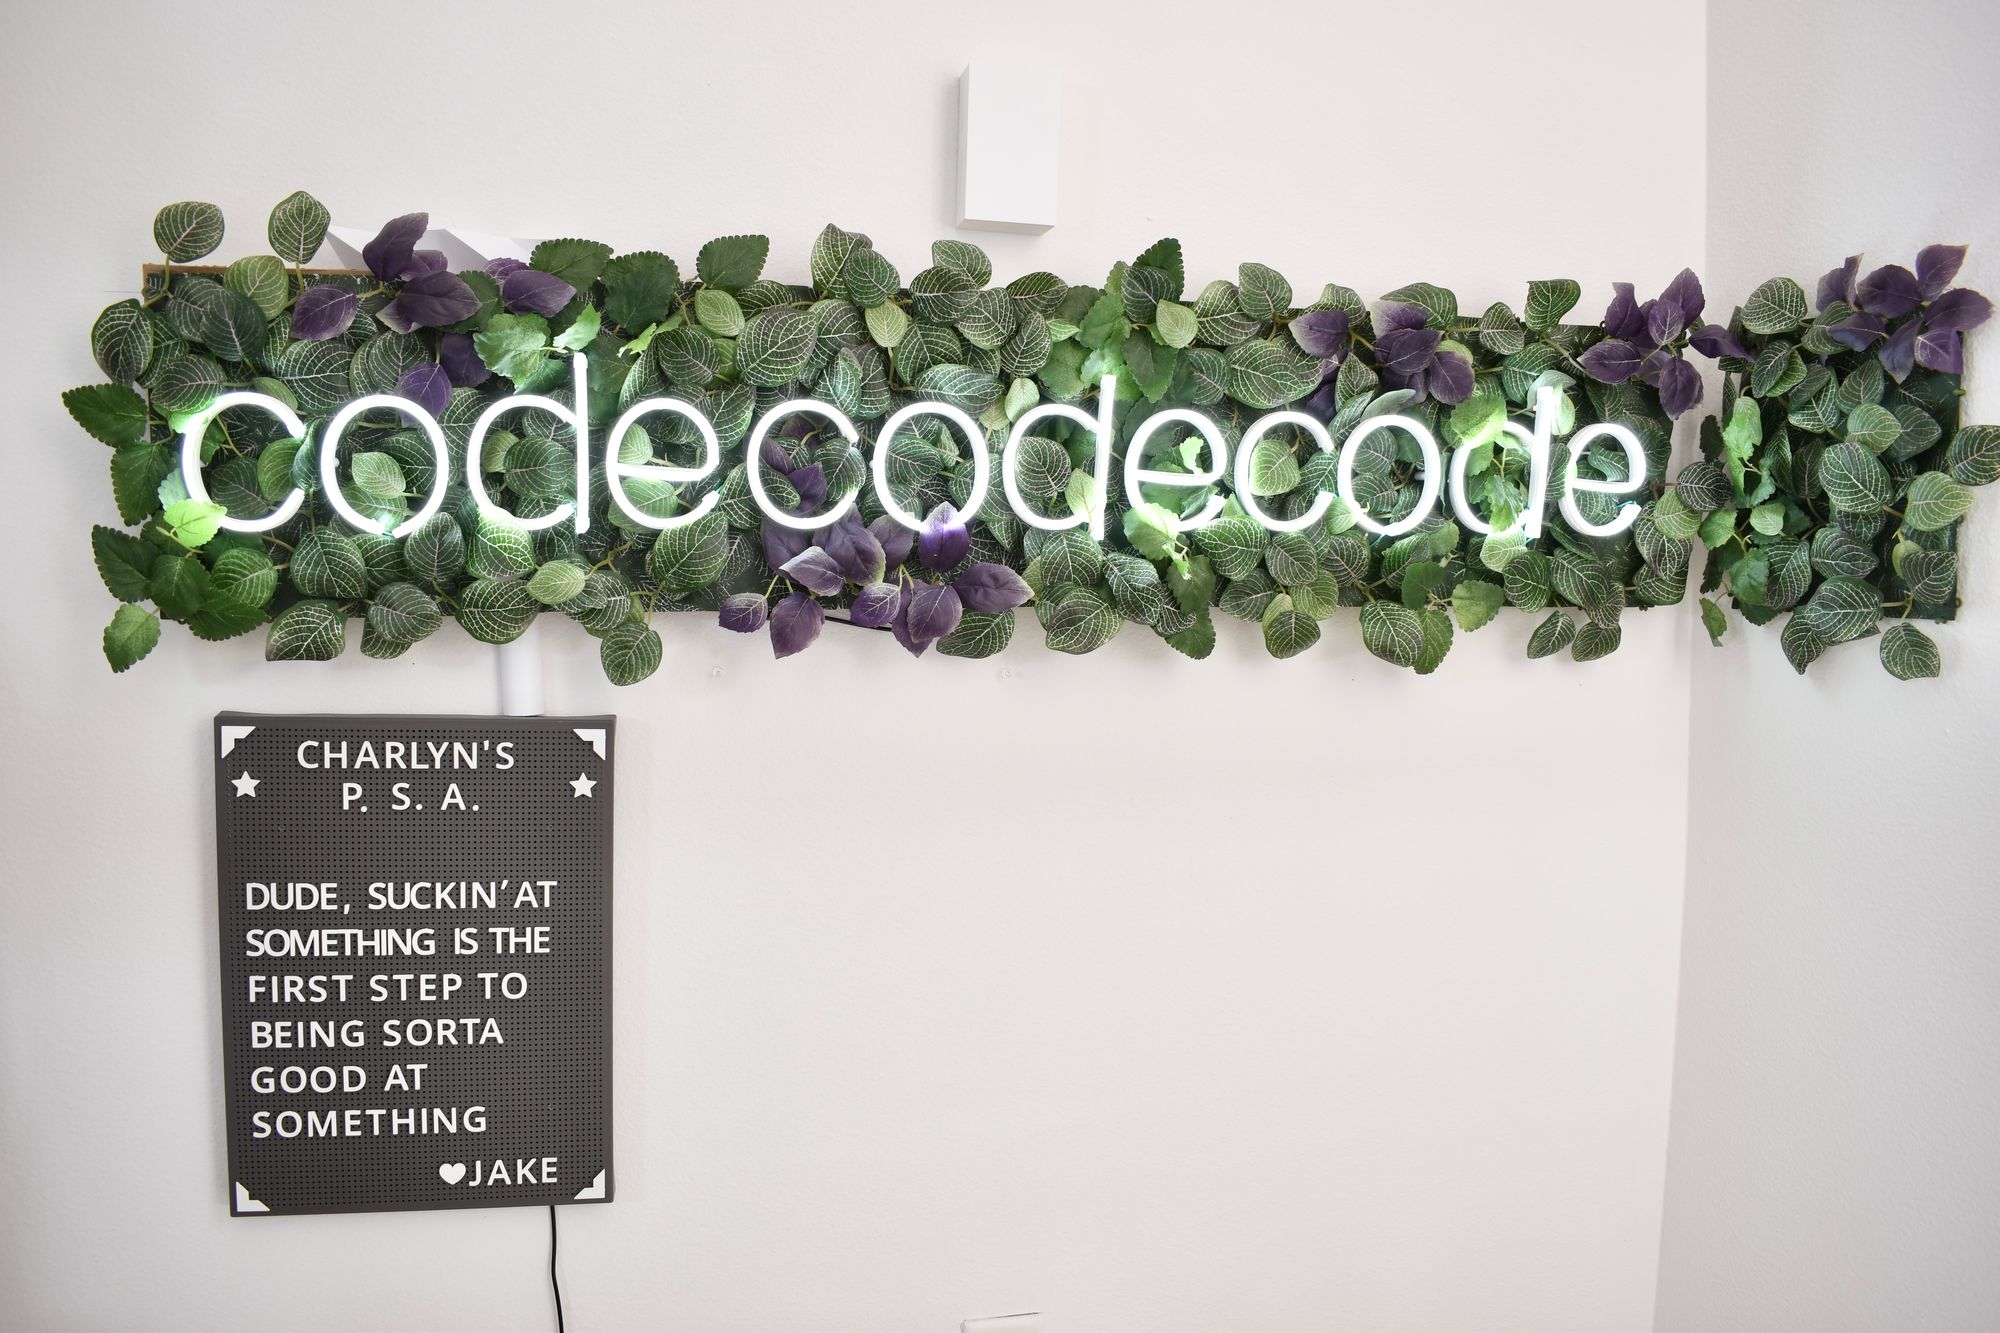
And that's it! I created a video call background that I love using everyday, and definitely became an easy conversation starter for meeting complete strangers online. I also added a sleek IKEA letterboard with a PSA (public service announcement) that I planned to switch out every week but actually ended up only changing twice so far. 🤷🏻♀️
If you end up making your own, I would LOVE to see it! Or, if you'd like to use these codecodecode lights a your virtual background for your video calls, feel free to use any of the images below 😂
Thanks for coming with me on this journey! If you want to catch any of my next projects, subscribe using the button all the way down there 👇🏽 or follow me on Twitter, @chardane! Join my Patreon for exclusive sneak peeks into my next projects and help me make more delightful glowy creations!